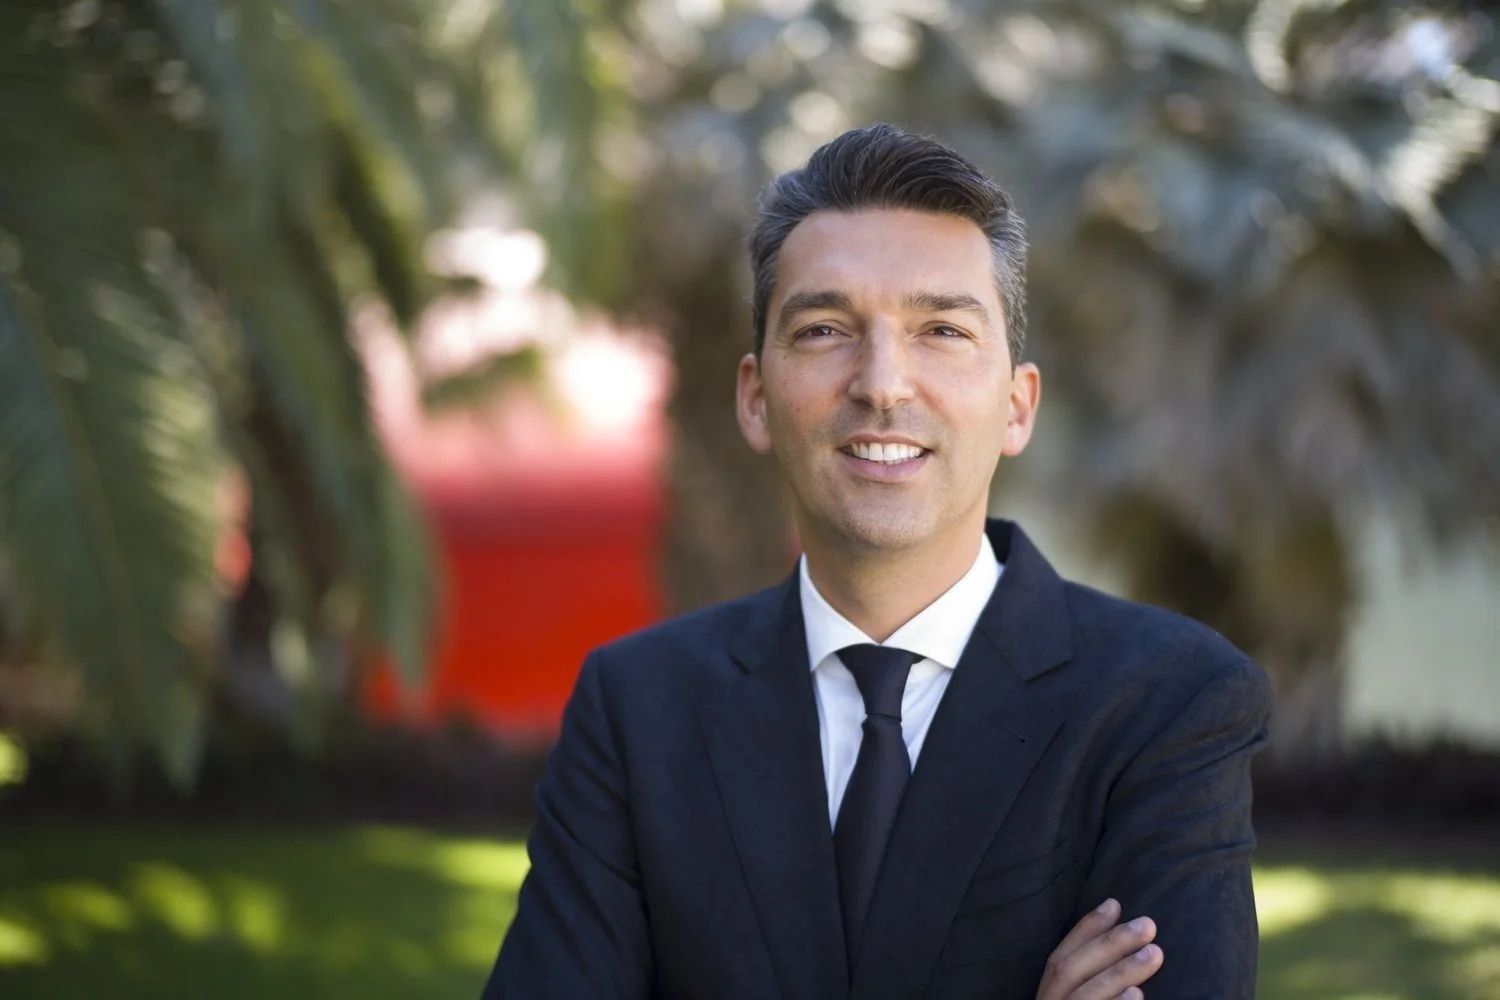
A headshot is the hardest working photograph most people will ever commission. It lives on a LinkedIn profile, an agency submission, a book jacket, a speaker page. It gets judged in under a second and it has to survive for years. These headshot photography tips come from 27 years of shooting portraits in Los Angeles, including actors, executives, and recording artists, and they are built around one idea: a great headshot is not an accident of good bone structure. It is a repeatable system of light, lens, settings, and direction.
In this guide
- What makes a great headshot
- Watch: Peter Hurley's top 5 tips on camera
- The 7 headshot photography tips that actually work
- Camera settings for headshots
- My take after 27 years: the headshot has to last
- Frequently asked questions
- Book your headshot session in Los Angeles
What Makes a Great Headshot?
A great headshot does three things at once. It looks like the person on their best day, it reads clearly at thumbnail size, and it communicates the right personality for the job the photo is meant to win. Everything else is technique in service of those three goals.
The quick checklist I run through before every session:
- Eyes tack sharp, with visible catchlights
- Jawline defined, not buried in the neck
- Skin tones natural, never over-smoothed
- Background simple enough to disappear at small sizes
- Expression that matches the client's industry and intent
- Wardrobe in solid, muted tones that frame the face
When all six are true, the photo works. When one is missing, that is the thing everyone notices.
Watch: Peter Hurley's Top 5 Tips for Shooting Amazing Portraits and Headshots
If you only watch one video on headshot technique this year, make it this one. Peter Hurley has built his entire reputation on headshots, and in this session for Shutterbug's Exploring Light series he photographs a model while walking through the five adjustments that separate an average headshot from a great one.
His rundown, in brief: push the jawline out and slightly down to define it. Find the subject's best side instead of shooting everyone the same way. Let the eyes carry the confidence. Let the mouth carry the approachability, which means coaching expression instead of just saying "smile." And drop the camera height a little, because shooting slightly from below flatters almost every face.
The video is short and every tip is demonstrated live on a real subject, which is exactly how you should learn this craft: watch the cause and effect happen in front of you.

For the full written breakdown of each tip, Shutterbug's companion article lists all five with context from the shoot.
The 7 Headshot Photography Tips That Actually Work
1. Push the jawline forward and down
The single highest-leverage adjustment in headshot photography takes five seconds. Ask your subject to push their forehead slightly toward the camera and tip the chin down a touch. This stretches the skin under the chin, defines the jawline, and eliminates the double chin effect that makes people hate their photos.
It will feel strange to them the first time. That is normal. Show them the back of the camera after three frames and they will become a believer, because the difference is that dramatic. This is the same direction I use with every non-model I photograph, and I wrote a full breakdown of the system in my guide to posing people who are not models.
2. Light the face, not the room
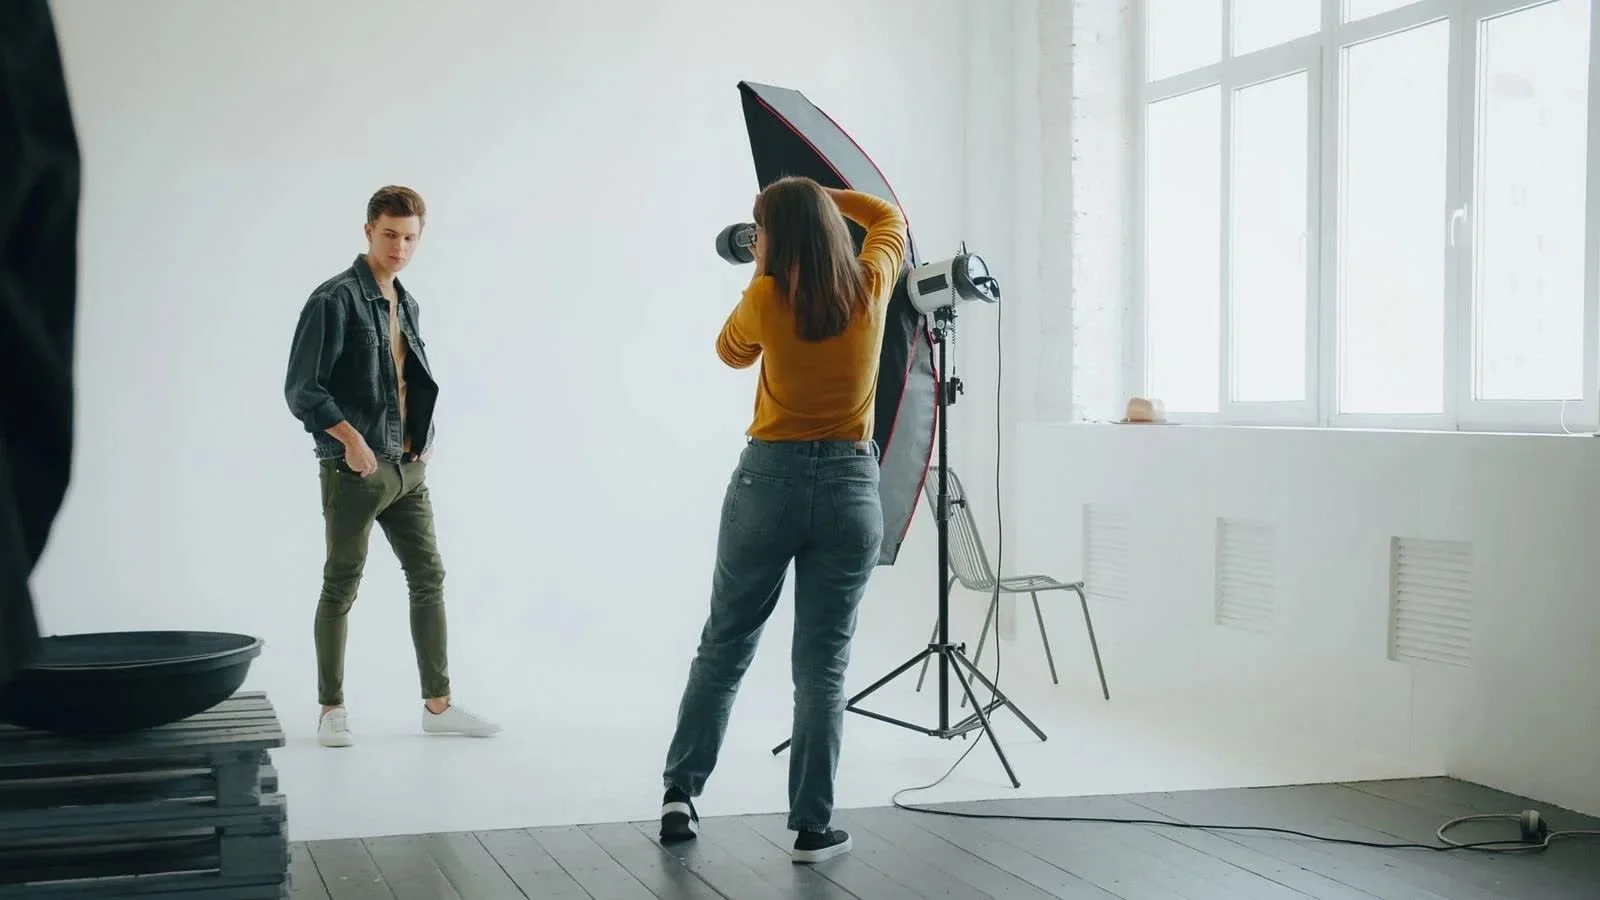
Amateur headshots fail on lighting before anything else. The fix is to think of the light as belonging to the face only. Face your subject toward the key light so both eyes catch it, and keep the light large and close. A big soft source near the subject wraps the face in flattering light. A small source far away creates the hard shadows that age people.
Window light remains one of the best headshot lights ever made, and it is free. Peter Hurley shot with nothing but window light for the first four years of his professional career, and PetaPixel's rundown of his headshot lighting tips makes the case that mastering natural light first makes you better with strobes later. When you do move to strobes, remember the inverse-square law: moving the light closer makes it softer and more beautiful, not just brighter. If you want the full single-strobe version of this, my one-light portrait setup guide covers five classic looks from one light.
3. Shoot at 85mm or longer
Focal length changes faces. Wide lenses exaggerate whatever is closest to the camera, which in a headshot means the nose. A short telephoto in the 85mm to 135mm range renders facial features the way people actually look in person, and it gives you comfortable working distance so your subject is not staring down the front element.
My workhorse for this has always been a 70-200mm f/2.8. It covers the whole flattering range, the compression is beautiful, and the background melts away even at moderate apertures. If you own one portrait lens, make it something in this range before you buy anything else.
4. Lock in your settings and stop chasing the meter
Headshots reward consistency. Shoot manual so every frame matches, which makes culling and editing dramatically faster. In the studio with strobes, a proven starting point is f/5.6, ISO 100 to 200, and a shutter speed at or under your flash sync speed, usually 1/200 of a second. Headshot photographer Scott Lawrence uses almost exactly this recipe in his studio work (https://scottlawrencephoto.com/blog/best-camera-settings-for-headshots): f/5.6 keeps the whole face sharp without demanding maximum flash power, low ISO keeps the files clean, and staying at sync speed keeps ambient office light from contaminating the color.
Outdoors, open up: f/2.8 to f/4 with an 85mm or longer lens, ISO as low as the light allows, shutter speed at 1/200 or faster. Focus with a single point on the nearest eye, every time. If the eyes are soft, nothing else in the frame can save the shot.
5. Make the eyes do the heavy lifting
Hurley's rule is that confidence comes from the eyes, and it is the truest sentence in headshot photography. A technically perfect frame with dead eyes is a failed headshot. Keep a running conversation going while you shoot. Ask questions that require real answers, not yes or no. Watch for the micro-moment when the subject forgets the camera exists, because that is the frame.
Catchlights matter more than most photographers admit. Whatever your key light is, make sure it puts a reflection in both eyes. Eyes without catchlights read as flat and lifeless even when the focus and exposure are perfect.
6. Direct the mouth instead of ordering a smile
"Smile" is the least useful direction in photography. It produces the frozen, toothy grimace everyone recognizes from bad corporate headshots. Approachability comes from the mouth, but you have to earn it indirectly: get the subject talking, laughing, or reacting, then shoot through the moment after the laugh, when the expression settles into something genuine.
I shoot in short bursts during conversation and stay quiet about when I am firing. The frames between the posed smiles are almost always the selects. If a client insists on a serious expression, coach it as "confident and calm" rather than "serious," which reads as stern on camera.
7. Wardrobe and prep decide the session before it starts
Send wardrobe guidance before the shoot, not during it. Solid colors in earthy or muted tones photograph best. Ask clients to avoid busy patterns, large logos, and neon brights that bounce color onto the chin and neck. Simple jewelry, groomed hair, and a lint roller on set solve most of the problems that used to cost me an hour in retouching.
Prep is also psychological. Tell the client what will happen, how long it takes, and that feeling awkward for the first ten minutes is universal. A subject who knows the plan relaxes faster, and a relaxed subject photographs better. This is step one of my nine-step portrait photography workflow, and it is the step most photographers skip.
Camera Settings for Headshots
Here is the cheat sheet version of everything above, studio and outdoor:
Studio with strobes: Manual mode, f/5.6 to f/8, ISO 100 to 200, shutter speed 1/200 (your sync speed), single-point autofocus on the nearest eye. Turn off overhead room lights so they cannot add color casts.
Outdoor natural light: Manual mode, f/2.8 to f/4, 85mm or longer, ISO 100 to 400, shutter speed 1/200 or faster. Position the subject in open shade or backlit, and expose for the face.
Always: Shoot RAW, white balance to the scene, and check the eyes at 100 percent magnification on the back of the camera before you change setups.
My Take After 27 Years: The Headshot Has to Last
I want to tell you about Linda Hamilton. Early in my career, through a friend, I got a call from her. She told me she only shoots headshots every ten years and she wanted me to be the photographer. Think about that pressure for a moment. This was going to be her face for the next decade.
We shot at her house in Point Dume, in Malibu. I kept the plan simple: natural solid colors in earthy tones, my makeup artist on prep, and an Alien Bee light kit with a battery pack set up in the backyard so I was not hunting for outlets. Three looks, about an hour, shot from every angle I could think of, because when the image has to last ten years you do not leave coverage on the table.
She chose five frames for retouching, and then she handed me a $2,500 tip on top of the fee. I will never forget that, not because of the money, but because of what it taught me. She was not paying for an hour of button pressing. She was paying for the certainty that the job would be done right.
That is the real lesson of headshot photography. The craft is the easy part to learn: the jawline trick, the f/5.6, the 85mm. The hard part is becoming the photographer a client trusts with their face for ten years. You get there through discipline and consistency. Show up prepared. Direct with confidence. Deliver selects fast. Do it the same excellent way every single time, whether the subject is a movie star or an accountant who has never been photographed. The camera does not know the difference, and neither should your standard.
Frequently Asked Questions
What is the best lens for headshots?
An 85mm to 135mm lens is the sweet spot for headshots. These focal lengths render faces naturally without the distortion of wider lenses, and they give you flattering background compression. A 70-200mm f/2.8 zoom is the classic working pro's choice because it covers the entire range in one lens.
What camera settings should I use for headshots?
In a studio with strobes: manual mode, f/5.6 to f/8, ISO 100 to 200, shutter speed at your flash sync speed (usually 1/200). Outdoors: f/2.8 to f/4, ISO 100 to 400, shutter 1/200 or faster. Always focus with a single autofocus point on the nearest eye and shoot RAW.
How do you make someone look good in a headshot?
Push the jawline forward and slightly down, find their best side, light the face with a large soft source, shoot at 85mm or longer, and keep them talking so the expression stays genuine. Confidence should read in the eyes and approachability in the mouth. None of this requires an expensive camera. It requires direction.
What should you avoid wearing in a headshot?
Avoid busy patterns, large logos, graphics, and neon or very bright colors, which distract from the face and can cast color onto the skin. Solid colors in muted or earthy tones are the safest choice. Keep jewelry simple and make sure everything fits well right now, not aspirationally.
Book Your Headshot Session in Los Angeles
If you need a headshot that works as hard as you do, this is what I do. I shoot headshots and portraits in Los Angeles for actors, executives, and creatives, with sessions built around the system above: real direction, flattering light, and selects you actually want to use. Sessions start at $1,500 for two looks. Reach out through my contact page (Book Your Headshot Session) and tell me what the headshot needs to win for you.
What is the hardest part of headshots for you: the posing, the lighting, or getting a natural expression? Tell me in the comments.