Nightclub photography lighting looks like chaos when you walk into a dark room: lasers sweeping, strobes firing, red washes killing every face, and a DJ booth that goes from black to blinding white twice a second. Then a working club photographer walks in with one camera, one flash, and a calm system, and walks out with sharp, colorful, professional images. The difference is not the camera. It is the method.
The video below is a quick on-the-floor guide from nightclub photographer Bernard Marcelo, who answers the question he gets asked constantly: how he shoots in clubs. It is the same flash-first approach working event photographers use every weekend. This post expands it into seven field-tested nightclub photography lighting tips: the starting settings, the shutter-drag technique that creates those famous light streaks, how to balance flash against the room, and how to tame colored lights and strobes instead of fighting them.

Table of Contents
- Tip 1: Shoot Fully Manual, and Keep Two Go-To Settings
- Tip 2: Drag the Shutter for Light Streaks With Rear-Curtain Sync
- Tip 3: Balance Flash Power Against the Room, Not Just the Subject
- Tip 4: Gel Your Flash and Lock Your White Balance
- Tip 5: Learn the Light Colors Before They Ruin Your Night
- Tip 6: Pick the Right Lens and Keep Your Kit Minimal
- Tip 7: Work the Room Like a Professional
- My Nightclub Lighting Rules After 27 Years
- Frequently Asked Questions
- The Takeaway
Tip 1: Shoot Fully Manual, and Keep Two Go-To Settings
Auto anything fails in a nightclub. The meter sees darkness, the lights change color every half second, and the camera has no idea what you want. Every working club photographer shoots in full Manual mode, and most keep two preset settings to jump between, one for small groups and one for larger groups. A solid starting point, per MakeUseOf's nightclub photography guide, is: for small groups of up to three people, ISO 800, aperture f/3.5, shutter speed around 1/4th of a second, with the flash set to 1/16th power. For groups of four or more, raise the ISO to 1600, close down to f/5.6, and use a shutter of 1/6th to 1/5th. These are baselines, not commandments. Your job is to take test shots in the first ten minutes of the night, chimp the histogram, and settle on your own pair of settings. The point is discipline: decide before the first group photo, then adjust deliberately instead of spinning dials all night. Lock the focus mode too. Continuous autofocus (AI Servo on Canon, AF-C on Nikon and Sony) keeps the camera tracking moving people, and burst mode catches moments between light sweeps. One-shot focus on a moving dance floor is a coin toss.
Tip 2: Drag the Shutter for Light Streaks With Rear-Curtain Sync
The signature nightclub image, the one with swirling color trails behind a sharp subject, is not a filter. It is shutter drag with rear-curtain (second-curtain) sync. Here is how it works: a slow shutter speed records the ambient colored light while you move the camera in a small circular or wavy motion, and the flash fires at the very end of the exposure to freeze the subject in place. MakeUseOf's guide gives the classic recipe: a slow shutter around 1/4th of a second, a moderate aperture around f/5.6 to f/7.1, a low ISO like 200 to 400, and the flash set to rear-curtain sync with the flash head aimed directly at the subject. The camera motion does the painting. Keep it small and smooth. Big jerky movements make a mess; tight circles or gentle waves make ribbons. Practice this at home before a paid night. It is a coordination move, and it takes a few dozen frames before your hand learns the rhythm. The good news is the technique is forgiving: overshoot the motion and the flash still saves the subject, so your keeper rate climbs fast.
Tip 3: Balance Flash Power Against the Room, Not Just the Subject
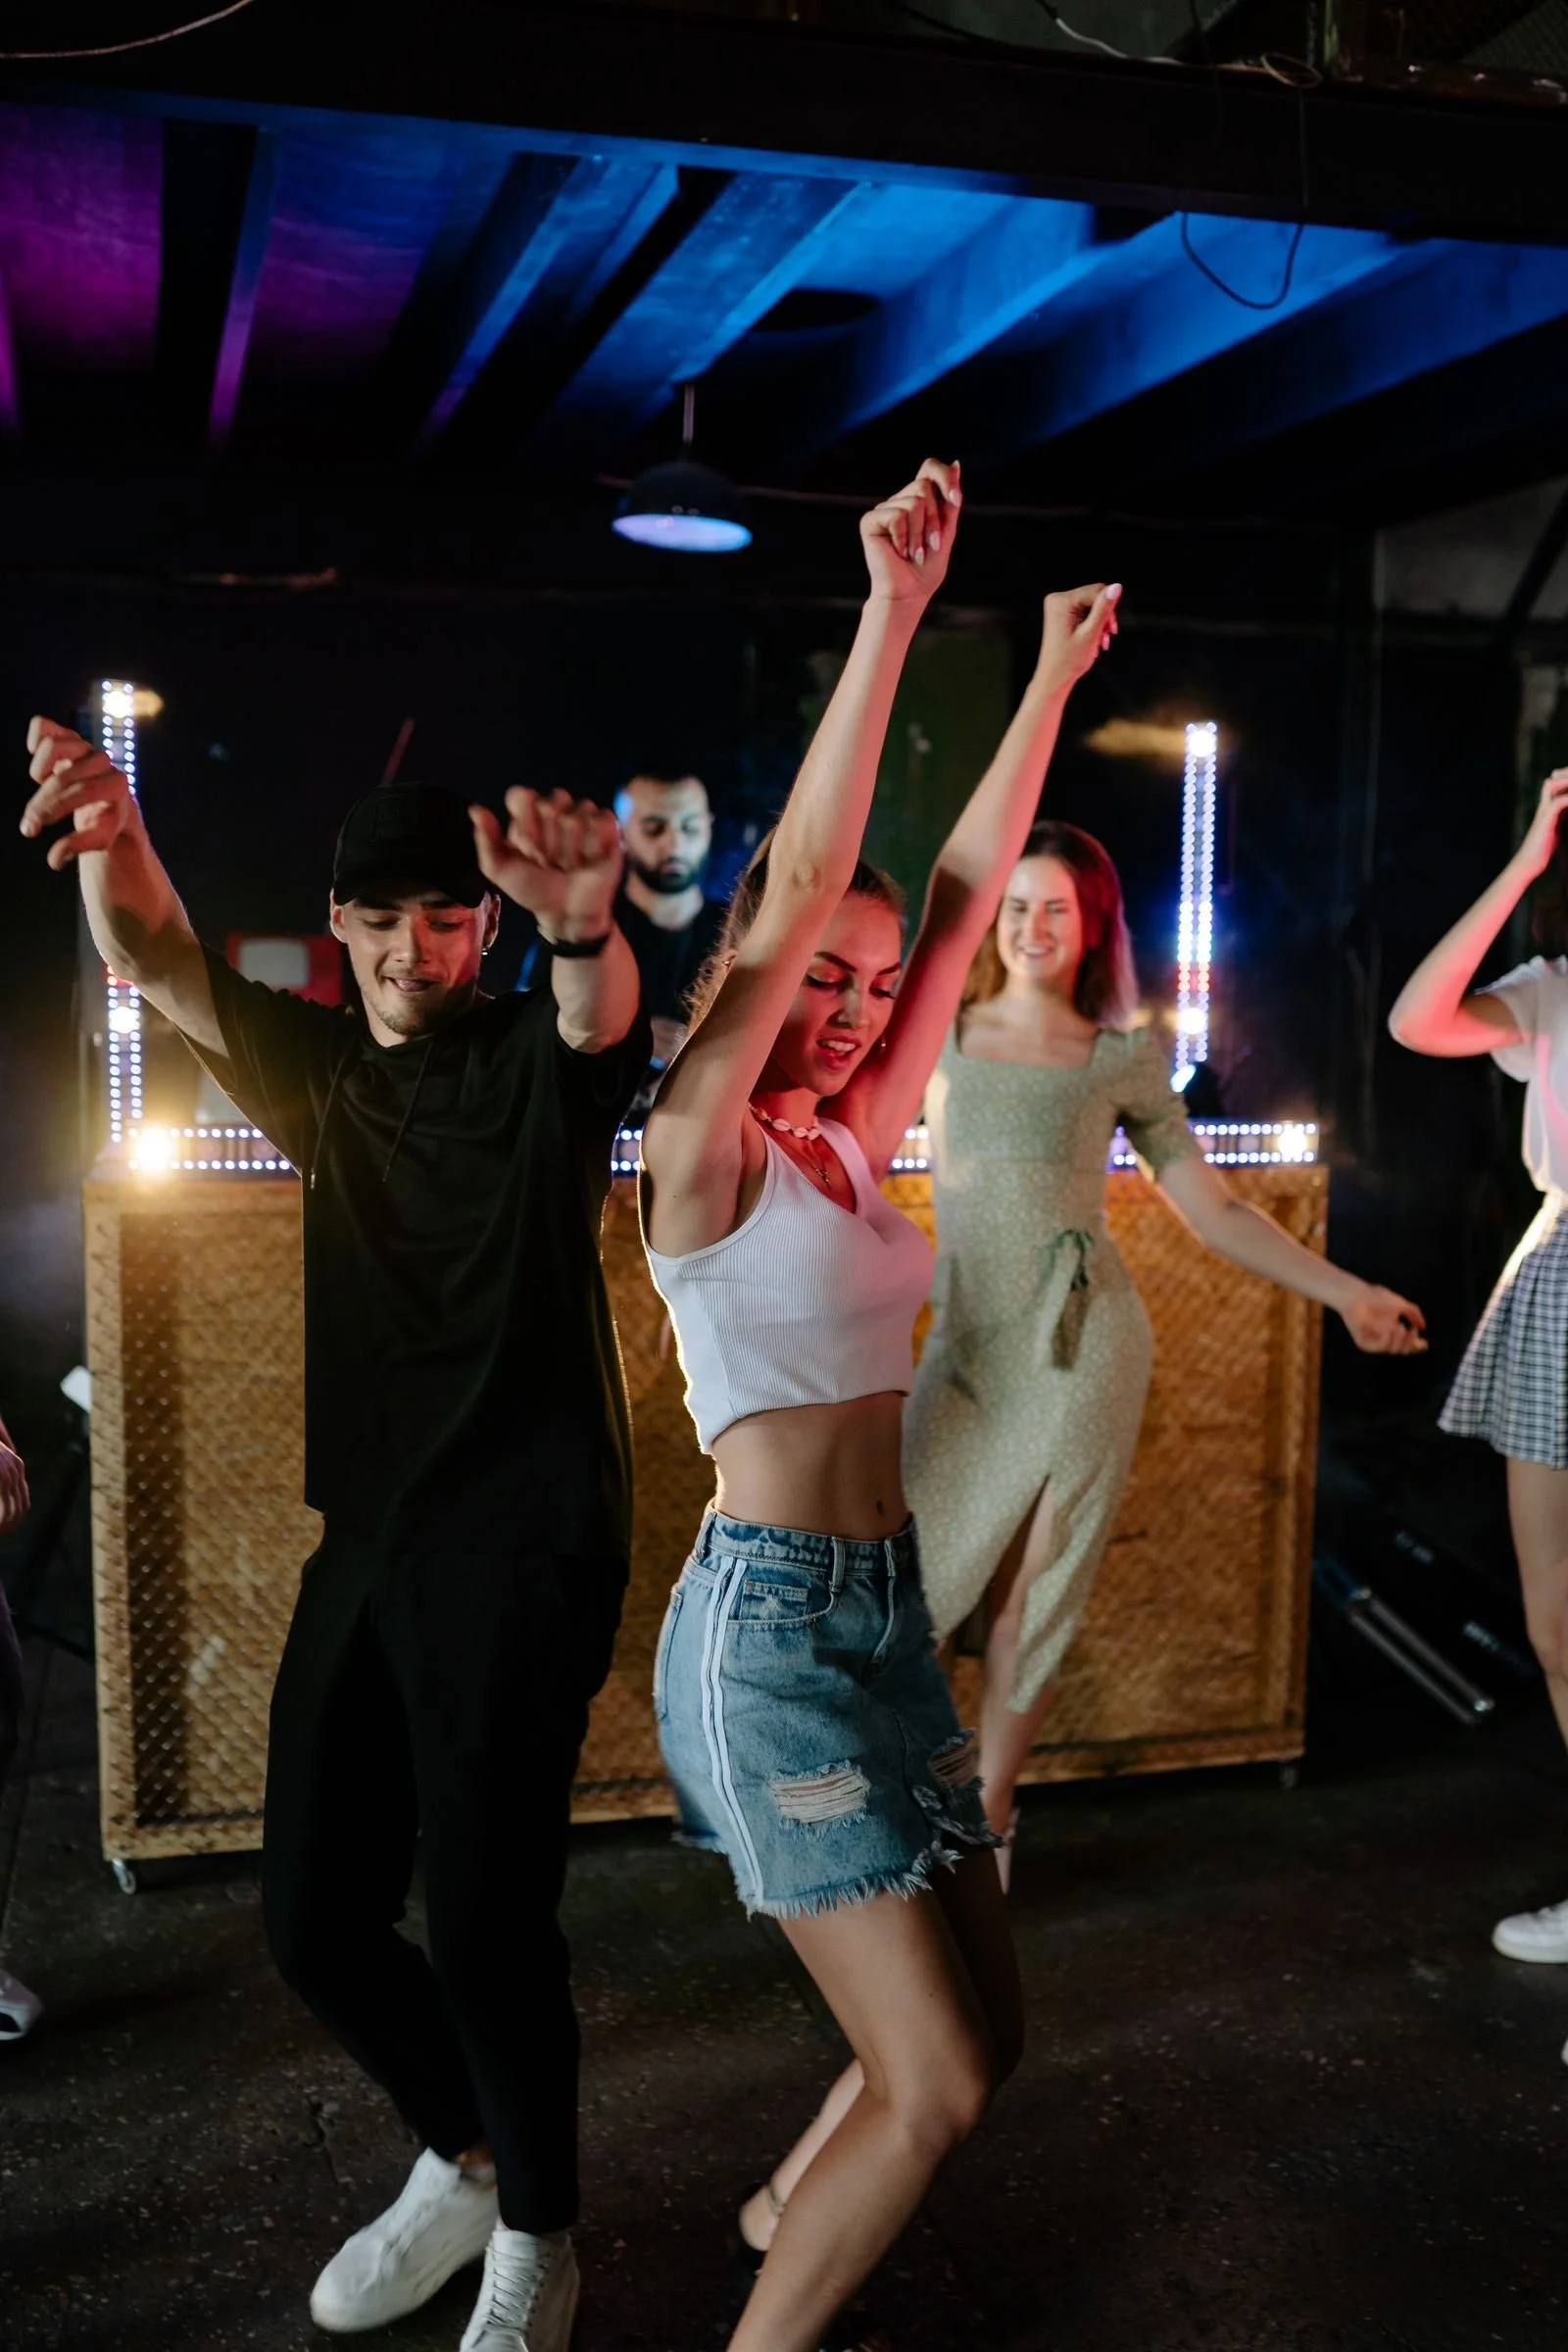
In daylight, the flash is an accent. In a nightclub, the flash is half the exposure and the room is the other half. Your real job is balancing the two. Too much flash and you get the classic amateur look: blown-out white faces floating in a black void, all the atmosphere of the club gone. Too little flash and the ambient smears your subject into a blurry ghost. The fix is running the flash in Manual at low power, usually between 1/64th and 1/16th depending on distance, and letting the camera's shutter speed control how much of the room shows up. This is the same two-exposure thinking that studio photographers use: the flash exposure freezes the subject, the ambient exposure paints the background. My full breakdown of that separation lives in my one light portrait setup guide, and the principle is identical, only the background is a laser rig instead of a seamless. Aim the flash head carefully. Pointing it straight at the subject works for the light-streak technique, but for clean portraits, angling the head slightly above the subject or bouncing off a low, light-colored ceiling gives a much more flattering result. A small diffuser or bounce card takes the edge off without costing much power. If you want to see how I shape flash deliberately when I control every light, my portrait lighting patterns guide breaks down the six classic patterns. And keep the flash recycling between groups: nothing kills a night faster than a flash stuck in a slow recycle because you ran it at full power all evening.
Tip 4: Gel Your Flash and Lock Your White Balance
Colored club lights are the number-one reason nightclub photos look wrong. Your flash is daylight-balanced, around 5500K, while the room is cycling through magenta, cyan, amber, and deep blue. The flash lights the face neutrally, the background stays drenched in color, and the two exposures never quite match. The professional fix is gelling the flash to the room. PetaPixel's flash-and-ambient guide makes this explicit: identify the dominant color of the room first, then pick the gel that matches it. If the room is running warm orange, a CTO (color temperature orange) gel on the flash blends the subject's skin into the scene. And PetaPixel notes that for cold rooms, the CTB (color temperature blue) gel is often the go-to choice for photographers working in nightclubs or moody bars. Keep a small set of full, half, and quarter gels in your bag. The guesswork gets easier fast, and the difference in skin tone is immediate. Then lock your camera's white balance instead of leaving it on Auto. Auto white balance chases every light sweep and turns your whole set into a flickering mess. Set it to Flash or a fixed Kelvin value (3200K to 4000K is the usual club range) and shoot RAW, so you have full correction room in post. RAW is not optional here. It is the entire safety net.
Tip 5: Learn the Light Colors Before They Ruin Your Night
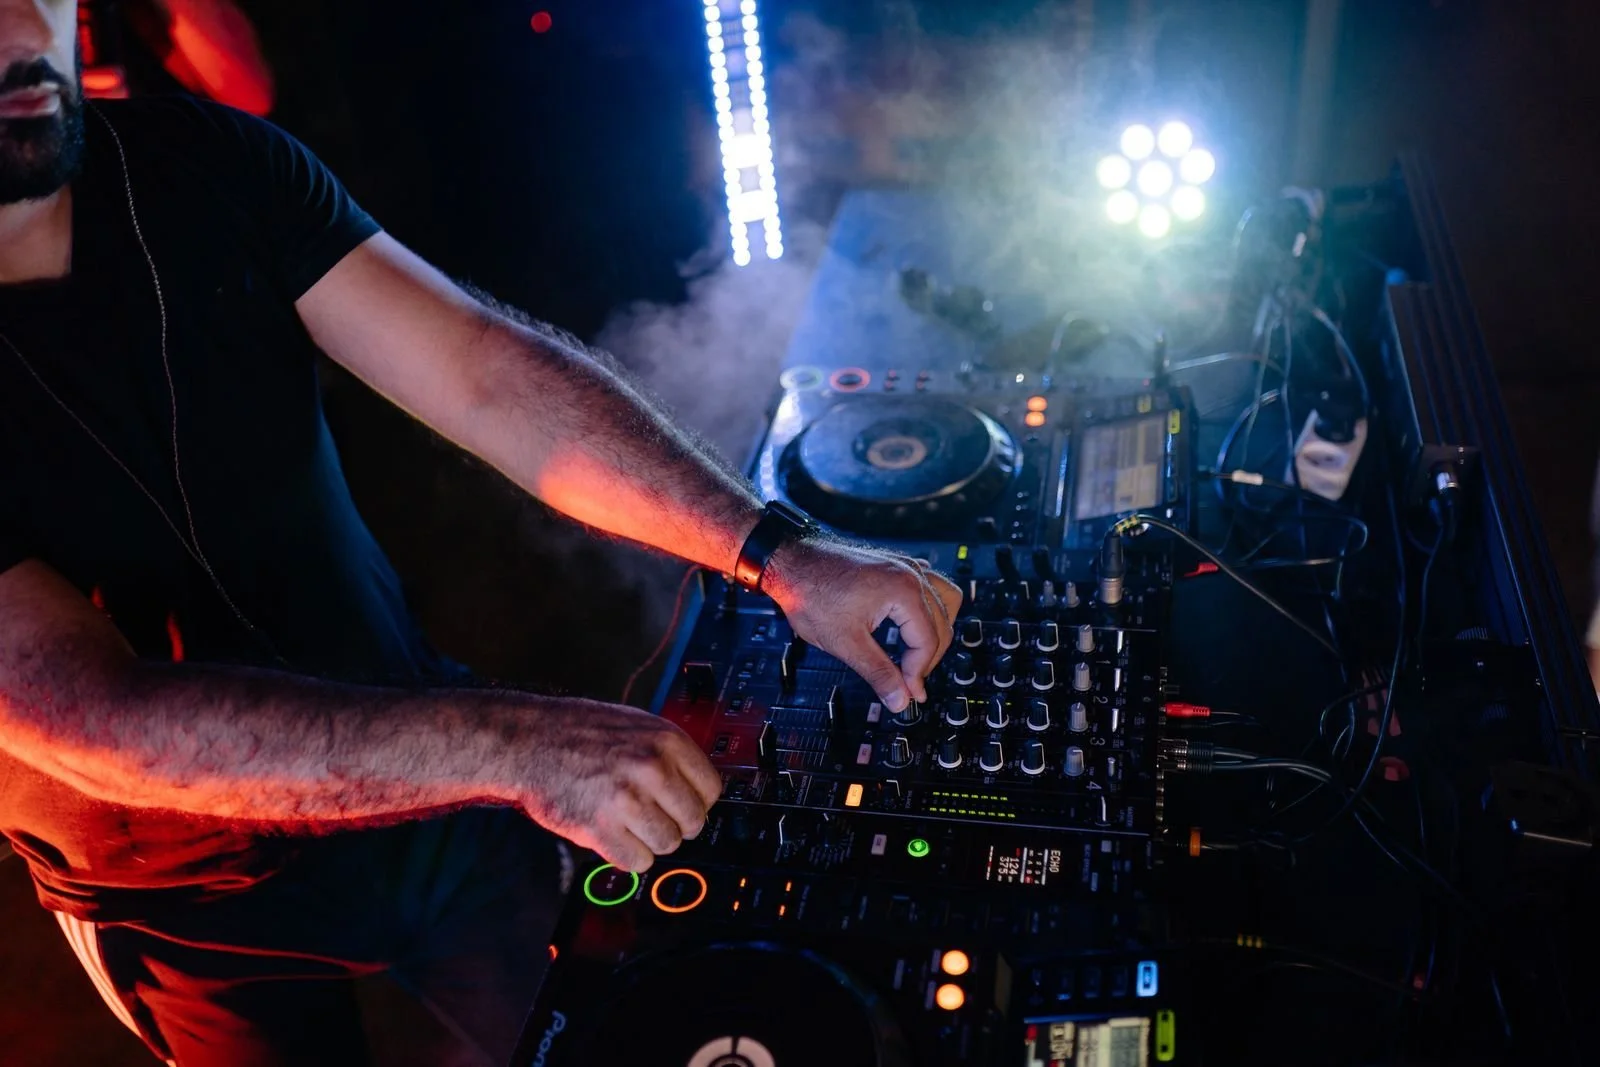
Every color behaves differently on a sensor, and the best club photographers have learned to read them like weather. Expert Photography's club photography guide breaks it down: white strobes are the hardest to shoot through because they are flashing and easy to overexpose, so sync your shutter with them in burst mode. Blue, purple, and green lights photograph darker than they look, so raise the ISO slightly or slow the shutter a touch when the room goes cool. Orange and yellow washes are the friendliest: they mimic golden-hour warmth, and you can raise the shutter speed to freeze action cleanly. Red light is every club photographer's headache: it photographs dark, destroys detail, and flattens skin. When the room goes deep red, either wait it out, embrace it as a mood, or know in advance that those frames convert beautifully to black and white. A red-lit portrait turned monochrome looks dramatic and intentional, while the color version looks broken. The practical move is scouting the light rig before the night starts. Stand at the DJ booth, watch two full light cycles, and note when the room goes friendly and when it goes hostile. Then time your best frames to the friendly windows. Anticipation beats reaction in this game.
Tip 6: Pick the Right Lens and Keep Your Kit Minimal
You do not need exotic gear to light a nightclub well, but the right lens matters. Expert Photography recommends looking at lenses with a maximum aperture of f/2.8 or wider, since wide apertures let in more light and the shallow depth of field simplifies busy club compositions. For beginners, MakeUseOf suggests a wide-angle lens, something like a 24mm prime, because it captures the atmosphere and handles groups easily before you specialize in a style. Two cameras with two lenses is the veteran move if you have the gear: a wide zoom for the room and crowd, a 35mm or 50mm prime for portraits and candids. Swapping lenses in a packed club is a recipe for a dropped body or a drink-soaked sensor, so the two-body setup earns its weight. Everything else is about surviving the night. A hand strap beats a neck strap in a crowd. Spare batteries for the camera and the flash live in your pocket, not in a bag across the room, because flash recycling eats batteries fast. And shoot in RAW with a big, fast memory card, because you will shoot more frames in a club night than in a week of portraits, and the good ones hide in the volume.
Tip 7: Work the Room Like a Professional
Technique gets you sharp photos. Professionalism gets you hired again. Shoot the venue's details when the floor is quiet: the cocktails, the DJ booth, the light rig, the neon signage. Clubs buy those images for their own marketing, and they are what turn a one-night gig into a residency. Respect the space and its people. Do not blind performers with direct flash when you can bounce it off the ceiling. Do not block security, bartenders, or the crowd's sightlines. Ask before shoving a camera in someone's face, and learn the difference between a person who wants to be photographed and a person who wants to be left alone. On a packed floor, direct people the way I direct portraits: one clear physical action at a time, never adjectives. My full directing system for non-models applies word for word in a club.
My Nightclub Lighting Rules After 27 Years
Clubs are where I learned to stop fearing bad light. In 2006 I was producing fashion shows for Hollywood nightclubs like Mood, Garden of Eden, Les Deux, and Basque, casting models and building weekly runways in the middle of those rooms. The lighting was whatever the club gave us: colored washes, haze, a DJ booth light that turned on and off like a lighthouse. You learned to read a room fast or you did not eat. A year later I shot a then-unknown artist named Lady Gaga for my online magazine TDINK. The Universal Music publicist told me to meet her at Area Nightclub in West Hollywood, and after a ten-minute interview we did the shoot with just the two of us alone in an empty club. No crew, no lighting truck, no publicist even. I directed her onto a couch, knees together, feet apart, sunglasses on against the blonde hair, and we made the images out of whatever that room offered. That night taught me the lesson this whole post is about: the room is the light source. Your flash is just the anchor. Three rules I still follow from those years. First, scout before the crowd. Get there early, walk the floor, watch the light cycles, and decide your settings before anyone arrives. Second, never fight the room's color, join it. A gel and a locked white balance do more than any amount of post-processing. Third, protect the subject. The flash is there to give people their faces back, not to erase the party they are at. Get the color, freeze the person, and let the night look like itself.
Frequently Asked Questions
What are the best camera settings for nightclub photography?
Start in full Manual mode: ISO 800 to 1600, aperture f/2.8 to f/4, shutter speed between 1/60th and 1/4th of a second depending on how much ambient light you want, and an external flash in Manual at low power (1/64th to 1/16th). Slower shutters capture more of the club's colored light; faster shutters freeze action. Take test shots in the first ten minutes and lock in two go-to settings, one for small groups and one for large groups.
How do you avoid harsh, "deer in the headlights" flash in nightclub photos?
Three moves: run the flash at low manual power so it only freezes the subject, slow the shutter down so the ambient club light fills the background, and soften the flash with a diffuser, bounce card, or a slight upward angle instead of blasting it straight at faces. The harsh look comes from the flash doing all the work. Share the exposure with the room and the harshness disappears.
How do you photograph through red or flashing club lights?
Time your shots to the light cycles. For white strobes, shoot in burst mode and sync your shutter with the flashes. When the room goes deep red, which photographs dark and destroys detail, wait it out or plan to convert those frames to black and white, where red-lit portraits look dramatic instead of broken. Blue, purple, and green washes photograph darker than they appear, so nudge the ISO up slightly when the room goes cool.
The Takeaway
Nightclub photography lighting is not about overpowering the darkness. It is about splitting the job: the flash freezes the people, the slow shutter records the party, and you balance the two on purpose. Gel to the room's color, lock your white balance, learn what each color does to your sensor, and keep the kit simple enough to survive the night. If you are planning an event in Los Angeles and want it photographed the way it felt, not just the way it looked, I shoot nightclub events, parties, and red carpets with 27 years of experience behind the camera. Book a session here, and browse the celebrity and event portfolio to see the work. What is your biggest struggle with nightclub lighting: the settings, the colored lights, or getting sharp subjects in the dark? Leave a comment below, I read every one.