If you own one strobe and one modifier, you already own a portrait studio. The one light portrait setup is the foundation of professional portraiture, and photographer Daniel Norton proves it in his Adorama OnSet session 'Single Light Portraits,' where a single light produces everything from bright, clean editorial frames to dark, moody character portraits. The trick is never the amount of gear. It is knowing where to put the one light you have, which modifier to put on it, and how to read the shadows it throws.
Watch Norton's full demonstration below, then read on for the breakdown: the exact gear, five classic one-light looks you can copy this week, how to control shadows without a second light, and what 27 years of shooting portraits has taught me about the discipline of lighting simply.

In this article: Why one light is enough · The gear list · Five classic looks · Controlling shadows · My take, after 27 years · FAQ · Book a session
Why one light is all you need
A single, well positioned light with the right modifier creates dimensional, professional portraits, and it teaches you more about light than any three-light rig. When there is only one source, every decision is visible: move it six inches and the whole face changes. That feedback loop is the fastest lighting education there is.
One light is also fast. It sets up in minutes, fits in one bag, and travels anywhere. You add a second light only when a specific effect demands it, not because the portrait needs saving.
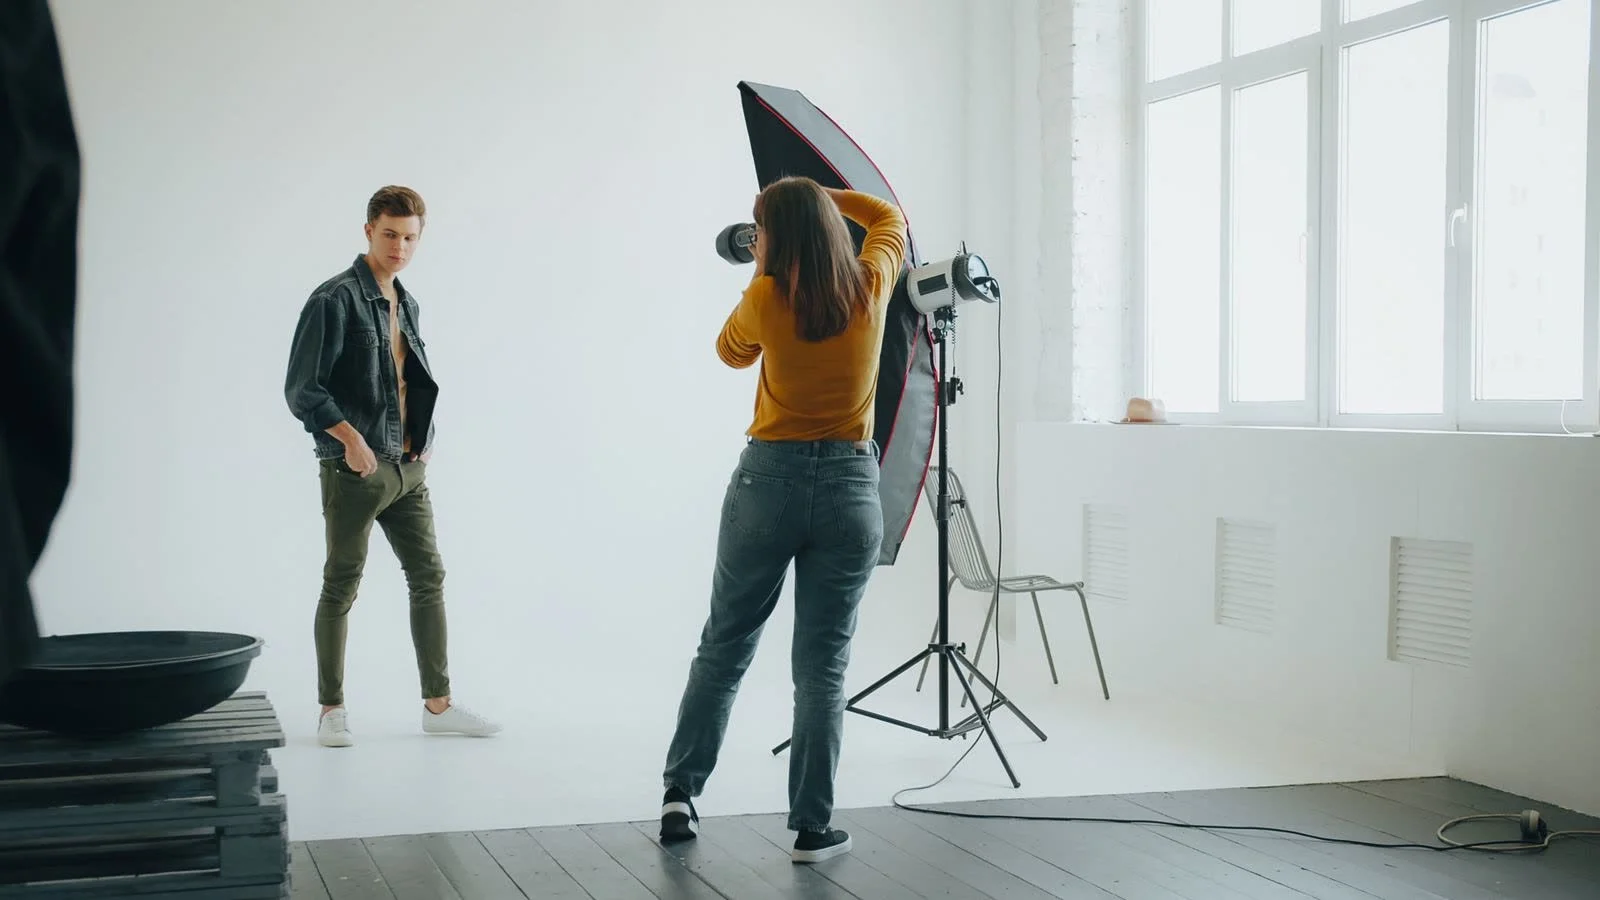
The one light portrait setup: the gear list
You need four things, and none of them has to be expensive. Fstoppers' breakdown of a one-light headshot session shows how far a single speedlight and a diffusion setup can go when you nail the positioning.
One flash.
A speedlight or a small strobe. Norton shoots his session with Profoto heads, but the technique works with any flash you can take off the camera and trigger wirelessly.
One modifier.
A medium softbox (around two by two feet) is the recommended starting point: soft, directional, portable. An umbrella is cheaper, often twenty to forty dollars, and sets up in seconds, though it spills light everywhere, so it suits open rooms better than tight spaces. A beauty dish sits between the two, with more punch than an umbrella and smoother falloff than a bare reflector.
One light stand.
Tall enough to get the light above eye level.
One reflector.
A five-in-one reflector is the most useful forty dollars in portrait lighting. It is your fill light, your clamshell light, and your background bounce, all without a plug.
That is the whole kit. With a speedlight and umbrella the total can stay well under two hundred dollars, and the images it makes will embarrass photographers carrying five times the gear they do not understand.
Five classic one-light looks
These five patterns cover nearly every portrait brief you will ever get, and each one is a small move of a single stand. PetaPixel's rundown of one-light modifier setups demonstrates the same family of looks, Rembrandt, butterfly, clamshell, square, and backlit, and is worth studying alongside the video above.
1. Rembrandt lighting
Place the flash at roughly 45 degrees to the side of your subject and slightly above eye level, three to five feet away. The signature is a small triangle of light on the shadowed cheek. Control the size of that triangle by turning the subject's face slightly toward the light for more highlight, away for less. Rembrandt is the most universally flattering pattern in portraiture, and it is where every beginner should start.
2. Butterfly (Paramount) lighting
Bring the flash directly in front of the subject, centered, and raise it above head height angled down. This throws a small butterfly-shaped shadow under the nose, carves the cheekbones, and puts beautiful light in the hair. Watch the catchlights: if the eyes go dark, lower the light until the sparkle returns.
3. Loop lighting
Split the difference. Keep the light at 45 degrees but lower than Rembrandt height, so the nose casts a small loop-shaped shadow on the cheek. Loop is the everyday workhorse, flattering, forgiving, and fast, and it is the pattern I reach for when I have ninety seconds with a subject and no margin for error.
4. Split lighting
Move the light to 90 degrees, directly to the side of the face. Half the face lights, half falls to shadow. It is dramatic and sculptural, perfect for character portraits and strong featured faces, and a poor choice when the brief calls for soft and approachable. Add your reflector on the shadow side if the dark half goes too deep.
5. Clamshell lighting
Start from butterfly position, then add the reflector below the subject's chin, tilted up, at waist height or on their lap if seated. The key light shapes from above, the reflector fills from below, and the result is the glowing beauty look of magazine covers: deep even catchlights, open shadows, polished skin. Silver side for more punch, white side for a softer fill. Move the reflector closer for more fill, farther for less.
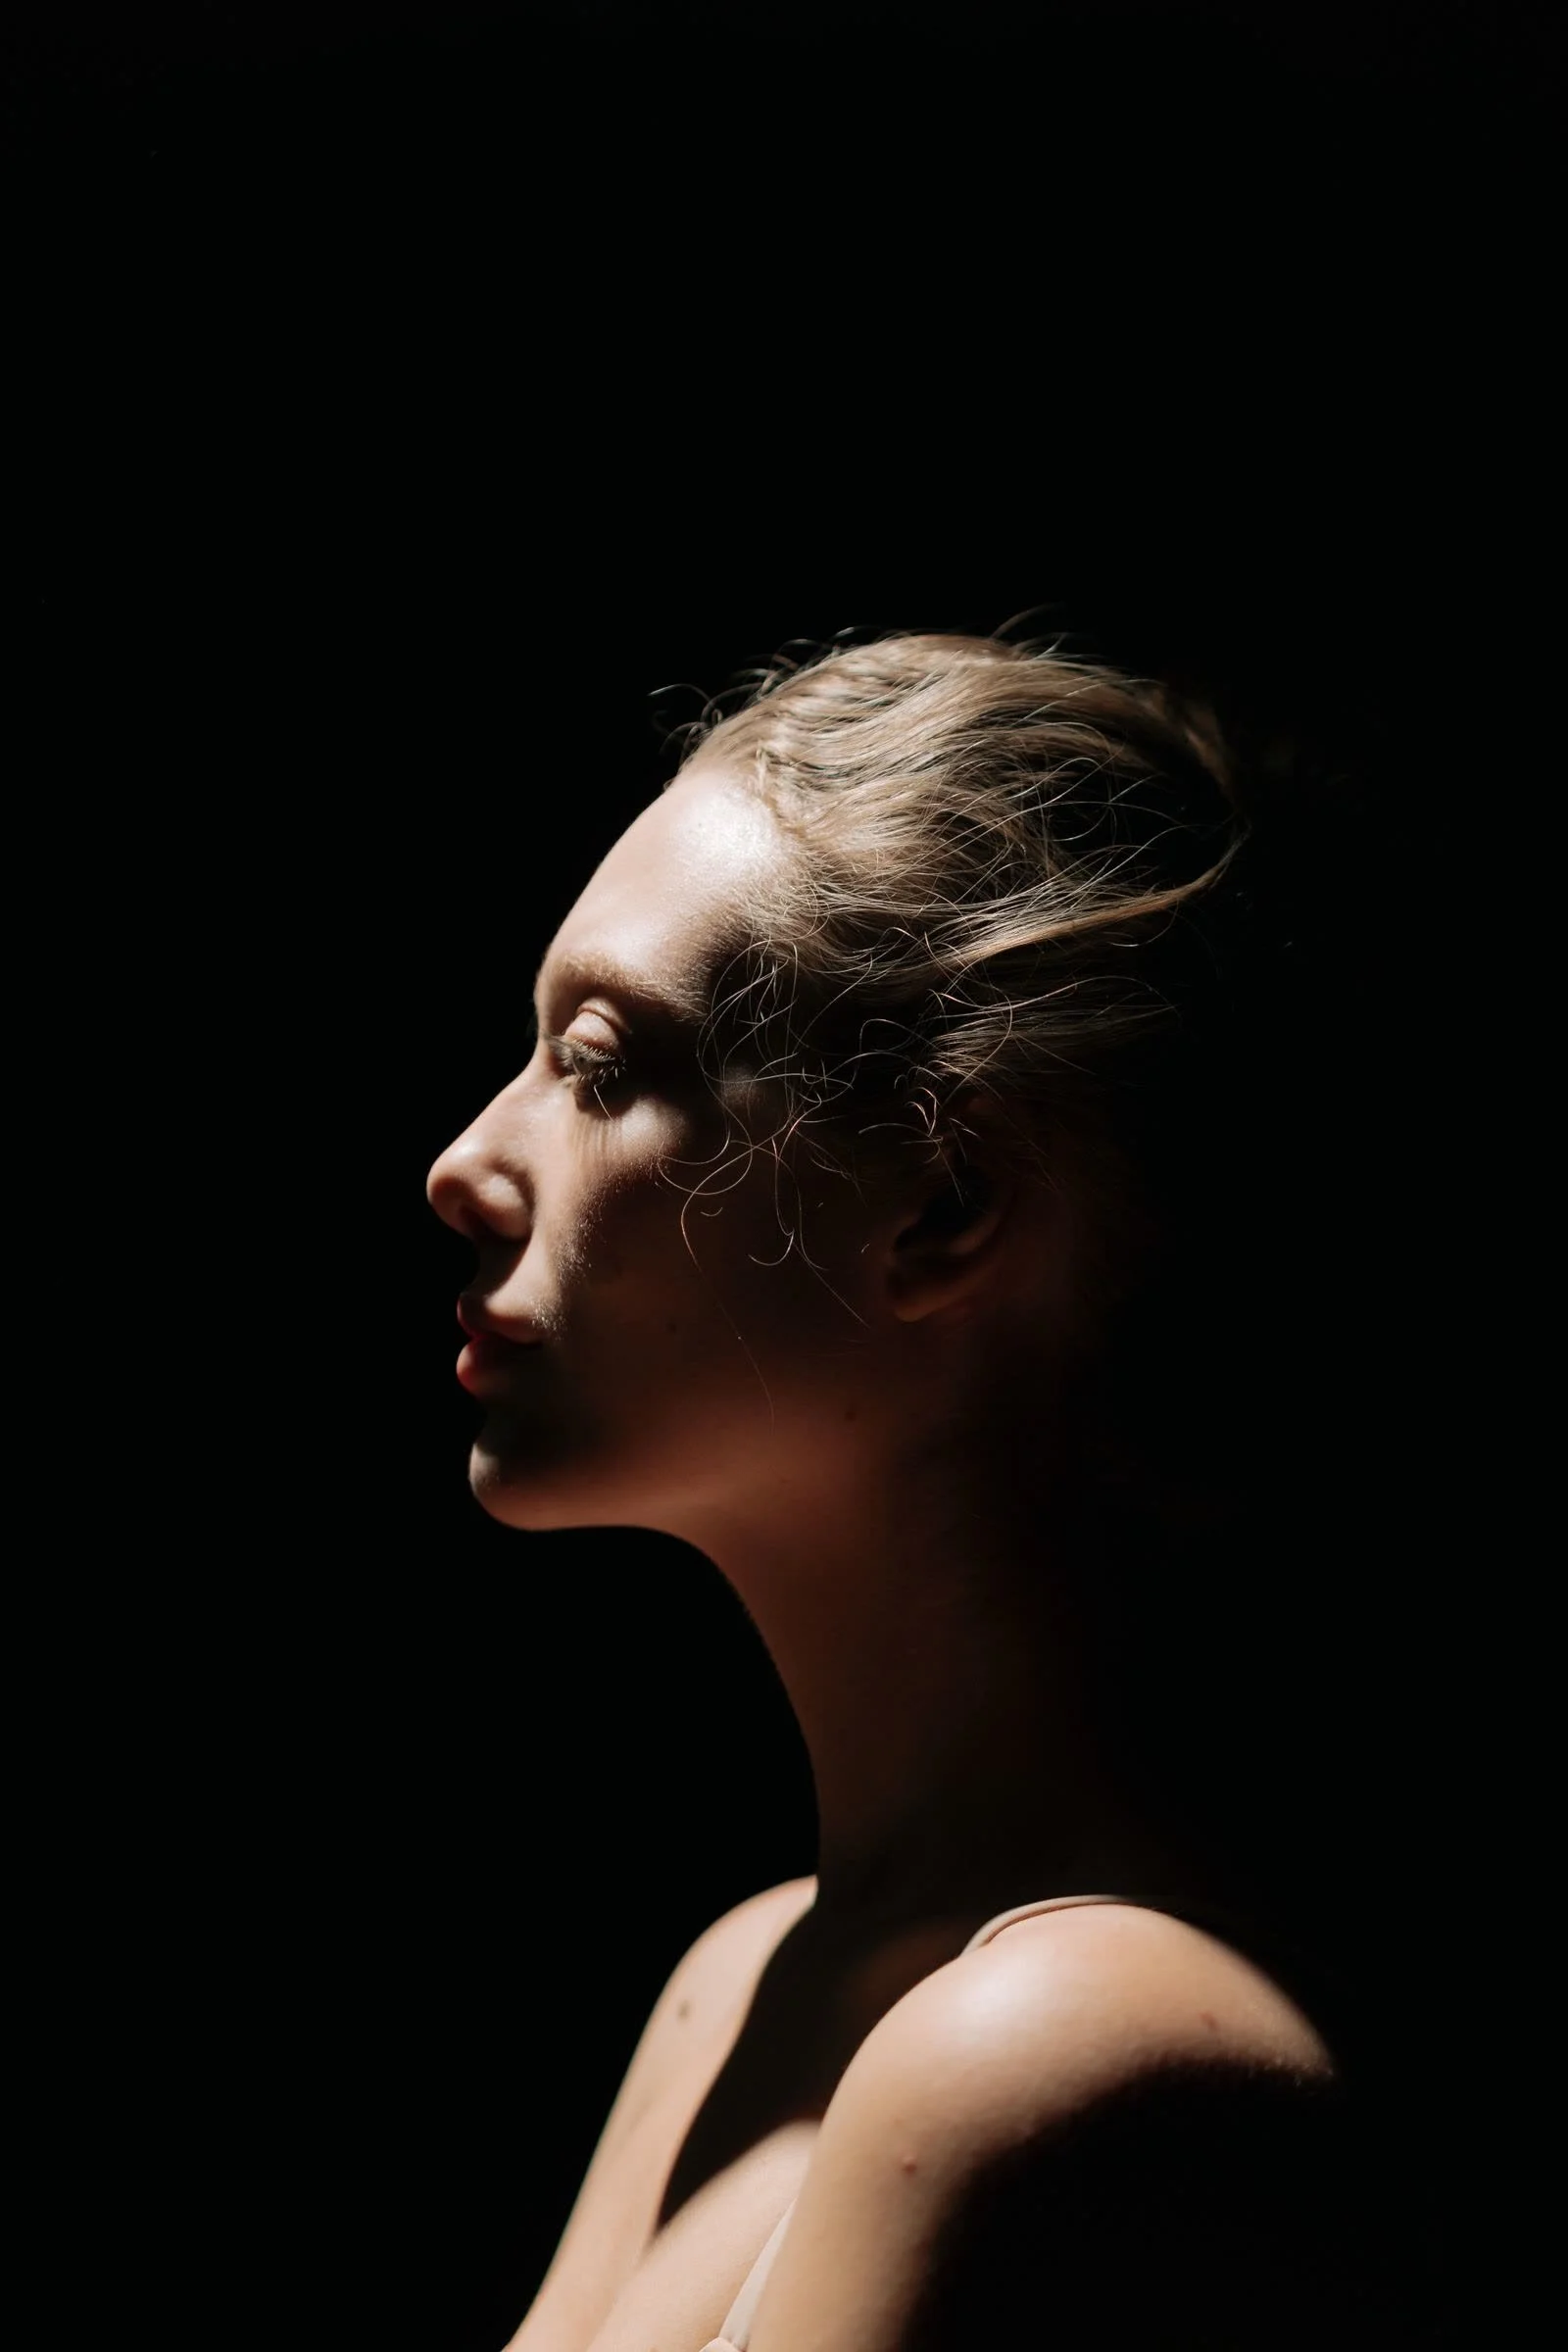
Controlling shadows with one light
Shadows are not the enemy. Flat, muddy, or accidental shadows are. Four levers control them, no second light required.
Modifier size and distance.
The larger the source relative to your subject, the softer the light. Move the softbox closer for creamier shadows, pull it back for harder, more contrasty ones. Most beginners park the light too far away, get harsh shadows, and blame the modifier.
The reflector.
Place it on the shadow side, just outside the frame, angled to catch spill from the key light. White side for gentle fill, silver for more snap. Angle it so it wraps around the subject rather than sitting flat opposite the light, which keeps the fill looking natural instead of artificial.
Ambient light.
Open a blind or turn on a practical lamp and the room itself becomes your fill. This is also how you balance flash with daylight on location: expose for the scene, then add just enough flash to make the subject pop.
Feathering.
Aim the edge of the light's beam at your subject rather than the hot center. You lose some power and gain beautiful, gradual falloff.
My take, after 27 years behind the camera
Here is what no tutorial tells you: the one light portrait setup is not a beginner's compromise. It is a professional's discipline. Early in my career I spent four months in Miami shooting three to four models a day, every day, hundreds of sessions back to back. That volume taught me more about lighting, working with different skin tones, and directing people than any gear upgrade ever has. When you light that many faces, you stop thinking about equipment and start thinking about what the light is doing to the person in front of you. One light forces that education faster than anything else.
I still work this way on real jobs. When I photographed Linda Hamilton at her home in Malibu, I set up my lights in her backyard with a single Alien Bee kit running on a battery pack, no outlets, no assistants holding scrims. We shot three looks in about an hour, she chose five frames for retouching, and she tipped me $2,500 on top of the fee. The setup was simple. The attention was not.
And sometimes the one light is not even yours. I once photographed Snoop Dogg in a theatre lobby after a ceremony, no studio, no stands, just the room. I asked him to move into the soft, flattering light falling in that corner of the lobby, and he told his manager he was going to do what I said because, in his words, I was the man. He brought Usher over next. The lesson I have carried for 27 years: light is everywhere, and the photographer's real job is to see it before anyone else does, then put the subject in it with total confidence.
So yes, learn the five patterns above. Drill them until the stand goes up without thinking. But remember that the setup is the easy part. Reading the face, choosing the mood, and directing the human being in front of the light, that is the craft, and no second strobe will ever do it for you.
One light portrait setup FAQ
Can I use one light for full-body portraits?
Yes. Position the light slightly above the subject's head at 45 degrees, five to seven feet back, so the beam covers the full figure evenly. For full-body work, use a larger modifier or bounced light to keep the coverage even from head to toe, and test before the client arrives. The one-light principle holds at any distance.
How do I control harsh shadows with one light?
Four options, in order of preference: use a larger or softer modifier, add a fill reflector opposite the key light, raise the ambient light in the room so the shadows are not pitch black, or move the light closer to the subject so the source grows relative to them and the shadows soften. ViewBug one-light portrait setup guide
Can I use a continuous LED instead of flash for one-light portraits?
Absolutely. Continuous LEDs are easier to learn on because you see the effect in real time with no test shots, and they run cool and pack small. The tradeoff is intensity: in dim rooms you may need higher ISOs or slower shutter speeds. Many photographers learn positioning on LED, then switch to flash once the placement instincts are set.
What power should my single flash be?
Start around half to full power at typical portrait distances of three to five feet and apertures around f/5.6 to f/8, then adjust to taste. Indoors with reflective walls, a quarter to half power is often plenty. Outdoors in bright sun, where the flash has to compete with daylight, expect to run hotter. Bracket a few frames when you are learning a new light; you will memorize its behavior within a session or two.
Book a portrait session
If you would rather hire the 27 years than learn them, I shoot portraits in Los Angeles and New York, from celebrity and editorial sessions to corporate headshots built on exactly the one-light discipline above. Get in touch here and tell me what the portraits are for. You can also browse the portfolio to see what this lighting looks like in finished work.
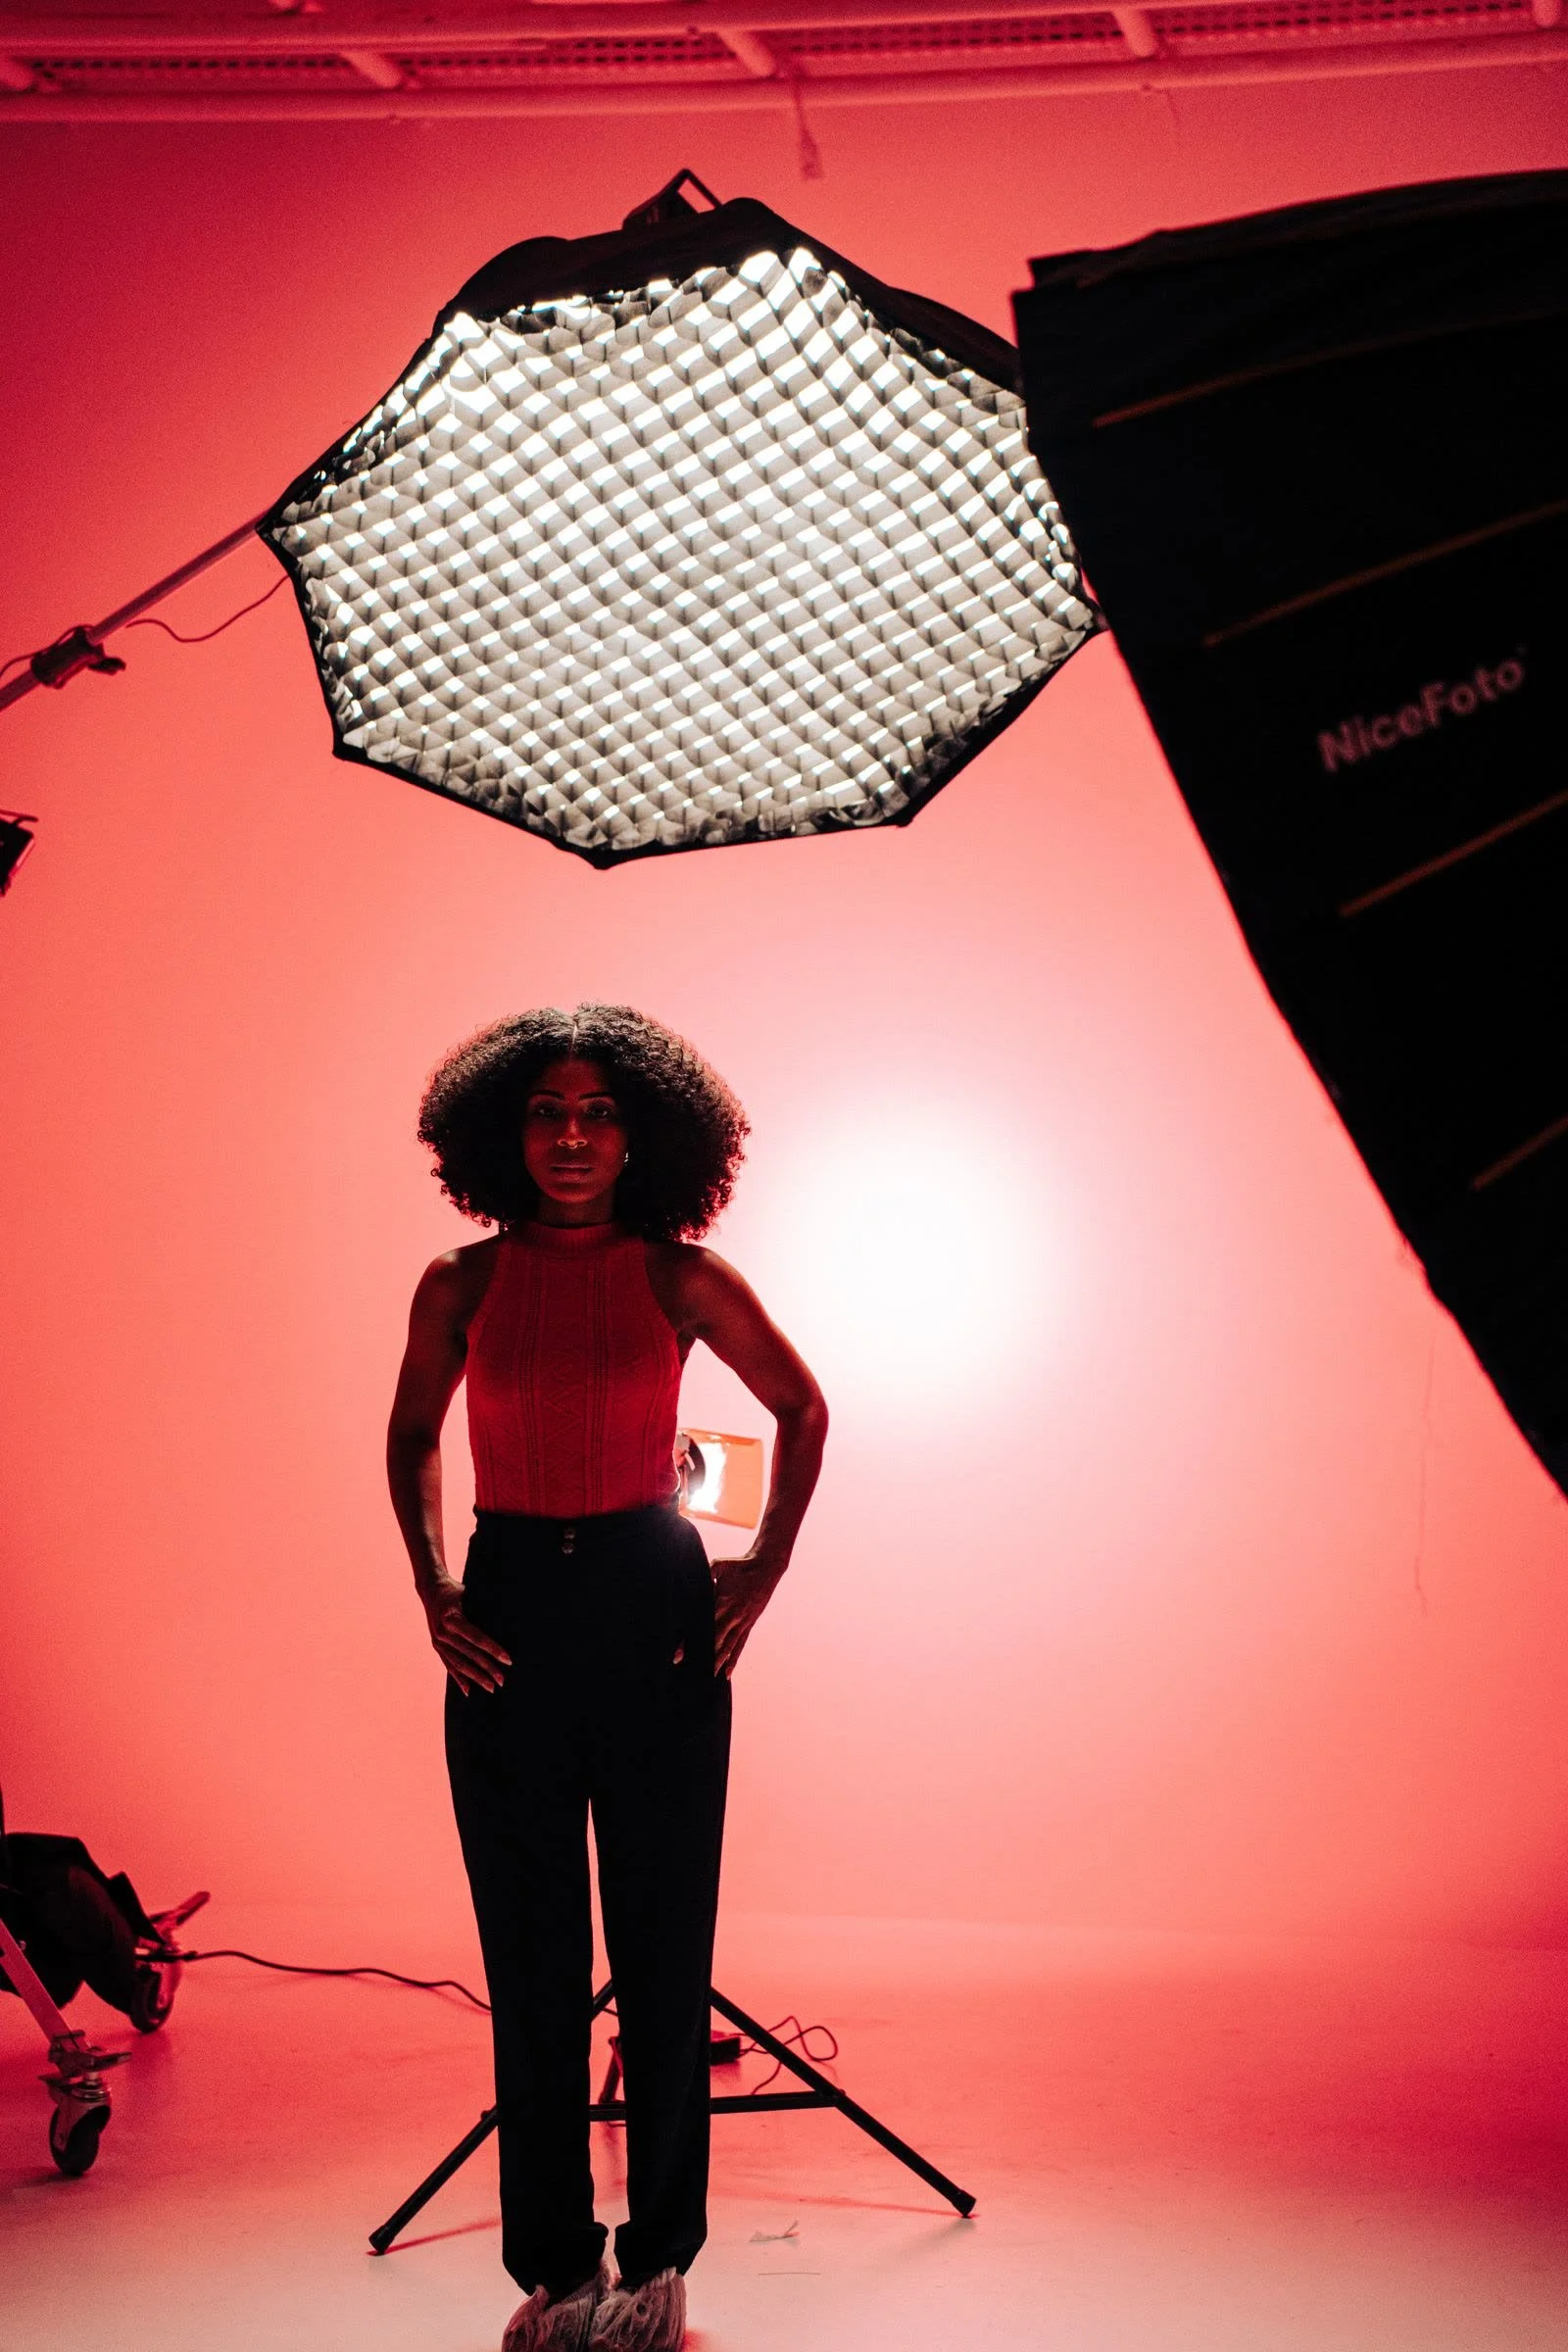
Now I want to hear from you: of the five looks above, which one matches the portraits you shoot most? Tell me in the comments.