The one light portrait setup: the gear list
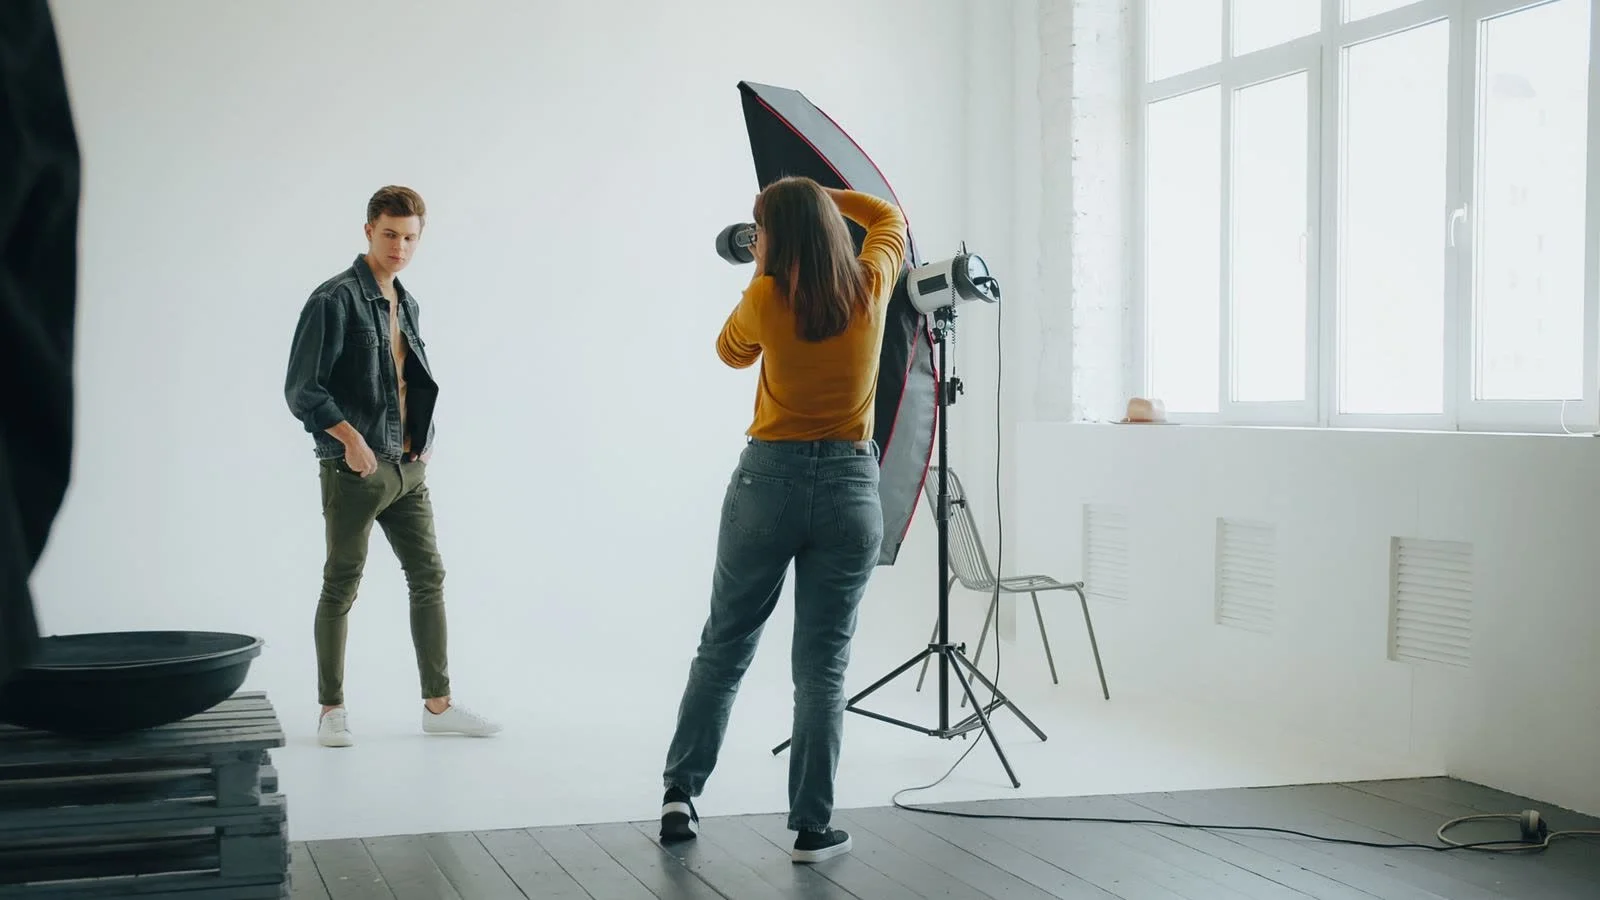
You need four things, and none of them has to be expensive. Fstoppers' breakdown of a one-light headshot session shows how far a single speedlight and a diffusion setup can go when you nail the positioning.
One flash.
A speedlight or a small strobe. Norton shoots his session with Profoto heads, but the technique works with any flash you can take off the camera and trigger wirelessly.
One modifier.
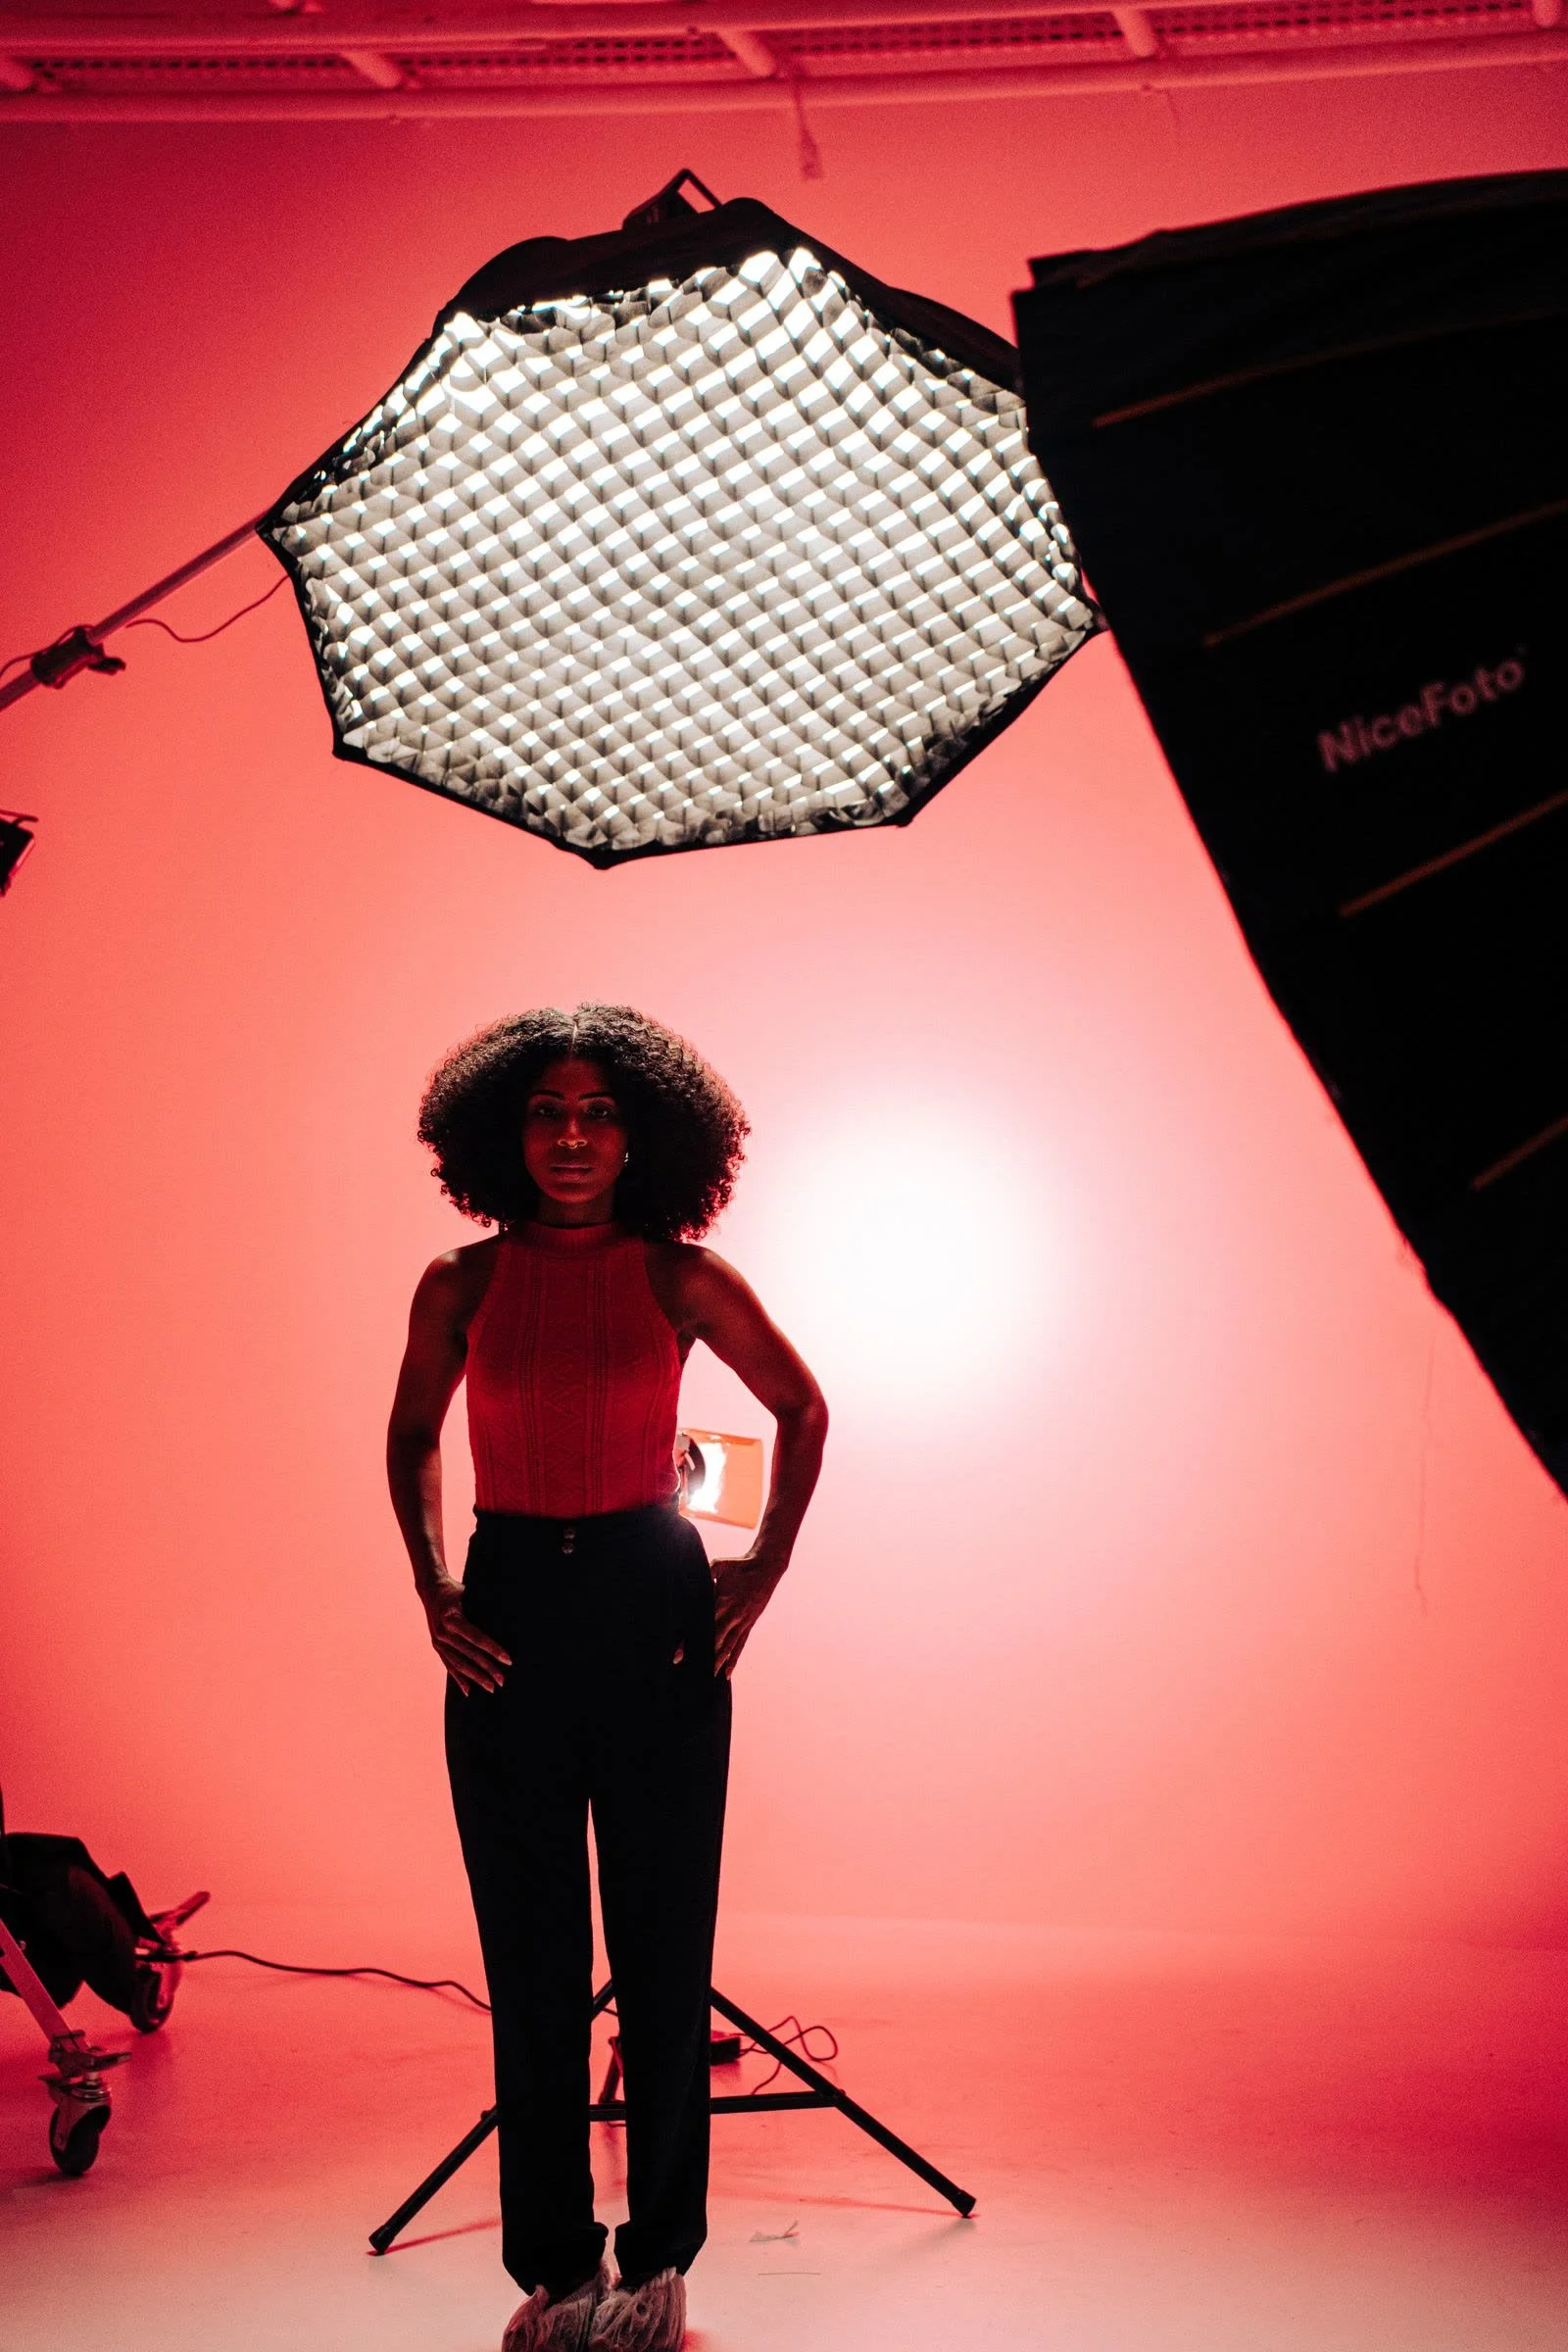
A medium softbox (around two by two feet) is the recommended starting point: soft, directional, portable. An umbrella is cheaper, often twenty to forty dollars, and sets up in seconds, though it spills light everywhere, so it suits open rooms better than tight spaces. A beauty dish sits between the two, with more punch than an umbrella and smoother falloff than a bare reflector.
One light stand.
Tall enough to get the light above eye level.
One reflector.
A five-in-one reflector is the most useful forty dollars in portrait lighting. It is your fill light, your clamshell light, and your background bounce, all without a plug.
That is the whole kit. With a speedlight and umbrella the total can stay well under two hundred dollars, and the images it makes will embarrass photographers carrying five times the gear they do not understand.
Five classic one-light looks
These five patterns cover nearly every portrait brief you will ever get, and each one is a small move of a single stand. PetaPixel's rundown of one-light modifier setups demonstrates the same family of looks, Rembrandt, butterfly, clamshell, square, and backlit, and is worth studying alongside the video above.
1. Rembrandt lighting
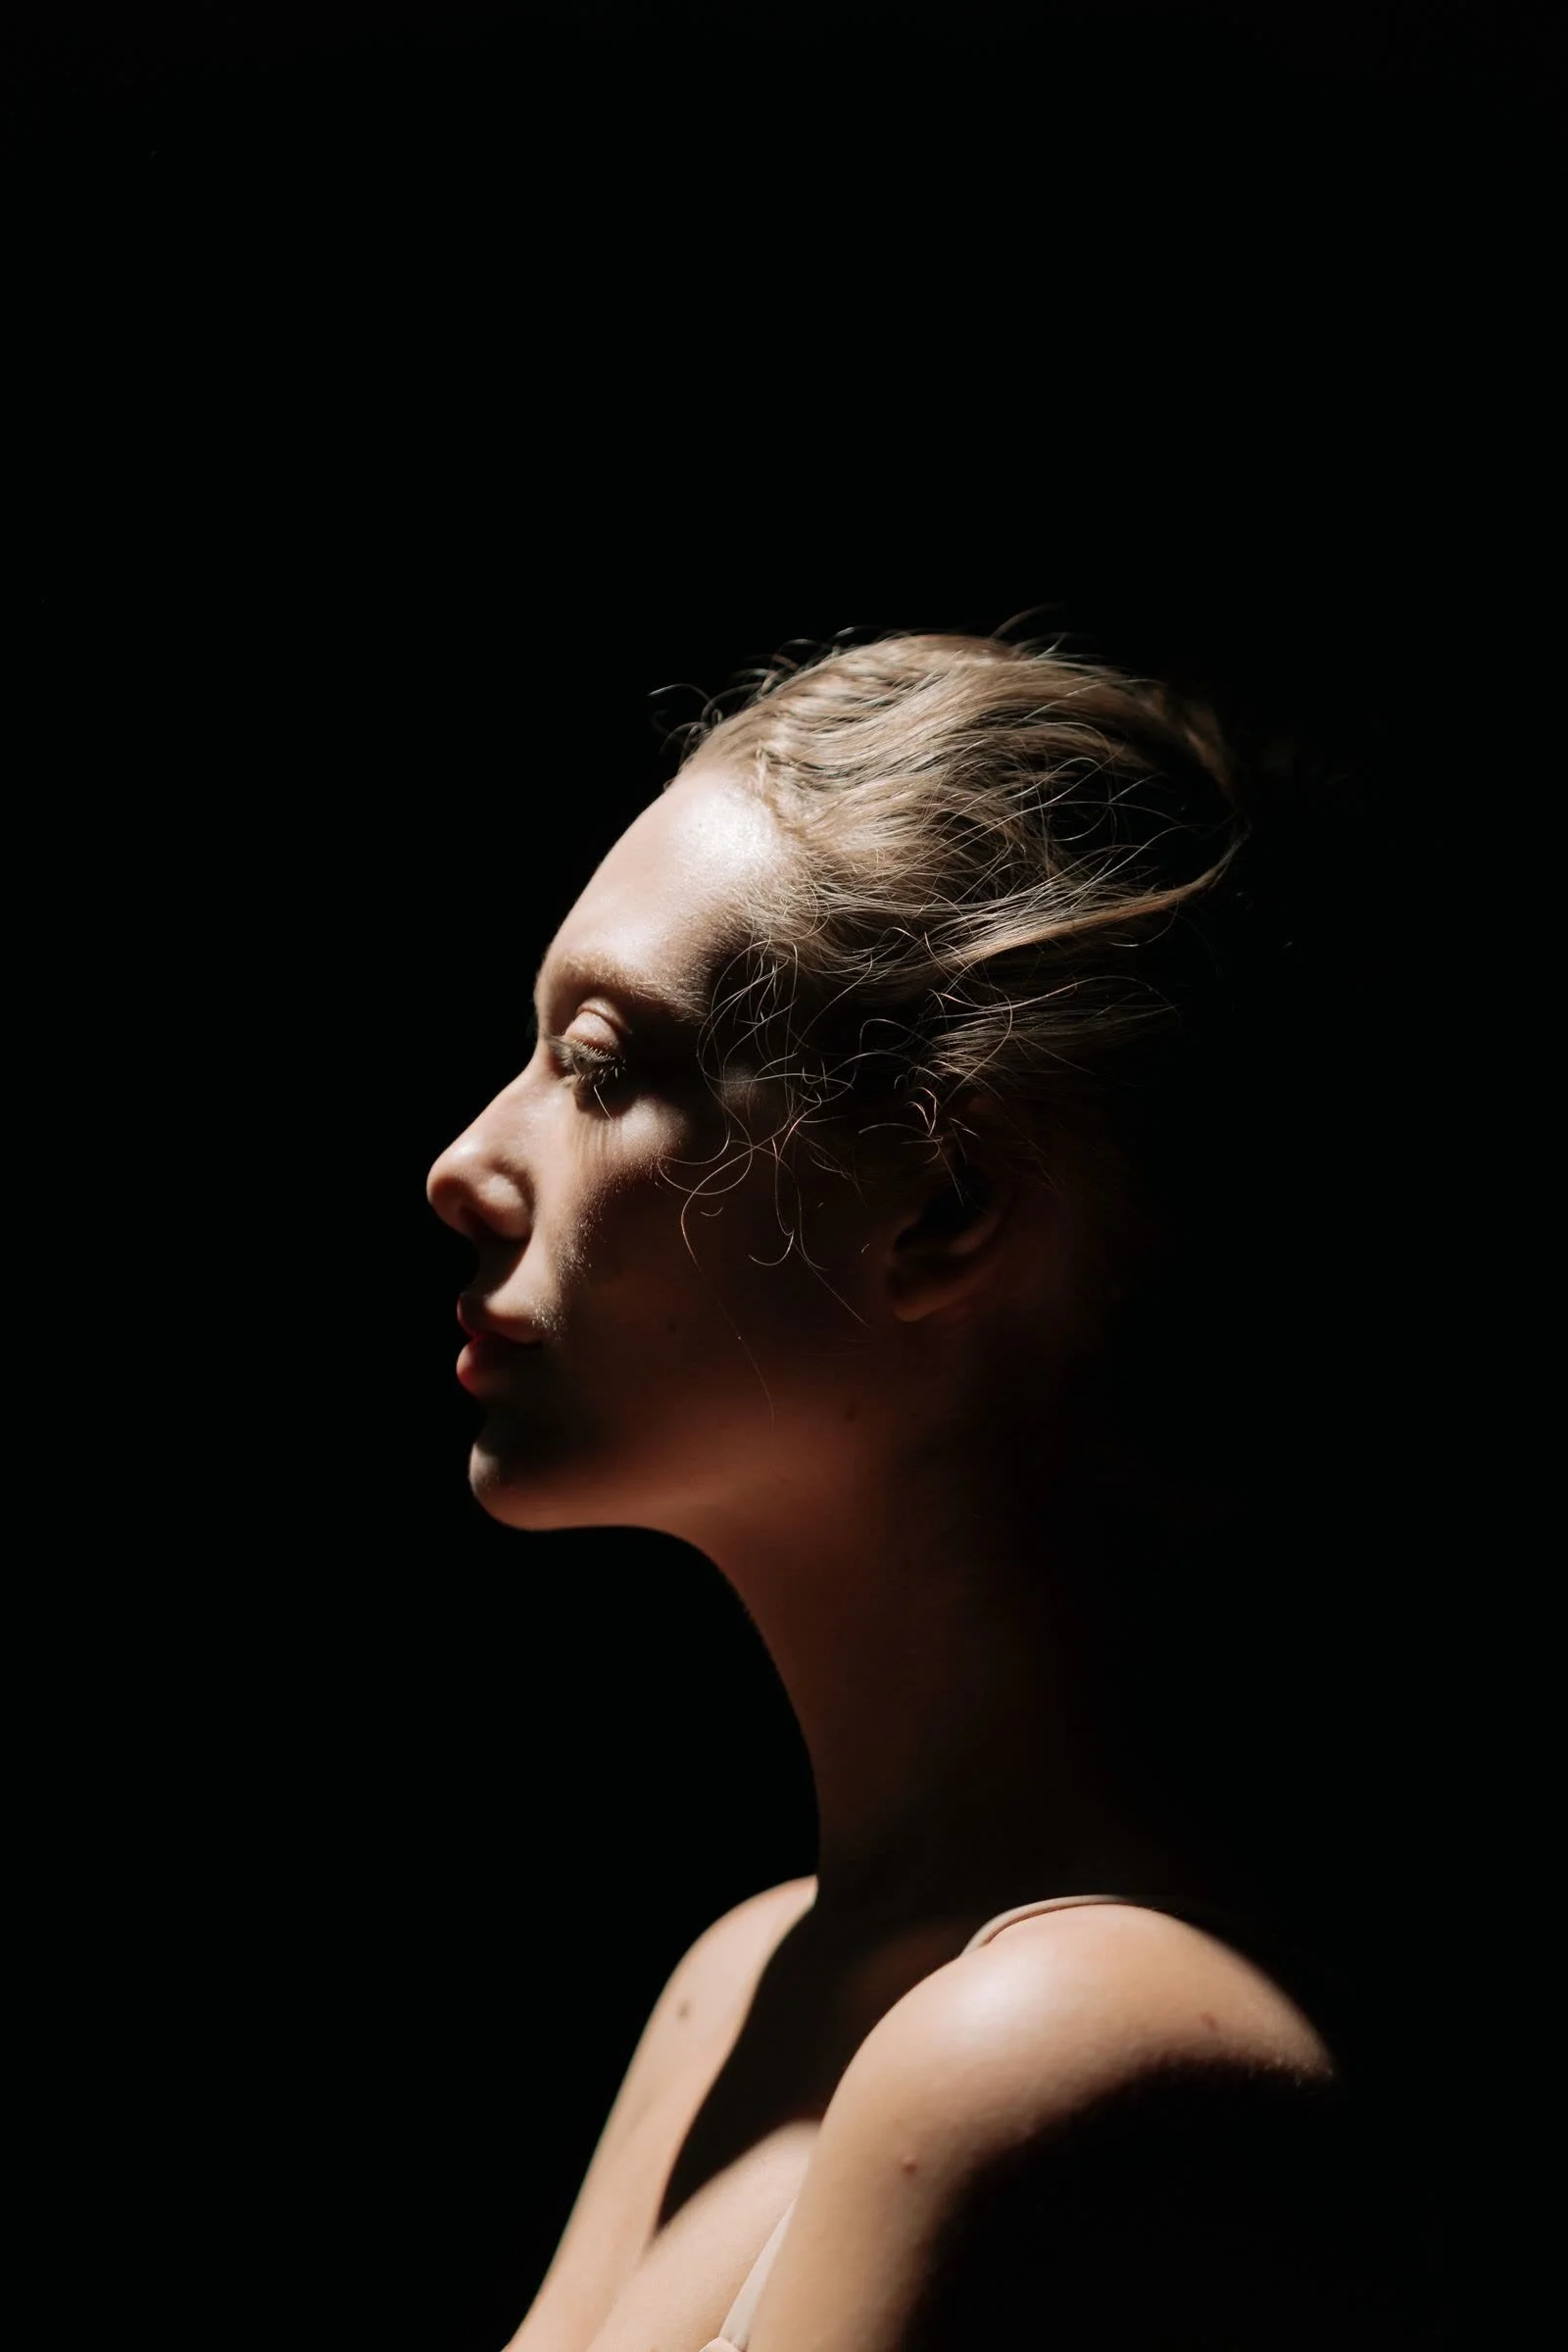
Place the flash at roughly 45 degrees to the side of your subject and slightly above eye level, three to five feet away. The signature is a small triangle of light on the shadowed cheek. Control the size of that triangle by turning the subject's face slightly toward the light for more highlight, away for less. Rembrandt is the most universally flattering pattern in portraiture, and it is where every beginner should start.
2. Butterfly (Paramount) lighting
Bring the flash directly in front of the subject, centered, and raise it above head height angled down. This throws a small butterfly-shaped shadow under the nose, carves the cheekbones, and puts beautiful light in the hair. Watch the catchlights: if the eyes go dark, lower the light until the sparkle returns.
3. Loop lighting
Split the difference. Keep the light at 45 degrees but lower than Rembrandt height, so the nose casts a small loop-shaped shadow on the cheek. Loop is the everyday workhorse, flattering, forgiving, and fast, and it is the pattern I reach for when I have ninety seconds with a subject and no margin for error.
4. Split lighting
Move the light to 90 degrees, directly to the side of the face. Half the face lights, half falls to shadow. It is dramatic and sculptural, perfect for character portraits and strong featured faces, and a poor choice when the brief calls for soft and approachable. Add your reflector on the shadow side if the dark half goes too deep.
5. Clamshell lighting
Start from butterfly position, then add the reflector below the subject's chin, tilted up, at waist height or on their lap if seated. The key light shapes from above, the reflector fills from below, and the result is the glowing beauty look of magazine covers: deep even catchlights, open shadows, polished skin. Silver side for more punch, white side for a softer fill. Move the reflector closer for more fill, farther for less.