If you want your portraits to say something real about the person in front of your lens, environmental portrait photography is the genre to learn. Instead of a seamless backdrop, you place your subject inside a world that belongs to them: a chef in the kitchen, a musician in the rehearsal room, a founder in the office they built. After 27 years photographing celebrities, executives, and working artists, I can tell you the environment does half the storytelling for you, if you let it. This guide breaks down how to do it, from choosing the location to the one-light setup that keeps you fast on real sets.
In this guide:
- The video that sparked this guide
- What is environmental portrait photography?
- 7 pro tips for environmental portraits
- 1. Choose a location that tells the story
- 2. Put the subject in a world they actually belong to
- 3. Reach for a 35mm or 50mm lens, not a telephoto
- 4. Scout the light before you fall in love with the background
- 5. Light the person with one light and let the room breathe
- 6. Earn the expression before you press the shutter
- 7. Compose the environment, then protect your subject from it
- What 27 years taught me about photographing people in their world
- Frequently asked questions
- Book your environmental portrait session

The video that sparked this guide
In How to Light and Photograph a Simple Environmental Portrait Using One Light, wedding and portrait photographer Jiggie Alejandrino takes you behind the scenes as he lights a simple environmental portrait with a single light. He shoots on a Sony A7RV paired with a 50mm f/1.2 GM lens, and his one light is a Profoto B10X Plus, which keeps the whole rig portable enough for a real location.
What I like about his approach is the restraint. He does not build a studio on location. He reads the room, finds where the existing light already works, and adds one controlled source to shape the subject's face without killing the feel of the place. That discipline is the whole game in environmental portrait photography: your added light should feel like it belongs to the environment, not like it was dropped in from a studio truck. The seven tips below expand that idea into a complete method you can run on any shoot.
What is environmental portrait photography?
An environmental portrait places the subject within a meaningful location that tells the viewer something about who they are: their profession, their craft, their personality. The environment becomes part of the story rather than decoration behind it. Think of a baker photographed in flour-dusted light in the kitchen at dawn, or a DJ photographed in the booth an hour before doors open. The setting answers questions the viewer has not thought to ask yet.
The contrast with studio portraiture is control versus context. A studio gives you perfect light and zero story. An environment gives you story and unpredictable light, and learning to work fast with window light, open shade, practical lamps, and one portable strobe is exactly why the skill is worth building. There is a commercial payoff too: environmental portraits and environmental headshots have become the standard for professional profiles and editorial features, because clients pay for images that communicate character no gray backdrop can fake.
7 pro tips for environmental portraits
1. Choose a location that tells the story
Location scouting is the highest-leverage hour of an environmental portrait shoot. The right room does narrative work no lens can replicate. Before you commit, ask one question: if a stranger saw only the background, would they guess something true about this person? A chef's kitchen, a pilot's hangar, a writer's bookshelf-lined study, all of them pass the test. Brainstorm two or three ideas tied to the subject's work, then visit in person at the hour you plan to shoot, because photographs of a space lie about light constantly. Ted's Cameras makes this exact point in their environmental portrait guide: the environment should add context and fill in the blanks, never overshadow the person in the frame. Ordinary places photographed well beat famous places photographed carelessly every time.
2. Put the subject in a world they actually belong to
The most relaxed portraits I have ever made were shot in places where the subject forgot the camera existed. That happens when the environment is theirs. A guitarist stops performing and starts being himself the moment he picks up his own instrument in his own rehearsal space. A chef's shoulders drop in her own kitchen in a way they never do on a studio set.
Walk the room together before the camera comes out and ask what the objects mean to them. You are letting the subject settle into their own habitat, which is where the honest expressions live. Ted's guide notes the same principle: shoot people in spaces they know, keep the atmosphere relaxed, share frames as you go, and never rush. When you are working with someone new, arrive early and learn the room first. Confidence about the space reads as confidence about the shoot.
3. Reach for a 35mm or 50mm lens, not a telephoto
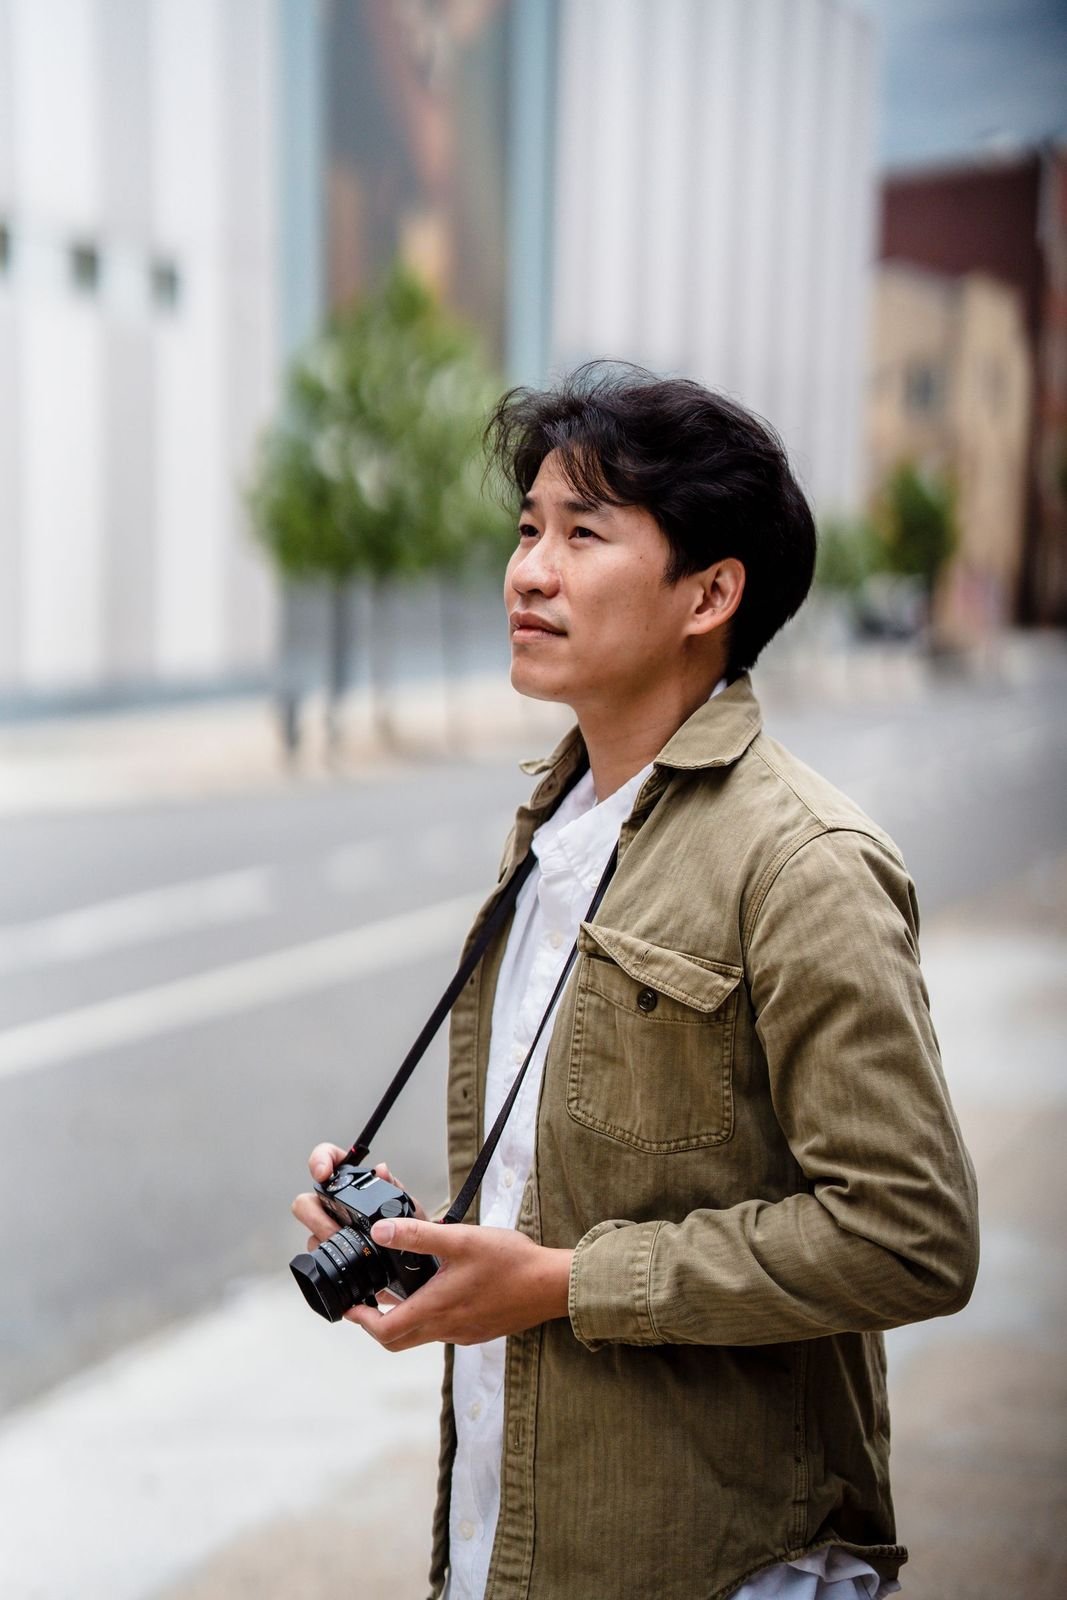
Lens choice is where environmental portraits diverge from classic headshots. A long telephoto compresses the background into blur and erases the context you showed up to capture. You want a normal or slightly wide lens that keeps the environment readable while keeping the subject clearly in charge of the frame.
The working standard is a 35mm or 50mm prime at f/1.4 or f/1.8: wide enough to include the setting, fast enough for subject separation and low light. A 24-70mm f/2.8 zoom is the flexible alternative for tight spaces. Avoid shooting everything at f/1.2. Wide open melts the environment into cream, and then you have paid for a location you cannot see. Stopping down to f/2.8 or f/4 keeps the room legible while the subject still separates beautifully.
4. Scout the light before you fall in love with the background
Beginners choose locations for interesting backgrounds. Professionals choose them for light, then make the background work. Your first job in the room is to read the existing light: window size and direction, open shade outside, the color of the practical lamps.
PetaPixel's guide to finding portrait locations nails the priority order: even, flattering light beats a dramatic wall every time. Shade from buildings and trees, overcast skies, and big north-facing windows are your friends. If the sun is high and harsh, move the subject into open shade and expose for the face. Viewers forgive a moody room; they never forgive raccoon eyes. Find the light first, then build the composition inside it. My full breakdown of working with natural light on location lives in my golden hour portrait photography guide.
5. Light the person with one light and let the room breathe
Here is where the video's lesson lands. You do not need three strobes to own a room. One portable light, a speedlight or a compact strobe like the Profoto B10X Plus in the video, used as gentle fill below the ambient exposure, cleans up the shadows on the face without announcing itself. Expose for the room first, the way you want it to feel, then bring the flash up just enough to shape the subject. If the window light is already beautiful, a 5-in-1 reflector bouncing fill into the shadow side may be all you need. It is the cheapest upgrade in this genre and fits in any bag.
The common failure is over-lighting: blasting the subject so bright the background falls to black and your location disappears. If that happens, you have made a studio portrait with extra steps. Dial the strobe down and let the environment carry its half of the story. The portrait lighting patterns guide on this site covers the face-shaping side in detail.
6. Earn the expression before you press the shutter
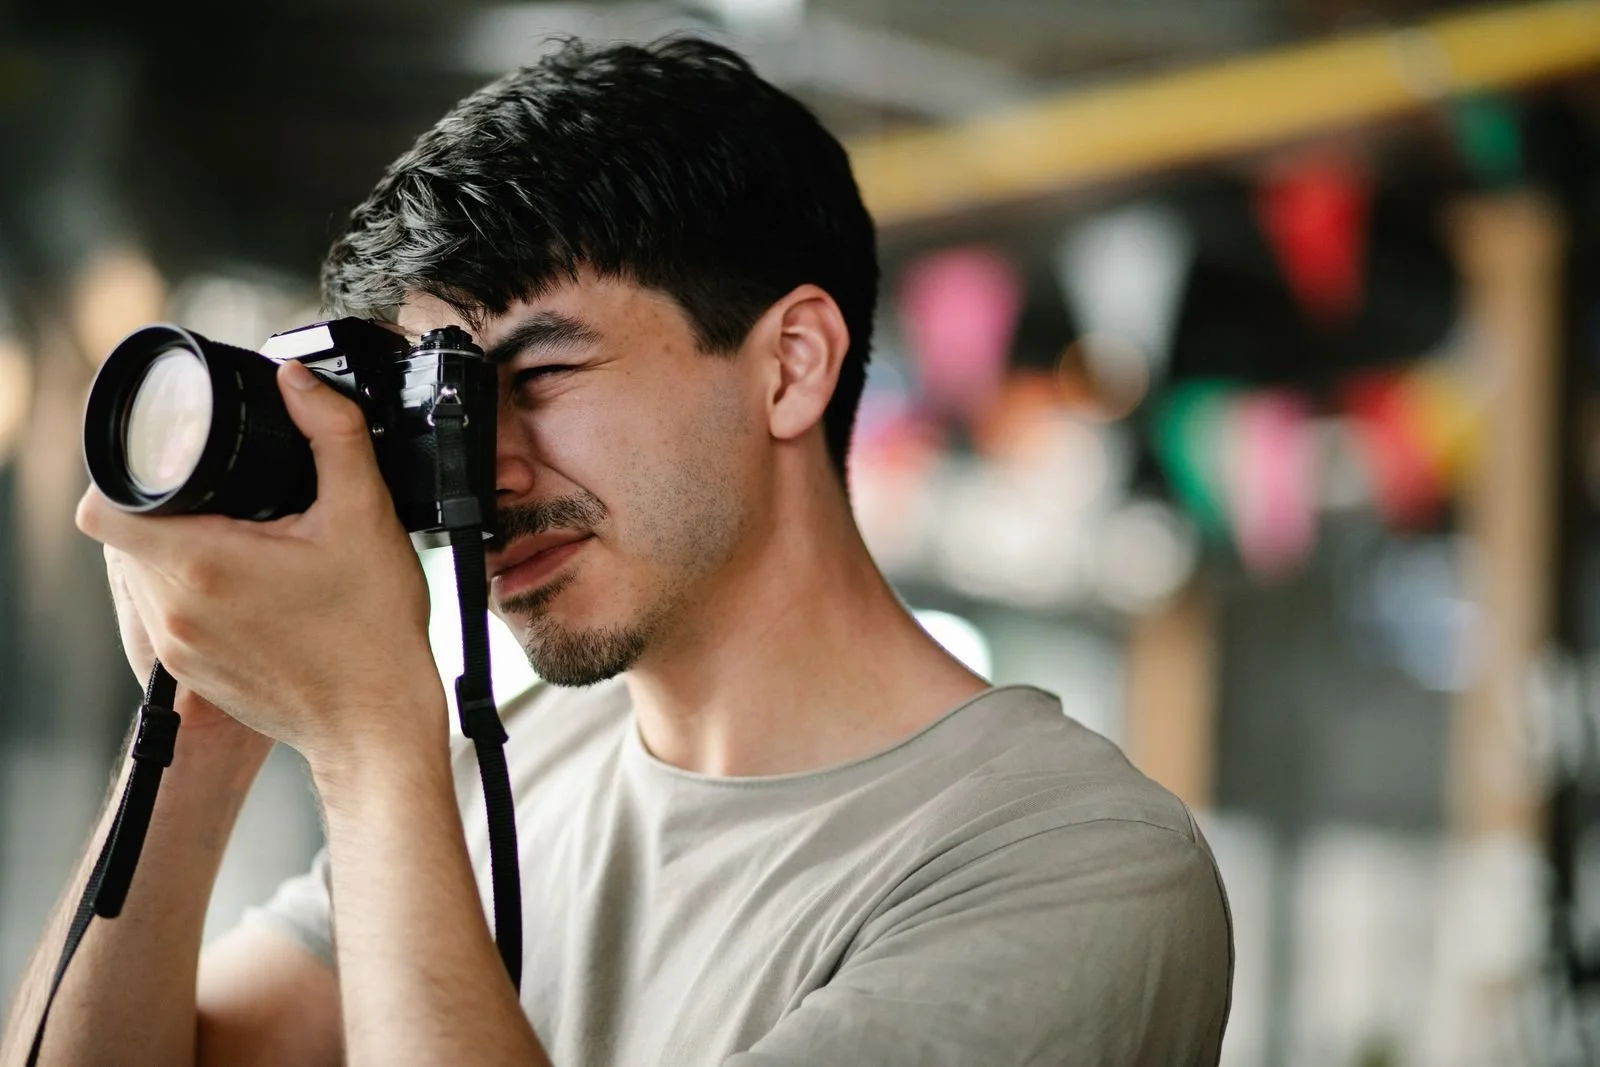
Technique gets you a sharp file. Direction gets you a portrait. Non-professional subjects tense up the moment a lens points at them, and no location fixes that on its own. The fix is conversation, not posing commands. Ask about the work the room represents, and research the subject beforehand if they have any public footprint; a person who feels seen before the first frame relaxes visibly.
Keep direction simple and physical: chin slightly forward and down, weight on the back foot, hands doing something real instead of dangling. Give them a task connected to the environment and shoot the in-between moments. The posed frame is the safety; the honest frame is the keeper. Share the back of the camera early: one good frame in the first five minutes converts a nervous subject into a collaborator. My complete directing system is in my posing guide.
7. Compose the environment, then protect your subject from it
An environment is a minefield of distractions: exit signs, trash cans, parked cars, a stranger walking through the background. Your job is to curate. Move two steps left and the dumpster leaves the frame. Crouch slightly and the horizon stops cutting through the subject's neck. These micro-adjustments separate a snapshot in a cool place from a portrait.
Layer the frame deliberately: subject in the midground, meaningful details behind them, nothing bright touching their head. Position the subject against the darker or simpler part of the scene, and leave negative space so the location can speak. Shoot a little wider than you think you need. You can always crop, but you cannot invent room you never captured.
What 27 years taught me about photographing people in their world
I learned environmental portraiture the hard way, by shooting constantly in places I did not control. Early in my career I spent four months in Miami photographing three to four models a day: no elaborate prep, no perfect studio, a new location every few hours. That volume taught me to walk into any room and instantly analyze four things: the model, the location, the clothing, and the hair and makeup. Everything after that is execution.
The biggest lesson is that the environment has to feel inspiring, creative, and safe, on location or in studio, and that applies to the subject more than to me. I talk to people while they are getting ready. I ask how their day is going. If they are a public figure, I research what they are working on; they notice, and it changes the energy of the shoot. Annie Leibovitz said it is the photographer's job to set the subject at ease, and after 27 years I agree completely: establishing trust and the right energy on set is the job.
Travel sharpened all of this. Since 2006 I have worked in 40 countries, usually solo and usually hustling on limited time. When your time in a city is short, you learn to read a location fast: where is the light, what is the story, what can I move, what must I accept. You also learn that creative energy on a real location can tip into chaos, and controlling it is the photographer's responsibility. A calm photographer with a clear vision keeps the whole room calm.
So my rules, earned over 27 years: scout the light before the background, bring one light instead of three, talk first and shoot second, and under-promise and over-deliver. Tell the client you will find two great setups in the space, then deliver five. They will hire you again because the portraits feel like them, in a world that is unmistakably theirs.
Frequently asked questions
What is the best lens for environmental portraits?
A 35mm or 50mm prime with a fast aperture (f/1.4 to f/1.8) is the most popular choice: wide enough to include the environment, fast enough for subject separation and low light work. A 24-70mm f/2.8 zoom is the flexible alternative. Avoid long telephotos, which compress the background and erase the environmental context. Stop down to f/2.8 or f/4 so the location stays readable.
What is the difference between an environmental portrait and a studio portrait?
A studio portrait is made in a controlled setting, usually against a plain backdrop, with the focus entirely on the subject. An environmental portrait places the subject in a meaningful location that reveals something about who they are: their profession, craft, or personality. The environment becomes part of the story. If you want the tighter, face-forward version for professional profiles, that is an environmental headshot, and my headshot photography tips cover the technique.
How do I light an environmental portrait on location?
Start with the available light: window light, open shade, or overcast skies. Add a reflector to bounce fill onto the face, or use one portable strobe or speedlight as gentle fill set below the ambient exposure. Expose for the room first, then bring the flash up just enough to shape the subject. The added light should feel like it belongs to the environment.
How do I make my subject comfortable during an environmental portrait shoot?
Spend time with them in the space before shooting: talk, walk the room together, explain your vision. Photograph people in environments they know well, keep the mood relaxed, share frames from the back of the camera early, and never rush. A subject who has forgotten the camera is there will give you the honest expressions that make environmental portraits work.
Book your environmental portrait session
An environmental portrait is the fastest way to show the world who you are and where you belong. I bring 27 years of experience photographing celebrities, founders, and working artists in real locations across 40 countries. If you want portraits that tell your story instead of just showing your face, browse the portfolio at dclee.net, then book a session and tell me about the world you want to be photographed in.
Now I want to hear from you: what is the most interesting location you have ever photographed someone in, and what did the place add to the portrait? Leave a comment below.