Nobody hires you for the shutter click. They hire you for what the files look like when they come back, and that part of the job has a name: your portrait editing workflow. Most photographers treat editing as an accident that happens after the shoot. They open Lightroom, drift through sliders for an hour, Photoshop a few things, export whatever looks done, and wonder why every session feels like starting over. The pros who survive decades in this business do it differently. They run the same repeatable sequence every time, from card to client, so the hours are predictable, the galleries match, and nothing gets lost. This is the full version of that sequence: eight steps that take a memory card of RAW files and turn it into a delivered, client-ready gallery.
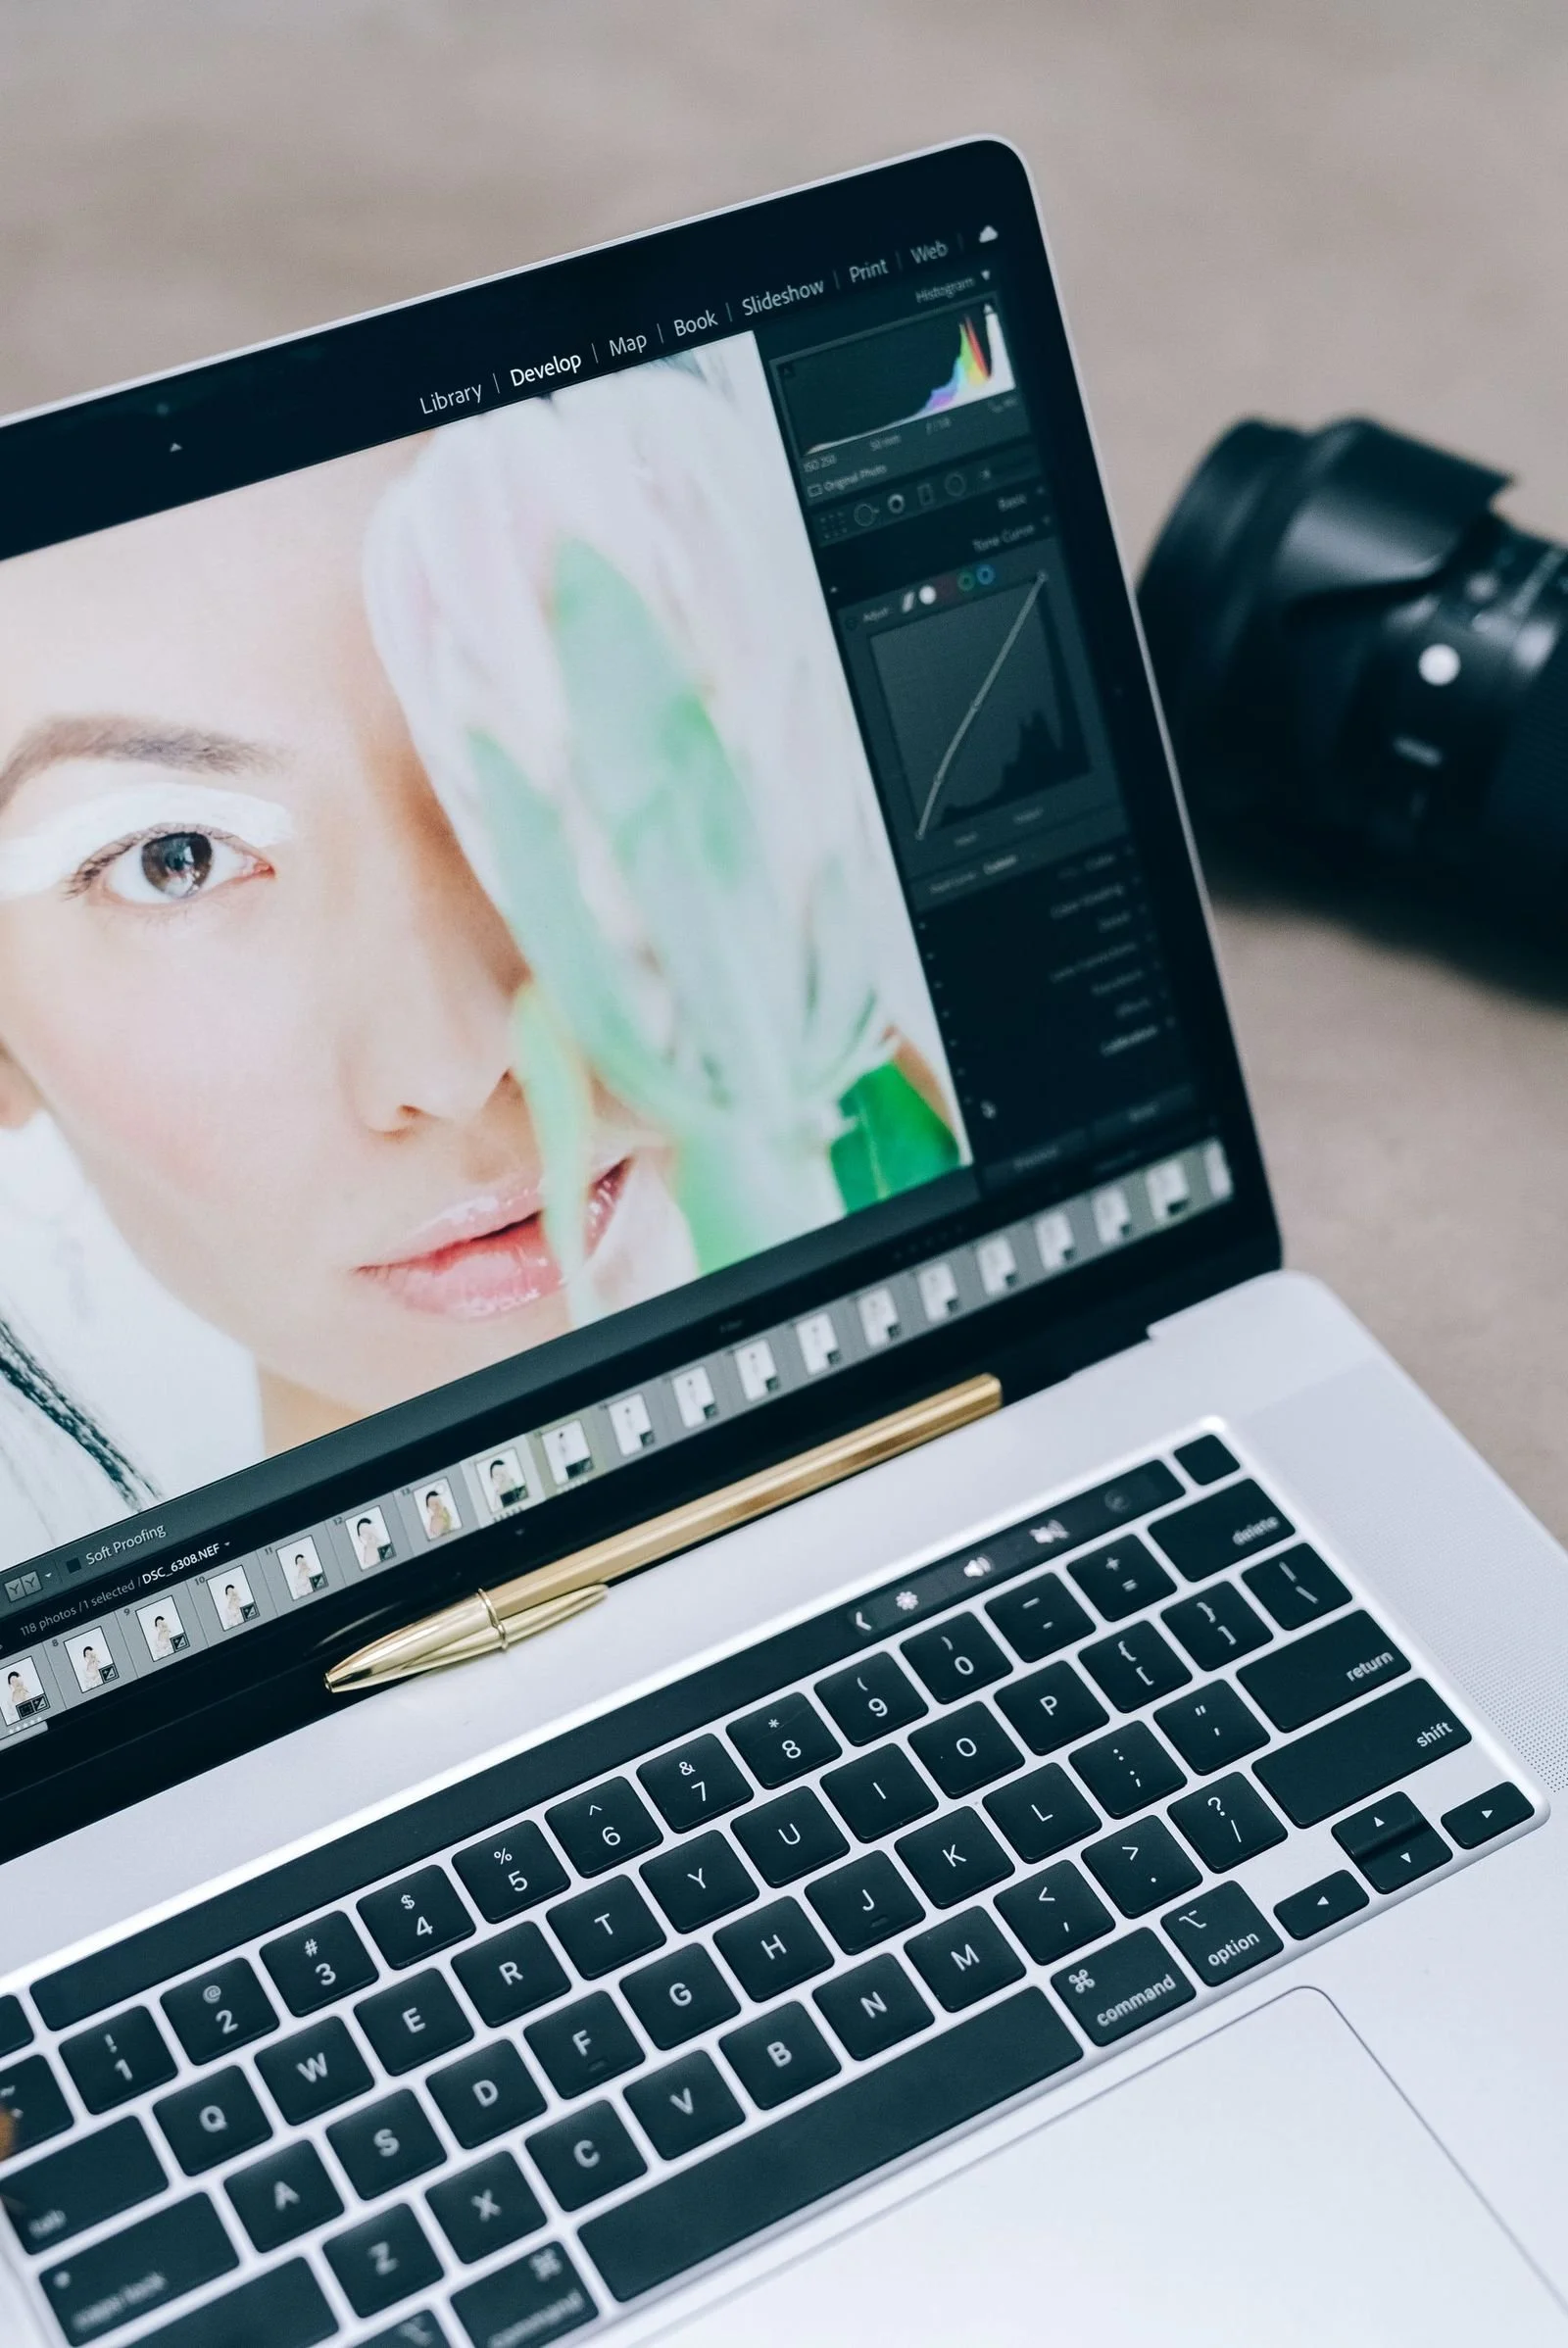
What a Portrait Editing Workflow Actually Is
A workflow is not a preset, a plugin, or a list of slider values. It is the order of operations you follow on every single session, the same way a chef runs the same mise en place whether the menu is French or Thai. The order matters because each stage protects the next one. You back up before you cull, because culling is decision work and you should never make decisions on files that exist in one place. You cull before you edit, because editing a frame that will never be delivered is the purest form of wasted time. You fix exposure and color before you retouch, because skin work painted onto a wrong white balance has to be redone. Retouching service Path puts this distinction cleanly: photo editing is the broad corrections (exposure, white balance, crop, color balance) and retouching is the detailed cleanup that happens afterward, like dust, wrinkles, stray hairs, and skin distractions. When beginners mix those two stages up, they do detailed work twice. When you separate them, every minute lands where it counts. That is the entire philosophy in one sentence: big corrections first, detail work second, delivery last.
In This Post
- Why editing order matters more than editing skill
- Watch: a complete portrait editing workflow on screen
- The 8-step portrait editing workflow
- How long portrait editing should actually take
- 5 editing mistakes that waste hours
- My take: 27 years of editing at night
- Portrait editing workflow FAQ
- Book a portrait session
Watch: A Complete Portrait Editing Workflow on Screen
Before the written breakdown, watch photographer and educator Julie Powell walk through her full portrait process in Lightroom and Photoshop. Her core message matches everything below: stop trying to fix everything at once and edit with intention. She starts with the fundamentals, corrects exposure, balances color, cleans up backgrounds, and only then moves into subtle skin retouching, dodge and burn, and a final color grade. The goal is clean, natural results built in a deliberate order, not presets and not guesswork. The steps that follow are my own working system, tuned over decades of client sessions, but they follow the same disciplined sequence you will see in the video.

The 8-Step Portrait Editing Workflow
Step 1: Back Up Before You Touch Anything
The most boring step is the most important one, so it goes first. Before culling, renaming, or editing a single frame, copy every file off the memory cards and put the shoot in at least two places. A working backup routine looks like this: copy all files off the cards immediately into a clearly named master folder, duplicate that folder onto a second drive or a cloud backup, and keep the original card untouched until the files are safely stored in at least two places. Retouching service Path leads its workflow guide with exactly this rule, noting that lost files from a failed card, an overwritten folder, or a bad copy are one of the most avoidable mistakes in post-production. After a long shoot day this is the step you are most tempted to rush, and it is the one step that protects everything else you are about to do. Make it muscle memory: import first, verify the copy, then let yourself look at a single image.
Step 2: Cull Ruthlessly, Then Edit What Survives
Editing starts with choosing what is actually worth editing. Cull the full batch down to the strongest frames before you adjust a single slider, because an hour of careful editing on a frame that never makes the gallery is an hour you will never get back. Sean Tucker works this way even on headshot sessions: after importing a couple hundred images he selects the best and shortlists the final few before touching color or tone. My own system runs through my AI-first culling process, which you can read in full in my guide to how to cull photos fast, but the principle is tool-agnostic. Sort into selects, maybes, and rejects early. Kill the duplicates, the blinks, and the near-misses now. The editing stage that follows gets dramatically shorter when it only has to serve the keepers.
Step 3: Fix Exposure and Set the Global Foundation
With your selects locked, start with the broad adjustments that affect the whole image: exposure, white balance, contrast, crop, straightening, lens corrections, and basic color balance. This is the clean-baseline stage. Think of it as preparing the canvas before painting, because every detailed move you make later inherits these decisions. Powell's video opens here for the same reason: get the fundamentals right and everything downstream gets easier. If the shoot was lit consistently, this is also where batch syncing earns its keep. Dial in one representative frame, then sync the global settings across the set so the whole gallery starts from the same place. Small differences in warmth or brightness between frames are nearly invisible one at a time, and glaringly obvious when the client scrolls through fifty images in a row.
Step 4: Balance Color Before You Touch Skin
Color comes before retouching, always. Skin work done on top of a wrong white balance will shift the moment you correct it, which means you get to do it twice. Balance the overall color of the scene first, then check skin tones specifically, because skin is where viewers notice color problems fastest. This is also the stage where you decide on the look for the set: the cohesive grade that makes fifty different frames feel like one gallery. Keep notes on what you did, a saved preset or a written record, because the client who books you next month is booking the look they see on your site. Consistency is branding. A defined, repeatable color stage is how a defined, recognizable style gets built.
Step 5: Clean the Backgrounds and Distractions
Only after the global look is settled do you start removing things. Distractions first: the exit sign, the trash can, the stray hair crossing a cheek, the power line, the wrinkle in the backdrop. Use Lightroom's healing and removal tools for the simple stuff, and reserve Photoshop for the heavy lifting like complex object removal and background rebuilding. The logic of this order is simple and unforgiving. Cleanup painted onto a frame whose exposure or color is still going to change often needs redoing. Do it after the foundation is stable and you do it once. This is also where restraint starts to matter. Remove what distracts from the person. Leave everything that belongs to the scene. The goal of a portrait edit is a cleaner version of reality, not a different reality.
Step 6: Retouch Skin With a Light Hand
Now the detail work begins, and the word to remember is subtle. Professional skin retouching evens out temporary blemishes and distracting blotchiness while keeping every pore intact. The moment skin starts looking like plastic, you have gone too far, and clients notice even when they cannot name what is wrong. If you want to go deep on the two techniques that dominate high-end work, my comparison of frequency separation vs dodge and burn breaks down when to use each one and why. For most client portraits, restraint wins. Fix what is temporary (blemishes, stray hairs, under-eye distraction). Leave what is permanent (moles, scars, the texture that makes a face a face). Your retouching should be invisible. If someone can tell the image was retouched, the retouching failed.
Step 7: Dodge and Burn for Dimension
Flat light makes flat faces, and dodge and burn is how you put the shape back. Lightening the highlights and deepening the shadows sculpts cheekbones, jawlines, and the fall of light across the body, and it does it more naturally than any contrast slider ever will. Keep it gradual. Build the effect in small passes rather than one heavy one, and constantly zoom out to check the whole face, because at 200 percent everything looks like it needs more work than it does. This is the stage where a portrait stops looking edited and starts looking lit, which is exactly the point. The best dodge and burn is the kind the viewer reads as great lighting.
Step 8: Grade, Export, and Deliver Like a Pro
The final stage has two halves: the last creative pass and the technical handoff. First, the grade: step back, view the selects side by side, and confirm the whole set matches in color, contrast, crop, and retouching strength. Then export for the actual use case. Different outputs need different settings, and this is one of the most overlooked parts of the whole workflow. Web galleries want sRGB JPEGs at sensible dimensions. Print files want full resolution. Social crops want their own treatment. Before you send anything, run a final review on the actual deliverables, not the working files: zoom in on a sample at 200 percent, confirm filenames are correct, check that nothing is missing, and view the gallery the way the client will see it. Then deliver through a proper gallery platform, archive the RAWs and the finals, and close the job. A clean delivery is the last impression the client gets, and it should feel as professional as the shoot did.

How Long Should Portrait Editing Take?
This is the question every client silently asks and most photographers dodge. The honest answer: it depends on the depth of the edit, but there are real benchmarks. Portrait editing typically runs 15 to 60 minutes per finished photo, with skin retouching and color work driving the upper end. Sean Tucker, who shoots and edits headshots for a living, reports that a single edit typically takes him around an hour per image, sometimes more, and that an image can pass through up to 4 separate programs before it is done. His math is worth sitting with: a one-hour shoot delivering five retouched portraits is six hours of work minimum before setup, overruns, and admin.
| Edit depth | Typical time per finished portrait | What it includes |
|---|---|---|
| Light batch edit | 15 to 20 minutes | Global exposure and color, light cleanup, sync across set |
| Standard client portrait | 30 to 45 minutes | Full global pass, background cleanup, subtle skin work |
| High-end retouch | 60 minutes or more | Detailed skin work, dodge and burn, precise color grade |
Three things move you down that table over time: a fixed order of operations, batch syncing on consistent shoots, and the discipline to stop. The last one is the hardest. Perfectionism is the most expensive plugin in your catalog. Set a timer per image for client work, and when it rings, the image ships. That constraint is what turns editing from an open-ended hobby into a profitable profession.
5 Editing Mistakes That Waste Hours
- Editing before culling. Every minute spent on a rejected frame is gone forever. Cull first, edit second, no exceptions.
- Retouching before color. Skin work painted over a wrong white balance gets redone. Global color always comes before detail work.
- Chasing perfection on every frame. Galleries are judged as a set. Spend the deep-retouch hours on the hero images and keep the rest clean and consistent.
- Skipping the backup. One failed card erases a shoot, a client, and your reputation in a single afternoon. Two copies before you do anything else.
- Delivering without a final review. Zoom in, check filenames, view the gallery as the client will see it. The five-minute review catches the mistake that would have cost you the referral.
My Take: 27 Years of Editing at Night
I will be honest with you: for most of my career, editing has been the second half of every shoot day. In 2012 I photographed 25 private villas in Montego Bay, Jamaica, plus five short films for the resort, over two months with a crew of 14. We shot during the daytime and edited at night. Every night. There was no version of that job where the work ended when the cameras went down, and on a production that size, winging the post-production was not an option. I have always been hands-on with everything, producing, shooting, editing, casting, and that Jamaica job taught me the lesson that has shaped my entire career: the edit is not the afterthought, it is half the craft.
Here is what 27 years of that rhythm taught me. First, the boring systems are the ones that save you. Backups, folder structures, naming conventions, the same order of operations every time. None of it is glamorous and all of it is the difference between a professional and a talented amateur. Second, consistency beats brilliance. A client gallery where every image matches in color and tone will always outperform a gallery with one stunning hero and forty-nine afterthoughts. Third, restraint is a skill. I have photographed more than 300 celebrities across fashion, editorial, and portrait work, and the retouching rule never changes: if anyone can tell it was retouched, it was overdone. The discipline is the same whether you are editing a villa at midnight in Jamaica or a headshot in Los Angeles. Same order, same standards, every time. That is what a workflow is for.
Portrait Editing Workflow FAQ
How long does it take to edit a portrait?
A standard client portrait takes 15 to 60 minutes depending on the depth of the retouch, with light batch edits at the low end and high-end skin work at the top. Working headshot photographer Sean Tucker reports around an hour per image as typical, noting that the edit is often the most time-consuming and least visible part of the job. For client quotes, budget the edit at least equal to the shoot time, because on most sessions it runs longer.
What software do portrait photographers use?
The three working tools are Adobe Lightroom, Adobe Photoshop, and Capture One. Lightroom handles organization, batch editing, and global corrections. Photoshop handles detailed retouching, compositing, and precision work. Capture One is favored for its color editing and tethered shooting. If you are choosing between the RAW editors, my Capture One vs Lightroom comparison breaks down the seven differences that matter for portraits.
What order should I edit portraits in?
Global corrections first, detail work second, delivery last. The working order: back up, cull, fix exposure and white balance, balance color, clean backgrounds and distractions, retouch skin subtly, dodge and burn for dimension, then grade, export, and deliver. Never retouch before the color is right and never edit frames you have not culled. The order protects every stage that follows it.
How do I keep a whole gallery consistent?
Sync your global settings across the set from one dialed-in reference frame, then review the selects side by side before export. Check color, contrast, crop, and retouching strength as a group, because small differences that are invisible on single images become obvious when a client scrolls through fifty of them. Save the look as a preset or a written record so the next session starts from the same place. For the full session system this sits inside, see my portrait photography workflow, from first inquiry to final gallery delivery.
Book a Portrait Session With Me
Editing is where good portraits become great ones, and it is half of what you are paying for when you hire a working professional. If you need headshots, portraits, or editorial photography in Los Angeles, contact me here and tell me about your project. I shoot it, I edit every frame myself, and the gallery you receive will look like one body of work, because it was built with one workflow.
What is the one stage of editing where you lose the most time? Tell me in the comments.