A beauty dish lighting setup is the closest thing studio portraiture has to a signature. When you see a fashion photograph where the cheekbones look carved from light and shadow, with perfect round catchlights in the model's eyes, you are looking at the work of a beauty dish. It is the modifier that defined decades of editorial and beauty photography, and it is still the fastest way to give an ordinary portrait a high-fashion finish.
In this post, I break down five professional beauty dish lighting setups from photographer Miguel Quiles, a Profoto Legend of Light, whose seven-minute studio tutorial walks through each configuration with live results. I will summarize every setup in my own words, then add the positioning rules, modifier choices, and mistakes I have learned across 27 years of shooting fashion, beauty, and celebrity portraits.
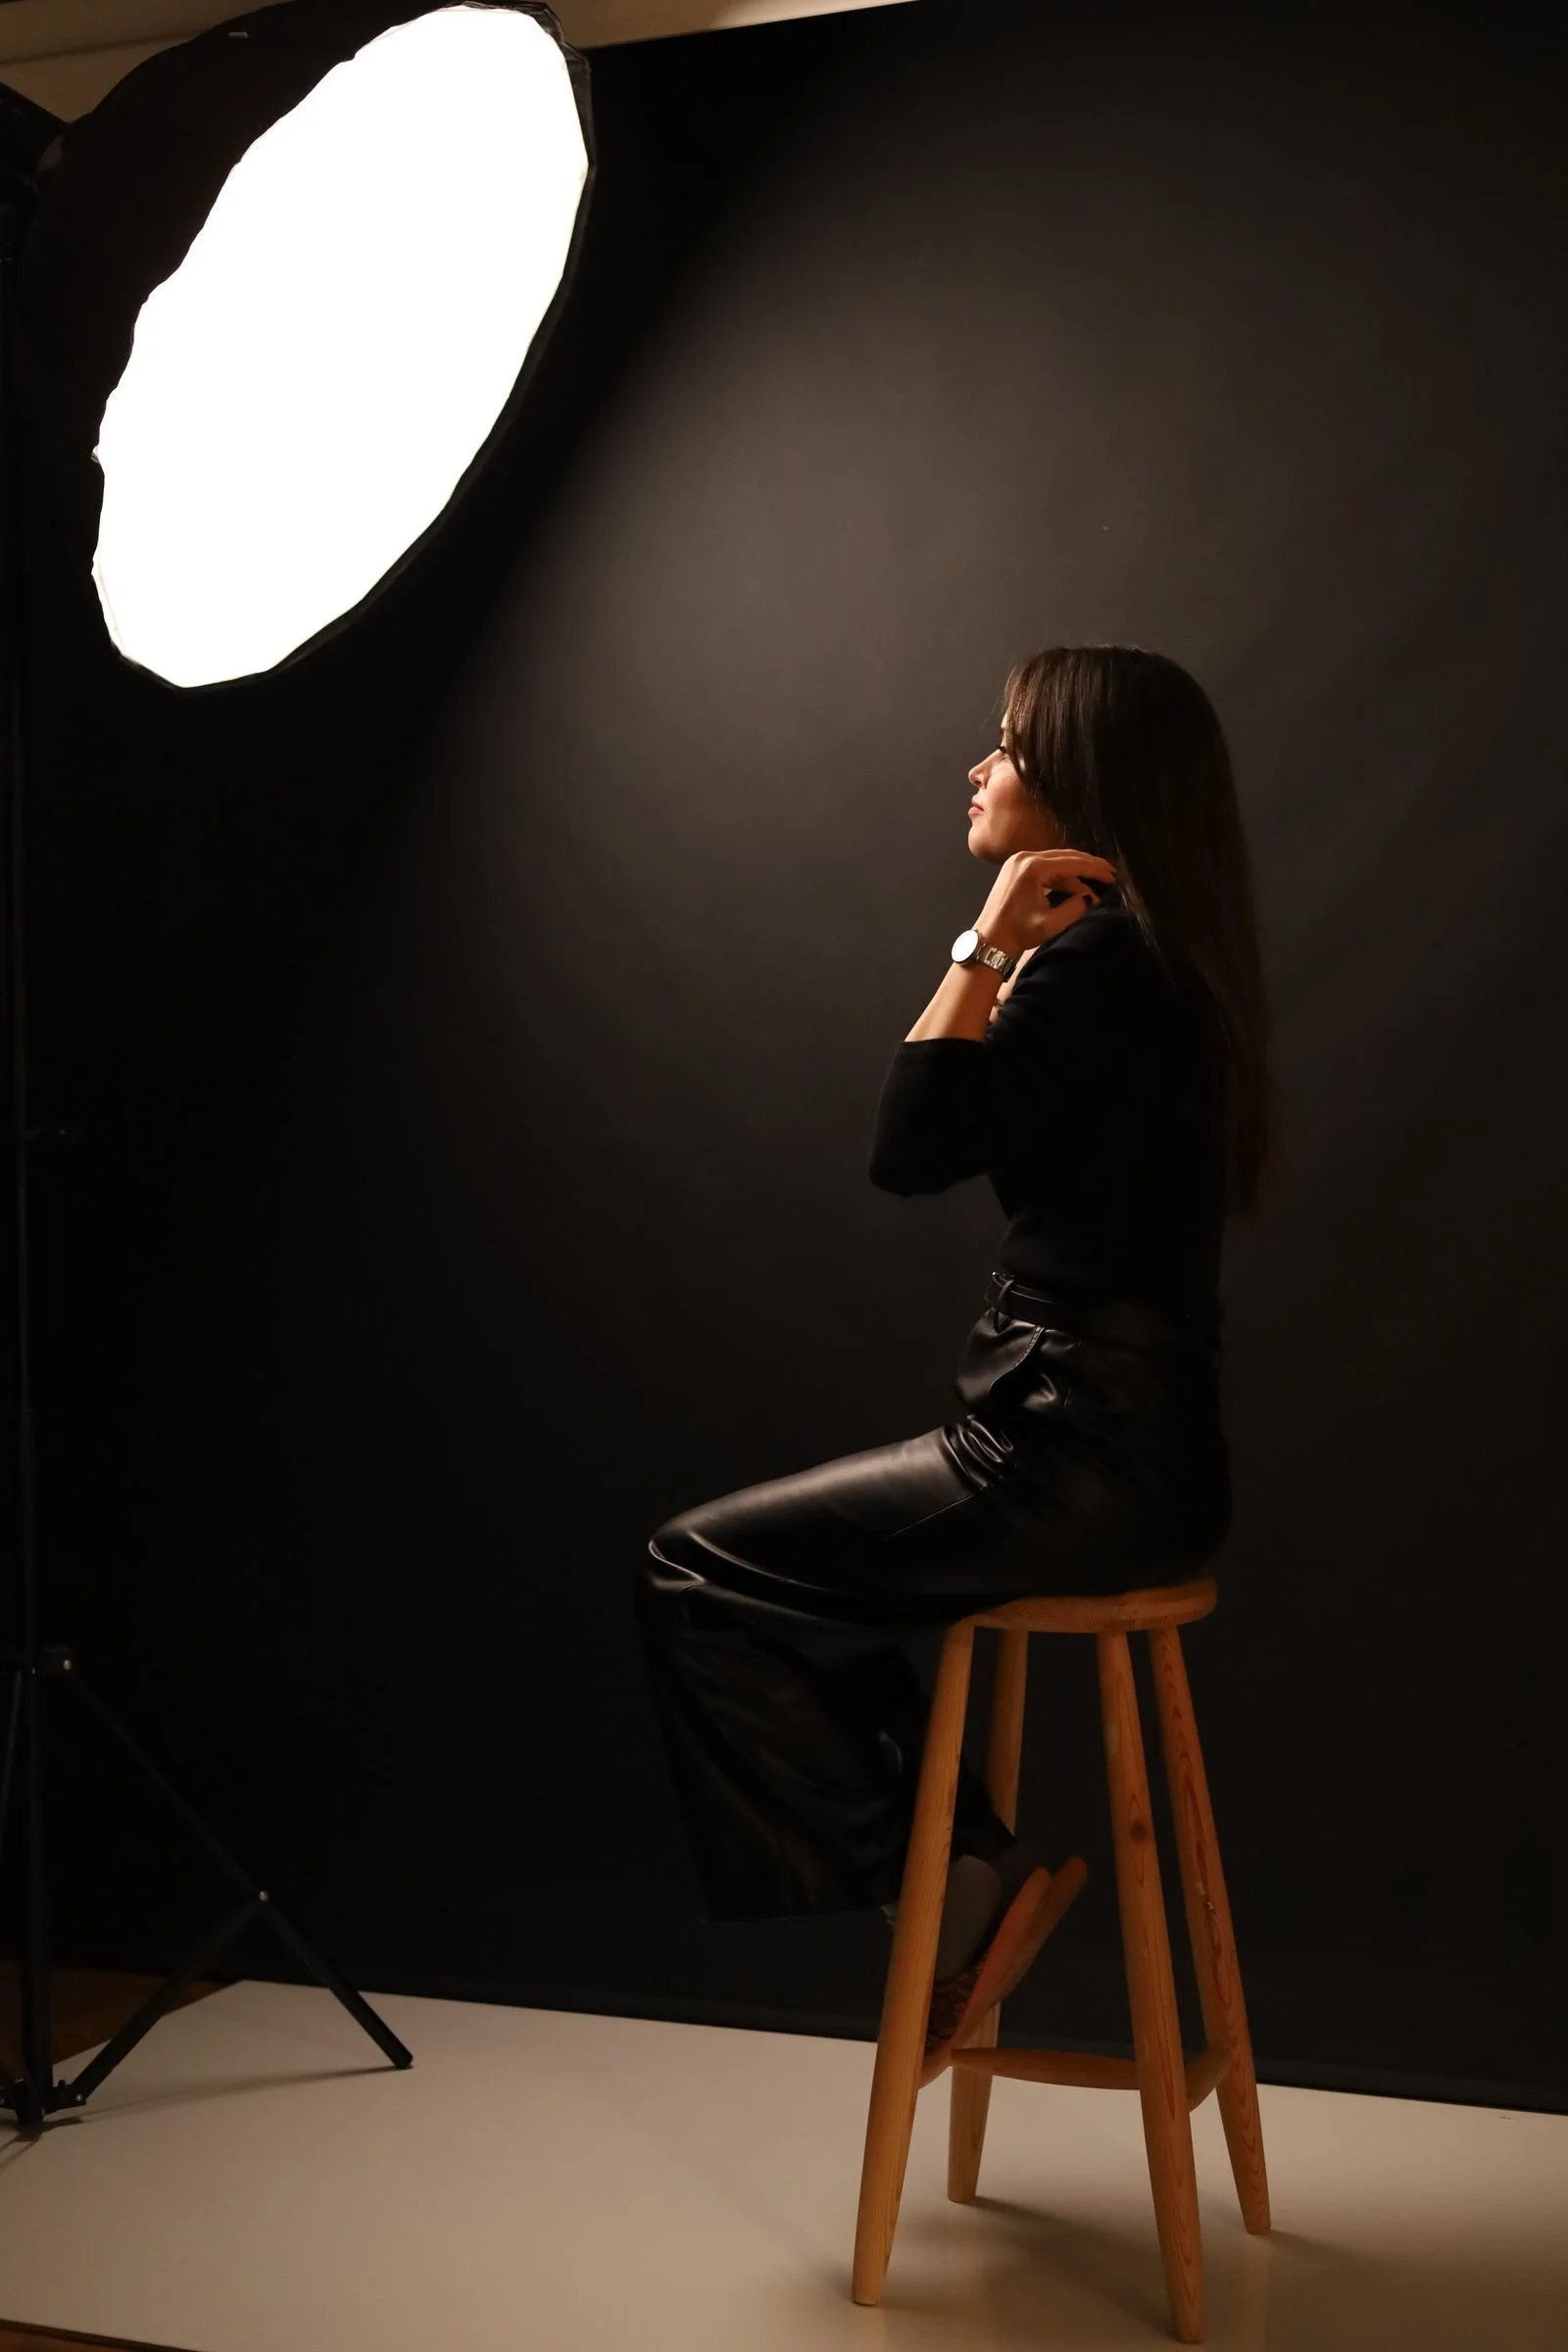
Contents
- What Is a Beauty Dish?
- Why Fashion and Beauty Photographers Swear by It
- The 5 Beauty Dish Lighting Setups
- Setup 1: Clamshell Without Diffusion (Dramatic Contrast)
- Setup 2: Clamshell With Diffusion and Reflector (Soft Beauty)
- Setup 3: Beauty Dish as Fill Light
- Setup 4: Beauty Dish as a Hair Light
- Setup 5: The Punch (Bare Dish Over a Big Diffuser)
- Beauty Dish vs Softbox: When to Use Which
- 6 Placement and Modifier Rules That Matter
- Common Beauty Dish Mistakes
- My 27 Years With Hard, Honest Light
- Frequently Asked Questions
- Book a Shoot
What Is a Beauty Dish?
A beauty dish is a circular lighting modifier, typically 16 to 27 inches across with 22 inches the most common all-around size, with a small opaque cap suspended a few inches in front of the light source. That cap is the whole trick. It blocks the harsh direct beam from the strobe or speedlight and forces the light to bounce around the dish's reflective interior before spilling forward. The result is a focused, semi-hard beam: harder and more sculpted than a softbox, but far more flattering than bare flash.
Because the dish is compact and round, the light falls off quickly. Move your subject a few feet from the background and the background drops into a soft, dark vignette while the face stays bright and defined. That rapid falloff is a creative tool, not a limitation. It lets you emphasize facial features and de-emphasize everything around them, which is exactly what beauty and fashion portraits demand.
The dish comes in two finishes, and the choice matters. A silver interior produces a more contrasty, specular light with harder-edged shadows, ideal for dramatic editorial looks and emphasizing texture. A white interior gives a softer, gentler transition, better for a more delicate effect. Two more accessories complete the kit: a diffusion sock, a shower-cap-like fabric that stretches over the front to soften the beam, and a honeycomb grid that narrows the spread into a controlled spotlight. Digital Photography School's beauty dish photography guide walks through the same modifier choices with example setups.
Why Fashion and Beauty Photographers Swear by It
The beauty dish earned its name in the fashion industry, where it became the standard for head-and-shoulders portraits that highlight makeup, hair, and bone structure. Legendary fashion photographers built entire careers on this look: sculpted cheekbones, clean shadows under the jawline, and those unmistakable circular catchlights in the eyes that draw the viewer straight into the portrait.
The catchlights deserve special mention. Every modifier leaves its fingerprint in the subject's eyes, and the beauty dish's fingerprint is a perfect ring of light. It reads as alive and alert in a way rectangular softbox reflections never quite manage. When I am shooting close-up beauty work, those circular highlights are half the reason I reach for the dish.
There is an honesty to beauty dish light that I respect. It does not hide anything. The relatively hard beam shows skin texture, bone structure, and every decision the makeup artist made. That is why it belongs on models and clients with good skin, and why it pairs so naturally with a skilled makeup and hair team. You are showing the face in detail, so the face has to be ready for detail. For more on the patterns behind classic studio looks, see my guide to portrait lighting patterns.
Watch: 5 Ways to Use a Beauty Dish
Miguel Quiles demonstrates five beauty dish setups in his seven-minute studio tutorial. Watch the video below, then read on for each setup broken down with the positioning rules that make them work.

The 5 Beauty Dish Lighting Setups
Miguel Quiles demonstrates these five configurations in his studio tutorial, working with a Profoto B1 and a beauty dish. Each one serves a different purpose, and together they cover nearly every beauty and fashion situation you will face.
Setup 1: Clamshell Without Diffusion (Dramatic Contrast)
This is the classic. The beauty dish sits directly in front of the model, slightly above eye level, aimed at the center of the face and angled down. No diffusion sock, so the dish's full character shows: contrasty light, defined shadows, and maximum sculpting.
Quiles adds one clever detail: a black table (or black card) positioned in front of the modifier, below the frame. The black surface absorbs stray light and prevents unwanted reflections from bouncing back up, which deepens the shadows in the face instead of accidentally filling them. It is a small move that makes the contrast noticeably richer.
Use this setup when you want drama and definition: strong jawlines, visible texture, editorial edge. It is the most forgiving arrangement to learn first because there is only one light to manage, and the dish does the sculpting for you. This is also the configuration I return to most for fashion work on set; the directing principles are the same ones I use in how to direct models on a fashion shoot.
Setup 2: Clamshell With Diffusion and Reflector (Soft Beauty)
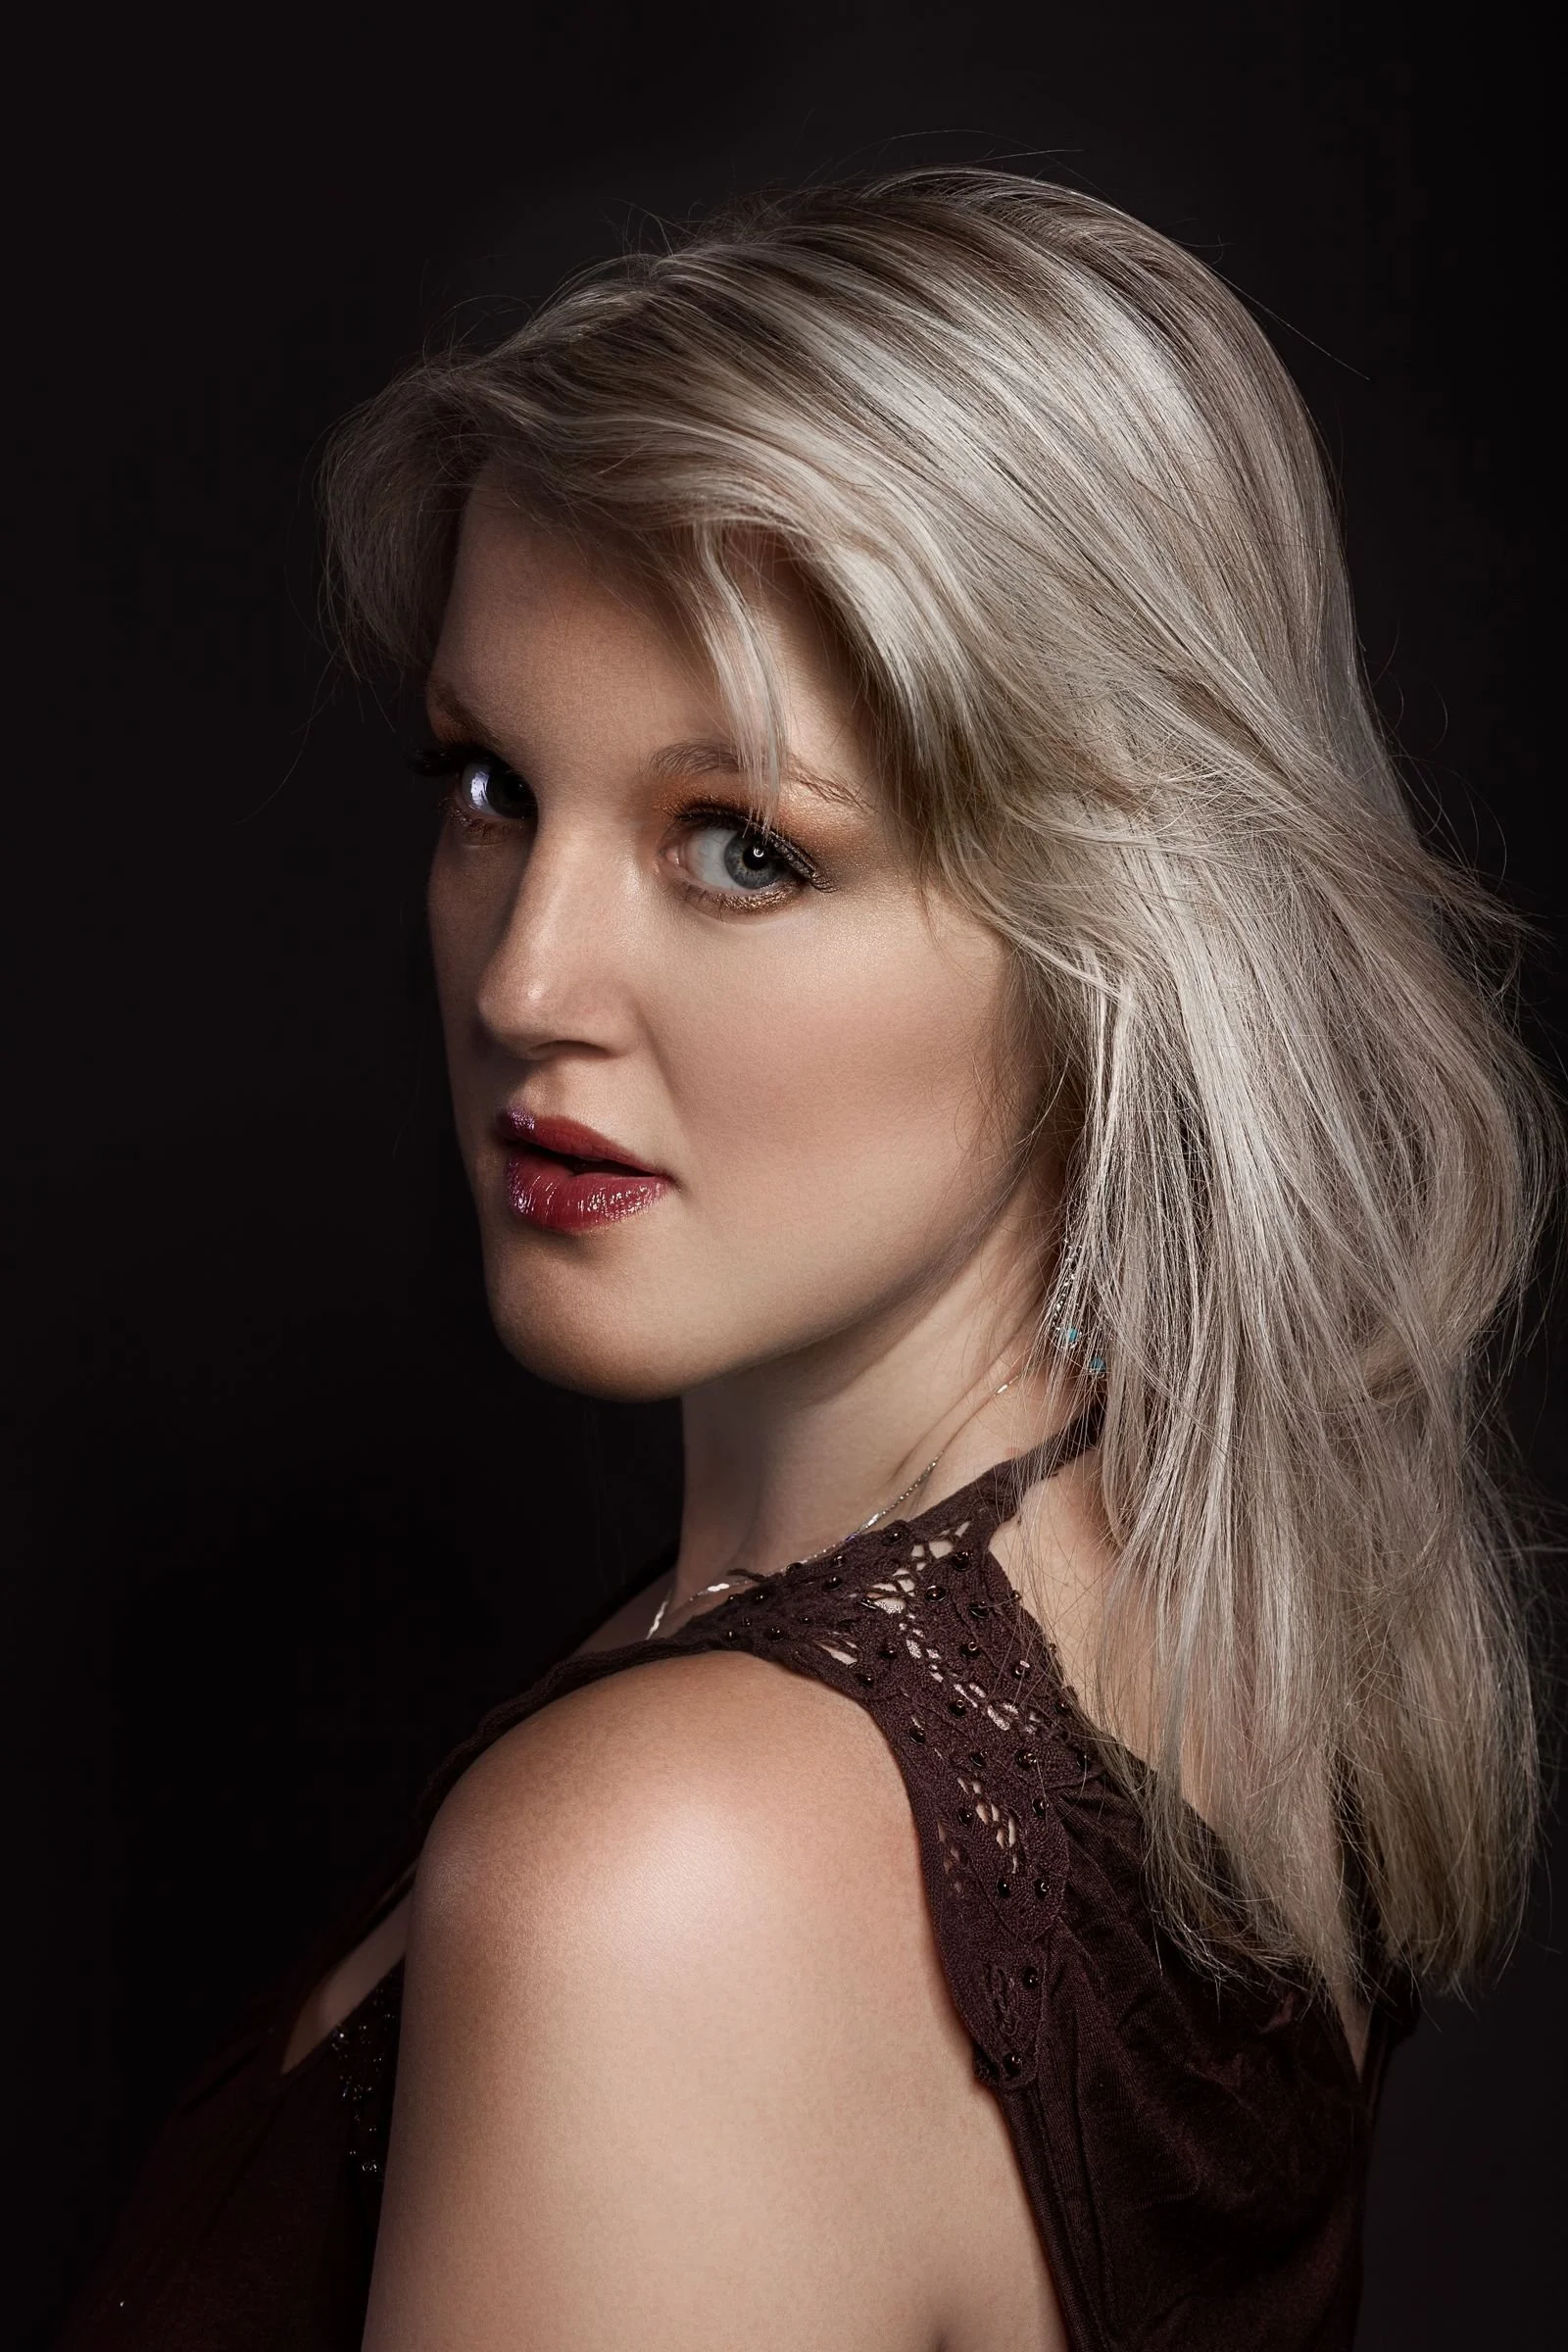
Start with the same clamshell position, then add two things. First, stretch a diffusion sock over the dish. This softens the beam noticeably, smoothing skin and reducing hot spots while keeping the dish's flattering shape and falloff. Second, place a reflector just below the model's chest, out of frame, angled up toward the face.
The reflector does two jobs. It bounces light back into the shadows under the chin and jaw, and it creates a second catchlight at the bottom of the eyes. That lower catchlight is subtle in the frame but powerful in the result: the eyes look brighter, more awake, more alive. Quiles points out that this draws the viewer's attention straight to the face, which is the entire point of a beauty portrait.
This is the setup for clean commercial beauty, cosmetics work, and headshots where the client wants to look polished rather than dramatic. If you only memorize one beauty dish configuration, make it this one. For headshot-specific technique, my headshot photography tips cover the camera side of the same sessions.
Setup 3: Beauty Dish as Fill Light
The beauty dish does not always have to be the star. Quiles also uses it as a fill light: placed lower than the usual position and angled upward to lift the shadows created by the main light. Because the dish's beam is focused, the fill stays controlled instead of washing the whole scene flat.
There is a second variation of this idea. Place the dish on the camera axis, directly in front of the model's face, and use it as the fill. The on-axis position produces what Quiles calls a really interesting catchlight, a centered ring of light in the eyes that looks striking in close-ups. It is an unconventional placement, and that is exactly why it stands out.
Think of this setup whenever your main light is doing its job but the shadows have gone muddy or lifeless. A beauty dish fill adds dimension back without the broad, flattening wash of a big softbox.
Setup 4: Beauty Dish as a Hair Light
Move the dish behind the model, raise it above head height, and angle it slightly downward. Now it is a hair light. The focused beam catches the hair and shoulders, creating photogenic highlights and separating the subject from the background.
This works especially well on dark hair against dark backgrounds, where a subject's outline can otherwise melt into the backdrop. The dish's tight beam means you can place it precisely on the hair without spilling light all over the set. It is one of the most underused roles for this modifier, and one of the most effective.
Setup 5: The Punch (Bare Dish Over a Big Diffuser)
The final setup is the most dramatic. Quiles starts with a large 5-foot octagonal diffuser as the main soft source, with a flash behind it. Then he adds the beauty dish with no diffusion, silver interior exposed, as a second light aimed at the model. The dish adds a hard, contrasty punch on top of the soft base: crisp highlights, deep shadows, and a level of dimension neither light could produce alone.
This is advanced territory, and it needs two lights, but the payoff is a portrait with real editorial bite. The soft base keeps the skin flattering while the bare dish carves out the structure. If you have ever wondered how fashion images get that simultaneously smooth and sculpted quality, this layered approach is one of the standard answers. For the single-light foundation these builds start from, see my one light portrait setup guide.
Beauty Dish vs Softbox: When to Use Which
This is the most common modifier question in studio photography, and the honest answer is that neither is better in the abstract. Each serves a different look. Here is how they compare.
| Beauty Dish | Softbox | |
|---|---|---|
| Light quality | Semi-hard, sculpted, defined shadow edges | Soft, diffused, gradual highlight-to-shadow transitions |
| Best for | Beauty, fashion, headshots, dramatic editorial | General portraiture, families, groups, soft commercial looks |
| Catchlights | Circular, ring-shaped | Rectangular or octagonal |
| Light spread | Focused beam, rapid falloff, minimal spill | Broader spread, wraps around the subject |
| Skin rendering | Shows texture; unforgiving on blemishes and wrinkles | Hides imperfections; flattering on all skin |
| Wind/outdoors | Compact and sturdy; resists wind | Large sizes act like a sail; harder outdoors |
| Groups | Poor; beam too narrow for more than one or two faces | Excellent; large sizes cover groups evenly |
| Setup | Fast; typically plug-and-play | Slower; more components to assemble |
The rule of thumb: choose the beauty dish when you want drama, sculpting, and intensity, and the model can sit still in a controlled beam. Choose the softbox when you want flattering, forgiving light that covers a wider area, or when you are lighting subjects who move, like children, or groups. Many working photographers own both and decide per shoot. As Manny Ortiz demonstrates in his modifier comparison video, the dish rewards precision while the softbox rewards versatility.
6 Placement and Modifier Rules That Matter
Technique beats gear every time with this modifier. These six rules determine whether your beauty dish shots look professional or amateur.
1. Start high and centered, then adjust. The classic starting position is directly in front of the subject, centered, slightly above eye level, angled down so the center of the dish aims at the forehead between the eyes. From there, move it to taste. But note this: the dish is most flattering near the camera axis. Push it far to the side at a 45-degree angle and the light stops being flattering; the shadows go strange and the sculpting turns harsh in the wrong places.
2. Keep it close. A beauty dish should generally sit within two to four feet of the subject's face. Closer means softer and more flattering; farther means harder and more dramatic. If your portraits look too contrasty, move the dish in before you change anything else.
3. Choose silver for drama, white for delicacy. The silver interior is more specular and contrasty. The white interior is softer with gentler transitions. If you can only buy one, silver is the more versatile choice for the fashion look, since you can always add a diffusion sock to tame it.
4. Add the sock to soften, the grid to focus. The diffusion sock turns the dish into something closer to a small softbox: creamy, less texture, fewer hot spots. The honeycomb grid does the opposite, narrowing the beam into a spotlight for dramatic, controlled effects. To check grid aim, ask your subject whether they can see straight through the grid to the light source. If they can, the beam is on target.
5. Mind the skin. This is the rule that matters most. Beauty dish light is unforgiving. It will accentuate wrinkles, blemishes, and uneven texture. Use it on subjects with good skin, bring a makeup artist when the job warrants one, and plan your retouching accordingly. A beauty dish portrait with no retouching plan is an unfinished job; my comparison of frequency separation vs dodge and burn covers the two techniques that finish this kind of work.
6. Take it outside. The beauty dish is one of the best location modifiers because it is compact and sturdy. Unlike an umbrella or a large softbox, it will not catch the wind and sail across the parking lot. With a battery-powered strobe, you can use it as a main or fill light on location; in warm sunset conditions, add an orange gel over the dish to blend the strobe with the ambient light.
Common Beauty Dish Mistakes
Placing it too far to the side. The single most common error. The dish wants to live near the camera axis. Side placement that looks fine with a big softbox looks wrong with a beauty dish.
Putting it too far away. A dish six feet from the face is a hard, small source with unflattering shadows. Two to four feet is the working range.
Skipping the reflector in clamshell. Without fill from below, the shadows under the chin and nose go too deep for beauty work. The reflector is not optional in the classic setup.
Using it on the wrong skin without a plan. The dish shows everything. If the subject has challenging skin and there is no makeup artist and no retouching budget, reach for the softbox instead. Knowing which modifier to skip is as professional as knowing which one to use.
Forgetting the background. The dish's rapid falloff means backgrounds go dark fast. That is often beautiful, but check that you are not accidentally creating a muddy, distracting backdrop. A second light on the background, or simply more distance between subject and backdrop, solves it.
My 27 Years With Hard, Honest Light
I learned the beauty dish the way I learned most things in this business: on real sets, under real pressure, with a client waiting to see the result.
In Miami in the late nineties, I was shooting three to four models a day, four months straight. Those images ran in Vogue, Harper's Bazaar, In Style, and Ocean Drive. Every morning the routine was the same: the makeup artist started on the model's face while I set up my lights. There was no time for indecision. You chose your modifier, you placed it, and you shot, because the next look was already waiting.
That pace taught me something no tutorial can. The dish rewards decisiveness. When you place it with intention, high and centered, close enough to wrap, it sculpts a face the way the great editorial photographers intended. When you hesitate and nudge it around, the light tells on you. Every frame looks slightly off and you cannot say why.
I have directed more than 300 celebrities over 27 years, and the lesson repeats on every beauty set. Linda Hamilton booked me for headshots at her house in Point Dume, Malibu. My makeup artist Cat worked on her face while I set up my lights in the backyard with an Alien Bee kit on battery power. We shot three looks in about an hour. She loved the pictures so much she chose five for retouching and gave me a $2,500 tip. That shoot worked because the preparation was disciplined: the right modifier, the right placement, the skin ready for honest light.
Here is what I tell photographers who ask me about beauty lighting. The dish is not a shortcut. It is a commitment to showing the face as it is, beautifully. Discipline in placement, craft in the details, consistency from frame to frame. Do those three things and the modifier takes care of the rest.
Frequently Asked Questions
What is a beauty dish used for in photography?
A beauty dish is used for portrait photography, especially fashion, beauty, and headshot work. Its circular design with a central cap produces a focused, semi-hard beam that sculpts facial features, creates defined shadows under the cheekbones and jawline, and leaves distinctive circular catchlights in the eyes. It is the standard modifier for high-fashion and editorial portrait looks.
Is a beauty dish better than a softbox?
Neither is universally better; they serve different purposes. A beauty dish is better when you want a brighter, more sculpted, dramatic look with defined shadows, and it is sturdier for outdoor use since it resists wind. A softbox is better for softer, more forgiving light with gradual transitions, and it is more versatile for groups, moving subjects, and general portraiture. Choose based on the look you want, not on which modifier is newer or more expensive.
Where do you place a beauty dish?
The classic placement is directly in front of the subject, centered on the camera axis, slightly above eye level, angled down so the center of the dish aims at the forehead between the eyes. Keep it close, generally two to four feet from the face. For the standard clamshell beauty setup, add a reflector below the chin to bounce fill light upward. Avoid pushing the dish far to the side, where it becomes unflattering.
Can I use a beauty dish outdoors?
Yes. The beauty dish is one of the best modifiers for location work because it is compact and sturdy and will not catch the wind the way umbrellas and large softboxes do. Pair it with a battery-powered strobe and use it as a main or fill light. In warm light around sunrise or sunset, add an orange color-temperature gel over the dish to blend the strobe with the ambient sunlight.
What size beauty dish should I buy?
Most beauty dishes range from 16 to 27 inches in diameter, commonly sold in 16.5, 22, and 27.5-inch sizes. Larger dishes produce softer light with gentler transitions, while smaller dishes create a more defined, contrasty beam. A 22-inch dish is the most common all-around choice for beauty and fashion portraits. If you want more control over spill, choose a dish that accepts a honeycomb grid; if you want a softer option without buying a second modifier, get a diffusion sock.
Book a Shoot
If you want portraits with this kind of sculpted, editorial light, contact me with your date and concept. I shoot beauty, fashion, headshots, and celebrity portraits in Los Angeles and on location, and I bring 27 years of studio lighting experience to every set. My portrait lighting patterns guide shows more of the setups I use on real jobs.
What is your go-to modifier for beauty portraits: the dish, the softbox, or something else entirely? Let me know in the comments.