Tethered shooting is the single biggest quality upgrade a portrait or commercial photographer can make without buying a new camera. A tethered shooting workflow connects your camera directly to a laptop, so every frame appears on a large screen the moment you press the shutter. No more squinting at the rear LCD. No more discovering soft focus after the client has already left the building.
If you shoot portraits, headshots, fashion, or product work in a studio or on a controlled set, tethering changes everything about how you judge focus, light, and expression. This guide walks through the complete tethered shooting workflow, the gear that makes it reliable, the software choices, and the mistakes that ruin shoots, plus the video lesson I recommend and what 27 years of set work taught me about reviewing images as you make them.
In this guide:
- What Is Tethered Shooting?
- Why Tether? 5 Ways It Changes a Shoot
- Watch: The Modern Tethered Workflow
- The 7-Step Tethered Shooting Workflow
- Capture One vs Lightroom for Tethering
- 6 Mistakes That Ruin Tethered Shoots
- What 27 Years of Set Work Taught Me
- Frequently Asked Questions
- Book Your Shoot
What Is Tethered Shooting?
Tethered shooting means connecting your camera directly to a computer or tablet while you shoot, so each frame appears on the larger screen the instant it is captured. The connection is usually a USB cable running from the camera to the computer, although many modern cameras also support wireless tethering. Software such as Capture One or Lightroom Classic receives the images, displays them as they arrive, and in most cases can drive the camera remotely, letting you change aperture, shutter speed, and ISO from the keyboard without touching the body. (Icon Photography School has a clear primer on the concept if you want a second explanation.)
That is the whole idea. Instead of judging a 3-inch LCD in bright studio light, you judge every frame on a large, calibrated screen at full size, while you can still fix whatever is wrong.
Why Tether? 5 Ways It Changes a Shoot
1. You catch soft focus before the client leaves
This is the number one reason working pros tether. On a laptop screen you can zoom to 100 percent and confirm critical focus on the eye in seconds. VIEWBUG's tethering guide puts it bluntly: focus verification means catching soft focus during the shoot, not after the client leaves. A missed-focus frame you spot on set costs you a reshoot of one setup. The same frame discovered at home costs you the entire session.
2. Clients and art directors approve shots in real time
When the client can watch the shoot live on a big screen, approvals happen on the spot. No "I will send selects tonight and wait two days for notes." The art director points at the monitor, asks for a tighter crop or a different expression, and you shoot it now. That single change has probably prevented more reshoots than any piece of gear I own.
3. You see lighting and styling problems at full size
A calibrated laptop screen shows you what the camera LCD never will: the actual color, the real shadow detail, a stray hair, a wrinkled collar, a reflection in a product shot. Reviewing on a large screen makes it far easier to confirm composition and spot lighting or styling problems while you can still fix them. Small problems are cheap on set and expensive in Photoshop.
4. Every frame backs up the instant it lands
When you shoot tethered, files save straight to the computer the moment they are taken. That is an automatic first backup, created before you ever leave the set. It does not replace a real 3-2-1 backup system (I wrote out my full photography backup workflow separately, and I still follow it religiously), but it means a lost or corrupted memory card can never take down a paid shoot.
5. You can drive the camera remotely
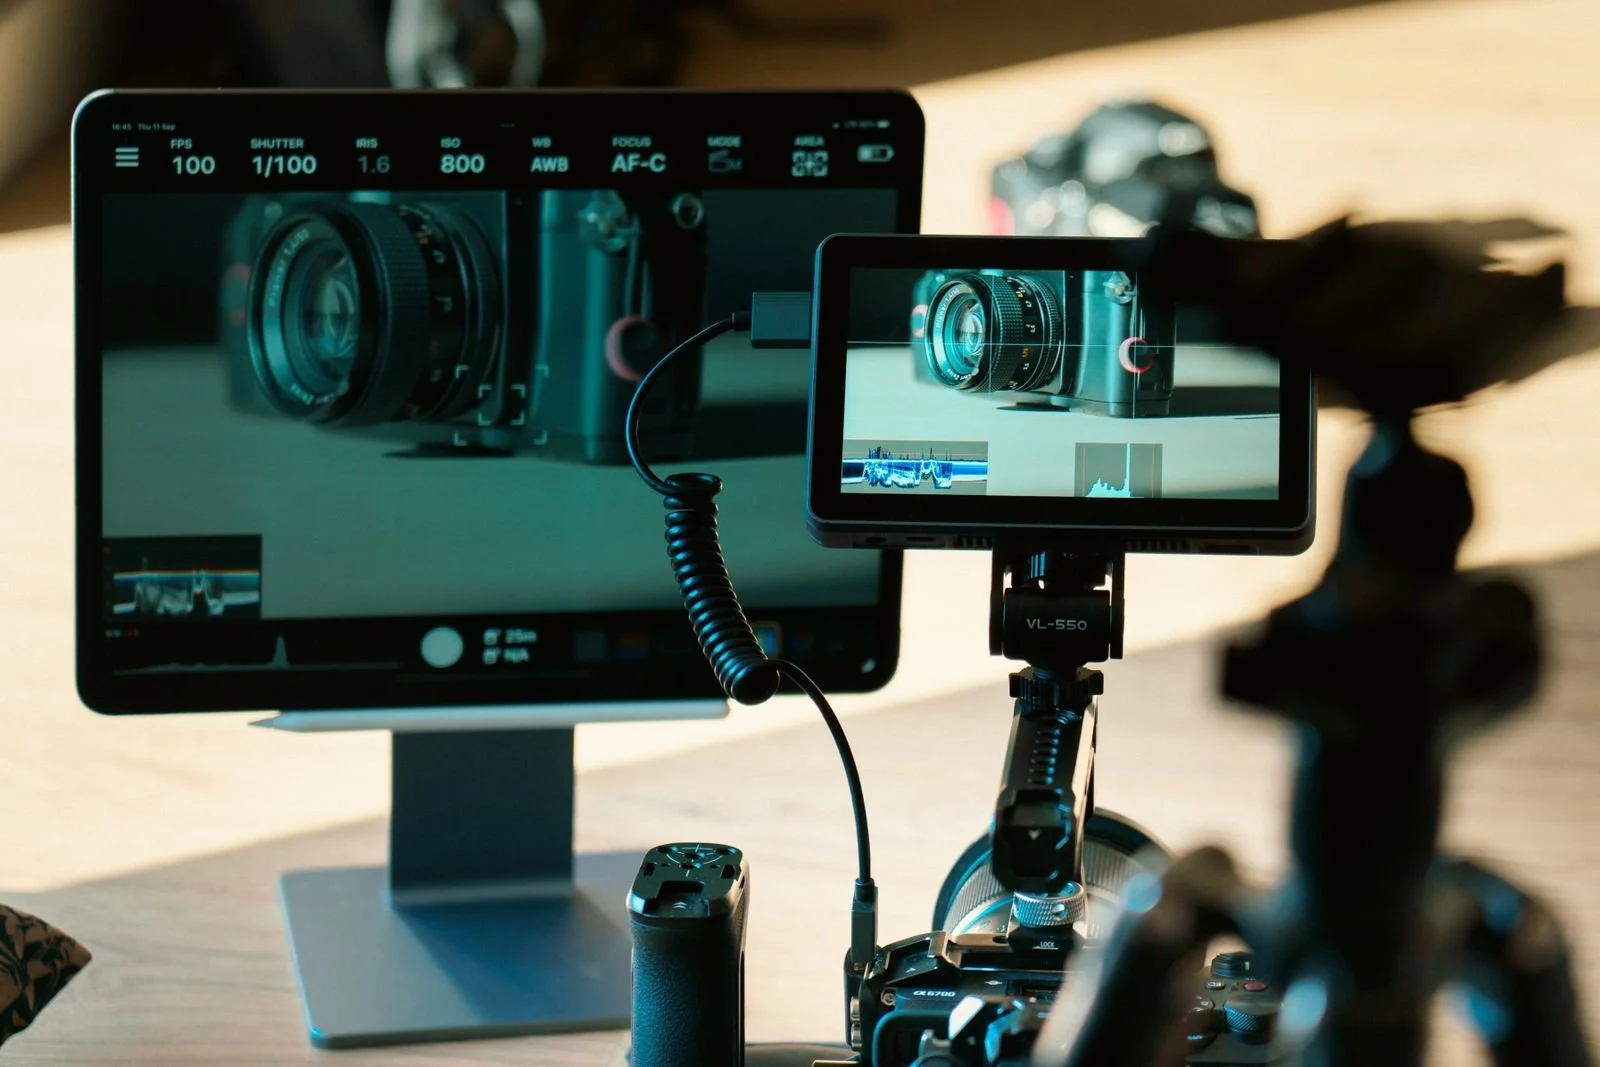
Most tethering software lets you adjust exposure, white balance, and focus from the computer, and even trigger the shutter without touching the camera. That matters for product and still life work where the camera is locked on a stand, and for self-portraits or overhead setups where reaching the body would disturb the composition.
Watch: The Modern Tethered Workflow
The video I recommend for this topic is "My Tethering Setup - So Many Options!" by Mark Wallace, the longtime AdoramaTV educator behind Exploring Photography.
Wallace walks through the complete tethering station he has refined over years of studio work: the stands and mounting options that hold everything, his full tethering setup with the TetherPro USB-C cable, how he secures the cable to the camera so a yank never hits the port, and how he mounts an external monitor for big-screen review. His system is built to be flexible, so he can spin up a tethering station for whatever he is shooting that day. If the gear side of this guide is what you want to see in action, this is the video.

The 7-Step Tethered Shooting Workflow
Here is the setup I recommend, in the order you should build it.
Step 1. Get a real tethering cable, at least 10 feet long
The cable is the entire system, so this is not the place to economize. Use a quality, data-rated USB cable, not a cheap charging cable, at least 10 feet long. Short or low-quality cables cause connection drops and slow transfers, and nothing kills a shoot's momentum like a tether that disconnects every twenty minutes.
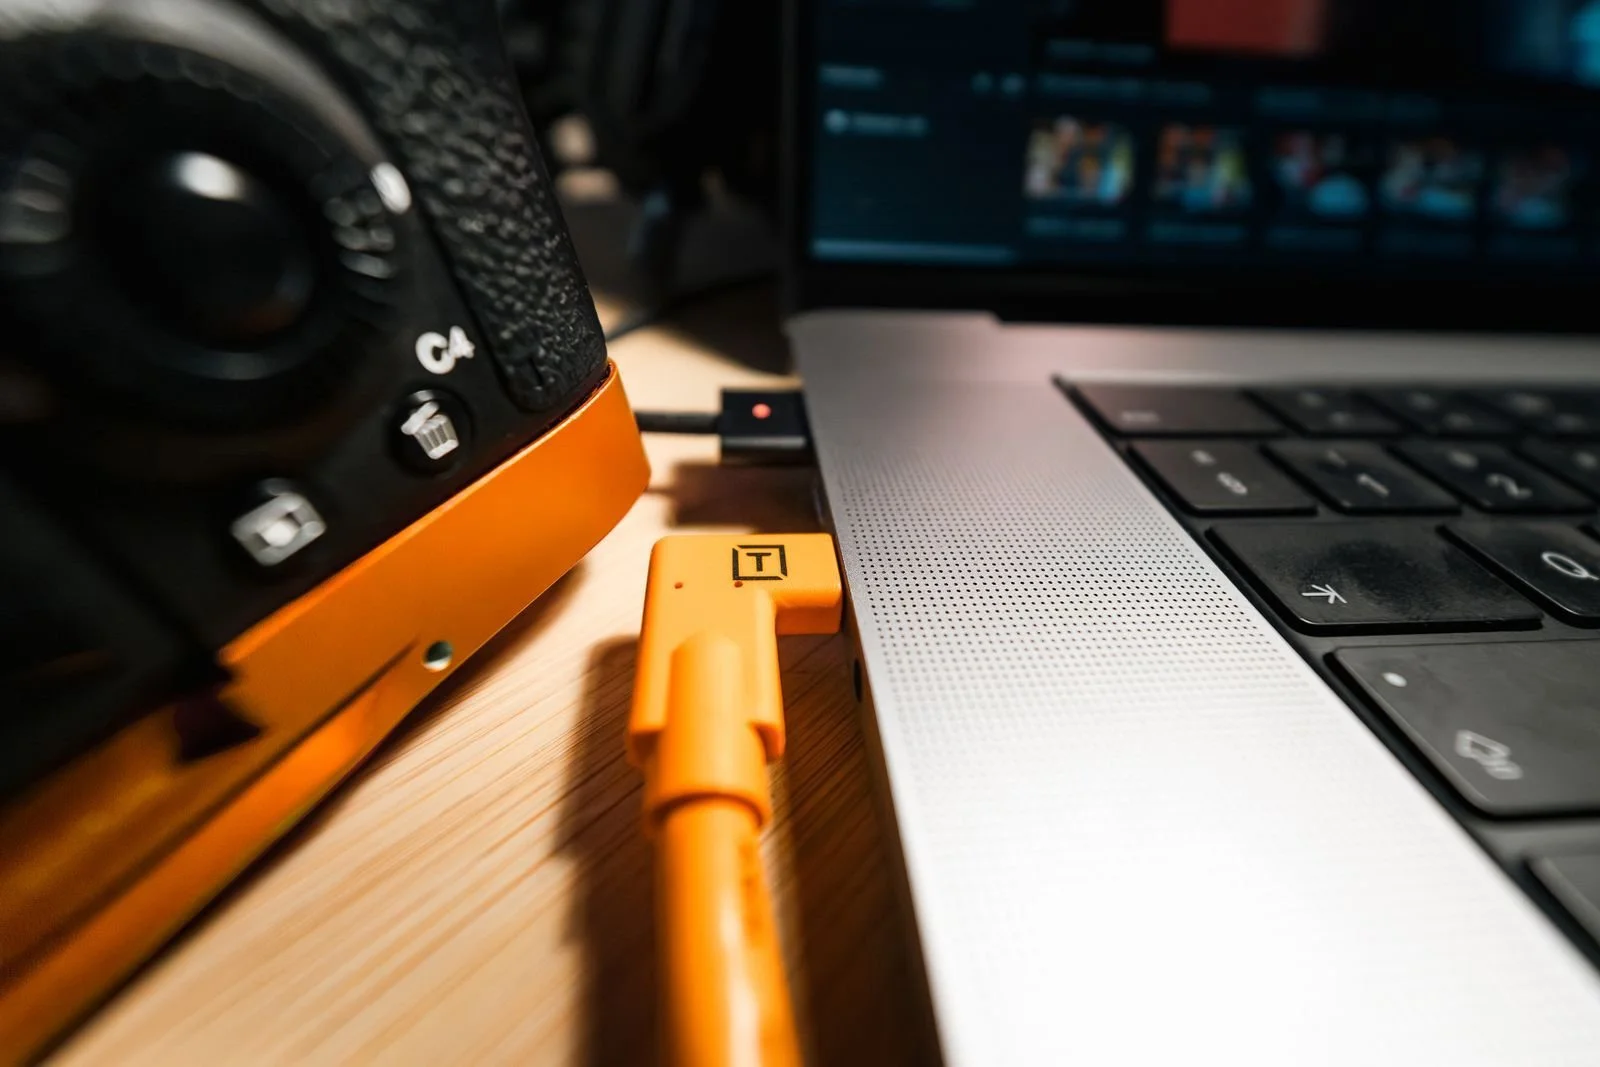
Tether Tools makes the category-standard cables ($30 to $60) with high-visibility orange jackets, so nobody trips over them, and proper strain relief at the connectors. A generic 10-foot USB-C data cable in the $12 to $18 range works fine as a backup, but your primary cable should be a dedicated tethering cable matched to your camera's port.
Step 2. Protect the camera port
A laptop sliding off a table can rip a USB cable sideways and destroy a camera's port, which is a repair measured in hundreds of dollars and weeks without your body. A JerkStopper or TetherGuard (around $20) anchors the cable to the camera so a yank pulls against the accessory, not the port. Leave slack in the cable, route it where feet do not go, and tape it down on busy sets. This $20 accessory protects a $3,000 camera. Buy it before your first tethered shoot, not after your first accident.
Step 3. Set up the laptop station
You need somewhere to put the laptop that is stable, at a viewable height, and out of the action. A tether table such as the Tether Tools Aero Table (around $200) clamps to a tripod or light stand and holds the laptop exactly where you want it, with room underneath for a hard drive or card reader. On a budget, a rolling cart works. What does not work is the laptop on the floor, where you will kick it, or balanced on a folding chair, where it will fall.
Calibrate the laptop screen, or better yet, connect an external monitor you trust. The whole point of tethering is accurate judgment, and an uncalibrated screen lies to you about color just as confidently as the camera LCD does.
Step 4. Choose your software
You have three serious options, plus free manufacturer utilities:
Capture One is the industry standard for commercial and fashion tethering, and my default recommendation for studio work. It was built around tethered capture, so the camera appears automatically in the Capture tool tab, real-time performance is excellent, and the Next Capture Adjustments feature applies your last shot's adjustments to the next frames automatically, which is how you build a look live on set.
Lightroom Classic is the easy choice if you already pay for a Creative Cloud subscription. Go to File, then Tethered Capture, then Start Tethered Capture, name the session, choose your destination folder and naming convention, and click OK. Each shot lands directly in your Lightroom library with your metadata preset applied. Enable Auto Advance so every new frame displays full-size the moment it arrives.
Manufacturer utilities like Canon EOS Utility or Digital Photo Professional are free and handle tethering competently, including remote camera control. They are a fine zero-cost way to learn the workflow before committing to paid software.
Step 5. Configure the session before the first frame
Set up the session before anyone is in front of the camera. Name the session, choose the destination folder, set your file-naming convention, and apply your metadata preset so every frame is organized from the moment it lands. In the camera menu, set the USB connection mode correctly: Sony bodies want PC Remote, Canon wants the computer/remote communication mode, Nikon wants MTP/PTP. The wrong mode is the most common reason a camera "won't tether," and it is a thirty-second fix.
Two more pre-shoot settings: disable auto power off in the camera menu, or the body will shut itself down during idle moments and kill the connection, and set a custom white balance from a gray card reference at the start so every frame renders with correct color from the first shot.
Step 6. Shoot, review, and adjust in a loop
Now the workflow itself: shoot a frame, evaluate it at full size, adjust, shoot again. Check critical focus at 100 percent. Check the lighting on the face, the background separation, the wardrobe, the posing. If you are shooting a layout with a defined composition, Capture One lets you load an overlay, such as a magazine cover frame, so you can compose directly against the final design.
Work the loop fast. The discipline of tethering is that review happens between frames, not after the shoot. Fix the hair now. Move the light now. Change the expression now.
Step 7. Bring the client into the loop
Turn the screen toward the client or share it remotely and let them watch the shoot develop. Walk them through what you are seeing: why this frame works, what you are refining in the next one. Clients who watch their images appear in real time trust the process, give better direction, and approve selects on the spot. That collaboration is the difference between delivering a gallery and delivering a gallery nobody asks to revise.
Capture One vs Lightroom for Tethering
If you are choosing between the two specifically for tethered work, the short version is this: Capture One is the stronger tethering tool, with faster live performance, broader camera compatibility, and the Next Capture Adjustments workflow that lets you grade as you shoot. Lightroom Classic is the simpler and cheaper path if you already subscribe, and its tethered capture is perfectly reliable for portraits and headshots.
I published a full Capture One vs Lightroom comparison for portrait photographers with the seven differences that actually matter, including pricing, layers, and color tools. Read that before you commit to one platform for your studio.
6 Mistakes That Ruin Tethered Shoots
1. Using a charging cable instead of a data cable. Charging cables often cannot transfer data at all, and the ones that can do it slowly. If your camera connects and nothing appears, the cable is suspect number one.
2. A 3-foot cable on a 10-foot set. The cable that came in your camera's box is too short for real work. You will spend the shoot fighting it, and someone will trip on the laptop trying to give you room. Fifteen feet is the working standard.
3. Skipping port protection. Covered above. Twenty dollars versus a destroyed USB port. There is no debate here.
4. Forgetting to disable auto power off. The camera goes quiet during a lighting change, powers itself down, and the tether drops. You lose five minutes reconnecting and the room loses its rhythm.
5. The wrong USB mode in the camera menu. PC Remote, MTP/PTP, computer communication: every brand names it differently, and the wrong setting means the software never sees the camera. Check it before the client arrives.
6. No fallback when the cable fails. Cables die, ports get flaky, laptops freeze. Shoot to the memory card simultaneously as a backup whenever your camera allows it, so a tether failure degrades the shoot instead of ending it.
What 27 Years of Set Work Taught Me About Reviewing as You Shoot
Tethering formalizes something I learned the hard way in Miami in 2006. I had done about fifty shoots total when my friend Shawn Pereira invited me down to South Beach. Shawn had twenty years of modeling experience in front of and behind the camera, and he worked as my creative director on those shoots, helping with concepts and posing the models as they came through.
For four months I shot three to four models a day. The first model through the door was Angelie from Aruba, suitcase full of bikinis and dresses, and it never really stopped after that. Shooting that volume with virtually no preparation taught me to think on my feet: analyze the model, the location, the clothing, the hair and makeup, and decide in minutes how I was going to shoot. It taught me lighting, skin tones, and directing faster than anything before or since, and those pictures ended up published in Vogue, Harpers Bazaar, In Style, and Ocean Drive.
Here is what that has to do with tethering. Shawn was a second set of trained eyes on the work as it happened. When something was not working, the lighting, the pose, the energy, we caught it in the moment and fixed it in the moment. Every working photographer eventually learns the same expensive lesson: a problem you catch during the shoot costs you minutes, and a problem you catch after the shoot costs you the shoot.
A tethered screen is that second set of eyes, available on every set, even when you are working alone. It does not replace judgment. It gives your judgment nowhere to hide, which is exactly what you want when someone is paying you for the result. Review every frame like the client is standing behind you, because one day the client will be, and the photographers who are used to it will be the calm ones.
If you want the directing side of that discipline, my guide to directing models on set covers the seven techniques I use to get genuine expressions from experienced models, and my portrait photography workflow lays out the full system from first inquiry to final gallery delivery.
Frequently Asked Questions
What equipment do I need to start tethered shooting?
Three essentials: a camera that supports tethered capture, a data-rated USB cable at least 10 feet long, and tethering software such as Capture One, Lightroom Classic, or your camera maker's free utility. Two strongly recommended additions: a JerkStopper or cable guard (around $20) to protect the camera port, and a tether table or cart to hold the laptop safely.
Can I tether with Lightroom, or do I need Capture One?
Both work. Lightroom Classic has built-in tethered capture under File, then Tethered Capture, and it is included with a Creative Cloud subscription, which makes it the easy starting point. Capture One is considered the best tethering software by professional commercial photographers, with better real-time performance and the Next Capture Adjustments feature for grading live. My full comparison breaks down the seven differences for portrait work.
Will tethered shooting damage my camera's USB port?
It can, if you are careless. The risk is a sideways yank on the cable, which is why port protection exists. Use a JerkStopper or TetherGuard, leave slack in the cable, route it away from foot traffic, and tape it down on busy sets. With those precautions, tethering is no harder on the camera than normal shooting.
Can you tether wirelessly?
Yes. Capture One Mobile supports wireless tethering to a phone or tablet, and the CamRanger 2 (around $330) is a Wi-Fi bridge that attaches to the camera's USB port and is the industry standard for wireless tethering on location. Wireless is slower than a cable and less reliable in crowded radio environments, so cabled tethering remains the standard for studio work where every frame matters.
Does tethered shooting work with any camera?
Most modern mirrorless and DSLR bodies from Canon, Nikon, Sony, and Fujifilm support tethered capture, and Capture One lists Leica among its supported brands as well. Check your camera's USB connection mode in the menu, set it to the tethering/PC remote option rather than mass storage, and confirm compatibility with your chosen software before shoot day. Very old bodies may only tether through the manufacturer's own utility.
Is tethered shooting worth it for portrait sessions?
For controlled portrait, headshot, fashion, and product sessions, absolutely. The ability to confirm focus at 100 percent, judge light on a calibrated screen, and get client approval on set pays for the setup many times over. Skip it when you need to move fast and freely, such as events or run-and-gun location work, where the cable becomes a liability instead of an asset.
Book Your Shoot
If you need portraits, headshots, or fashion and editorial photography in Los Angeles, I bring 27 years of set experience and a studio workflow built around getting it right on the day, not in post. See the work in my portfolio galleries, then reach out through my contact page to check availability and rates.
And a question for the photographers reading: do you shoot tethered, or are you still judging focus on the rear LCD? Tell me what is holding you back in the comments.